• Skip to primary navigation
  • Skip to main content
  • Skip to primary sidebar
  • Skip to footer

DANIELLE AT HOME

  • HOME
    • About
    • Contact
  • LIFESTYLE
    • Favourites
    • Goals
    • Home
      • DIY Projects
      • Organization
    • Holidays
      • Christmas
      • Easter
      • Halloween
      • New Years
      • Thanksgiving
      • Valentine’s Day
      • Gift Guides
  • STYLE
  • WELLNESS
  • FOOD + DRINK
    • Appetizers
    • Breakfast
    • Dessert
    • Drinks
    • Side Dishes
    • Snacks
    • Holiday Recipes
      • Christmas
      • Cinco De Mayo
      • Easter
      • Father’s Day
      • Halloween
      • Mother’s Day
      • New Years
      • St. Patrick’s Day
      • Thanksgiving
      • Valentine’s Day

Cinco De Mayo

Watermelon and Strawberry Popsicles

June 29, 2020 by admin Leave a Comment

I love summer, long evenings, camping, days at the lake and all the yummy food and treats at a cook out! Does anything beat it? I really don’t think so. With the first summer celebration coming up on Wednesday (Canada Day!) Although were staying home and having a bbq for two (thanks COVID). I still wanted to find a refreshing, easy, healthy and delicious summer treat to make. Enter Watermelon and Strawberry popsicles! Not only are these delicious, but dessert is already made for Canada Day.

Watermelon Popsicles

I wanted to create a popsicle that was healthy and guilt free. I find I reach for fruity treats often in the summer and I’d rather them be a healthy option. These popsicles are simply blended fruit! Yep that’s all, there’s nothing more to it.

Ingredients

  • Watermelon
  • Strawberries
  • Lime Juice

Just blend your fruit together until smooth, pour into popsicle tray (I used this one), freeze and enjoy. Isn’t that insanely easy? Yep! These were fun to make too so I think it would be fun to involve your kids in making them as well.

Healthy Popsicles

Watermelon and Strawberry Popsicles

I’m sure you noticed there was no sugar or sweetener in my ingredients list. That’s because I find the blended fruit plenty sweet enough. But if you want things a bit sweeter, or your fruit is a little under ripe you could add a tablespoon or two of honey. Of course you could just use sugar, but I like to keep this natural whenever possible. Plus honey and watermelon is a winning combination!

Now you could make these popsicles adult by spiking with your liquor of choice, you could add extra lime and tequila for a watermelon margarita popsicle (YUM!). Or place an unskilled popsicle in a glass of champagne or prosseco for a super fun cocktail! Just make sure you mark which tray is for the grown ups!

I know I’ll be making these all summer long and I hope you all do too! Enjoy and stay safe this Canada Day (and 4th of July).

Danielle xo


Healthy Popsicles

Watermelon Strawberry Popsicles

A healthy sugar free summer treat.
Print Recipe Pin Recipe
Prep Time 5 minutes mins
Freeze Time 6 hours hrs
Total Time 6 hours hrs 5 minutes mins
Servings: 10 popsicles
Course: Dessert
Cuisine: American
Ingredients Method Notes

Ingredients
  

  • 4 cups watermelon
  • 1 cup strawberries
  • 1/2 lime, juiced

Method
 

  1. Place fruit and lime juice into a blender. Blend until smooth.
  2. Pour into a popsicle mould and place in the freezer. Freeze for a minimum of 6 hours.
  3. Run under warm water to release from trays and serve!

Notes

Optional:
If you like things more sweet add 1-2 tablespoons of honey.
If you want to spike these popsicles add 6 tbsp of your favourite hard alcohol.
Adapted from The Pretty Bee.

White Chicken Chili

October 10, 2019 by admin Leave a Comment

Today I am sharing my go to slow cooker meal. It’s delicious, super filling and pretty healthy (if you go light on the Fritos! lol). White Chicken Chili is the best, it’s super flavourful, takes basically no prep time. Perfect weeknight meal. Oh and you’ll have leftovers! Win!!

I love soups, stews and chilis in the fall and winter. I just find then so satisfying and super easy to make, but my husband isn’t a big soup fan. He’s a big strong man and likes a big plate of hearty food. He just doesn’t see soup as a meal. And he doesn’t like most chilis because tomatoes give him heartburn. So thats where this recipe saves the day. It’s hearty and there’s no tomatoes, it’s a serious winner. He actually asks for this meal regularly (could just be the Fritos!). And I happily oblige since it takes five minutes and it feeds us for days!

White Chicken Chili
White Chicken Chili
White Chicken Chili

So lets run down what makes this recipe so great.

  1. Canned Green Chilies, seriously yummy! Basically makes everything taste like queso blanco and adds delicious flavour to this chili
  2. Jalapeños, add just the right amount of heat. Remove or don’t remove the seeds to adjust the heat to your liking. I like one with and one without.
  3. White Beans, they make this chili so hearty and filling
  4. Cream Cheese, this is what makes this chilli creamy. Yep, no cream in sight! It’s perfect and my secret weapon!
  5. Spices, don’t skimp on the cumin! Heck add extra if you want!

This recipe really is one of those no recipe recipes. You chop a few ingredients and other then that just toss everything in and let the slow cooked do it’s magic. It’s really that simple! Add your favourite chili toppings and get to eating!

I hope you give this a try at your house, I know you won’t be disappointed!

White Chicken Chili

Creamy, spicy and delicious. This super easy slow cooker recipe is the perfect filling and delicious dinner.
Print Recipe Pin Recipe
Prep Time 5 minutes mins
Cook Time 8 hours hrs
Total Time 8 hours hrs 5 minutes mins
Course: Main Course
Cuisine: American, Mexican
Ingredients Equipment Method Notes

Ingredients
  

Chili
  • 3 chicken breasts
  • 2 15 oz cans white beans, drained
  • 2 4 oz cans green chilies
  • 1 cup frozen corn
  • 2 jalapeños, chopped (remove seeds and ribs for a mild chili)
  • 1/2 onion, diced finely
  • 4 oz cream cheese
  • 2 cups low sodium chicken broth
  • 3 tsp chili powder
  • 1 tbsp cumin
  • salt and pepper to taste
Toppings
  • cheddar cheese, shredded
  • avocado, sliced
  • fritos or tortilla chips

Equipment

  • Slow Cooker

Method
 

  1. Place chicken, beans, chilies, corn, jalapeños, onion, cream cheese and broth in you slow cooker. Add spices and stir. Place slow cooker on low for 8 hours or on high for 4.
  2. Once chili is cooked remove chicken. Shred and return to the slow cooker. Taste broth and adjust seasonings accordingly.
  3. Prepare desired toppings and serve.

Notes

Adapted from Cooking Classy.

Mexican Street Corn

July 31, 2019 by admin Leave a Comment

Today we are talking corn on the cob. It’s getting to be corn season and really theres nothing better then corn on the cob cooked on the grill in the summer. But of course I didn’t want to give a basic grilled corn recipe. As delicious as that is I think you can figure it out on your own…so today I’m sharing my take on Mexican Street Corn. I was seeing these recipes all over the internet and was so intrigued! So I knew I had to try out a few recipes and then of course make then my own!

This recipe is incredibly simple. It starts by grilling corn in the husks. When they are almost ready we peel off those husks, coat with a delicious spicy and creamy sauce. Then throw them back on the grill to cook just a little longer. Once cooked sprinkle with cheese and cilantro (or parsley if you hate cilantro like me). Traditionally street corn has cotija cheese but I’m all about accessible ingredients and honestly that’s just not easy for me to grab at a regular grocery store. So I subbed in some fresh grated parmesan cheese. It’s all about making a recipe work for you. And man it’s delicious!

I hope you give this twist on corn a go this summer. It’s really easy and really delicious! Enjoy!

Mexican Street Corn

Sweet, spicy and fresh grilled corn topped with cheese.
Print Recipe Pin Recipe
Prep Time 5 minutes mins
Cook Time 20 minutes mins
Total Time 25 minutes mins
Servings: 6 cobs
Course: Side Dish
Cuisine: Mexican
Ingredients Method Notes

Ingredients
  

  • 6 ears of corn
  • 1/4 cup sour cream
  • 1/4 cup mayonnaise
  • 1/2 tsp chili powder
  • 1/8 tsp cumin
  • pinch cayenne pepper
  • 1/2 cup parmesan
  • 2 limes
  • Cilantro or parsley

Method
 

  1. Place corn on the grill in the husks. Cook over medium heat for 15 minutes, turning every 5 minutes. Remove from grill and set aside until cool enough to handle.
  2. In a small bowl mix together sour cream, mayonnaise, chili powder, cumin, cayenne pepper and the juice of one lime. Remove husks and silk from the cooked corn. Using a pastry brush coat corn with sauce. Place corn back on the grill for an additional 5 minutes, turning half way.
  3. Remove corn from the grill, top with cheese, a squeeze of lime, cilantro or parsley and a pinch of chili! Yum!

Notes

Adapted from Damn Delicious.

Mixed Berry Margarita

July 8, 2019 by admin Leave a Comment

Happy SUMMER everyone! I hope you all enjoyed your Canada Day and 4th of July festivities last week. I took a much needed break the last two weeks while I moved into my new HOUSE! I’m going to share all about it on Wednesday, but I will say the move took a lot more out of me then I had planned! This recipe was supposed to go up last week in time for Canada Day, but alas that just didn’t happen! That’s life right? We have to roll with the punches.

I knew even though I was a bit late getting this recipe up it still had to be posted to the blog asap! As you know I enjoy a good cocktail! This one combines two of my favourite summer things, berries and margaritas! Now as you already know I am not a frozen margarita fan! I’m all about a fresh lime margarita on the rocks. They are defiantly my favourite. But every once and a while I like to switch things up a bit and add delicious fruit flavours to the mix. Such as pineapple or berries!

Today I am sharing how to make a mixed berry margarita! This margarita is packed full of juicy flavourful berries, a touch of agave and lots of fresh lime juice! This recipe really isn’t any harder than a classic margarita, but what I love about it is that it totally reinvents your favourite drink. And the colour of this drink is gorgeous (thank you blackberries!) I actually made these last weekend when we had friends over for a barbecue and they we’re a huge hit!

Now let’s talk equipment for a minute. Like any other margarita you’ll need a cocktail shaker, but for these margaritas you’ll also need a muddling tool or at least something that can be used as a muddler, like a wooden spoon. You’ll also need a shot glass, or a jigger and some cute little margarita glasses. Oh and lots of ice, is that equipment or an ingredient? Regardless these are all fantastic tools to invest in they will really help you when entertaining.

Now let’s break down this margarita and get to cocktailing! To make this drink you need to muddle up some berries then add agave, tequila and lime juice. Shake that up with some ice. Rim the glass with salt or sugar if you like. Fill it with a few muddled berries and lots of fresh ice. Pour that tasty cocktail into your glass and enjoy! Seriously so tasty, refreshing and satisfying. Now I just need some chips and guacamole to go with it!! Enjoy!

Mixed Berry Margarita

Sweet summery berries, tart lime juice and touch of agave and silver tequila. A fun summer twist on a classic margarita.
Print Recipe Pin Recipe
Total Time 5 minutes mins
Servings: 1 drink
Course: Drinks
Cuisine: Mexican
Ingredients Method Notes

Ingredients
  

  • 1/3 cup mixed berries (I used blackberries, blueberries, raspberries and strawberries)
  • 1.5 ounces silver tequila
  • 2 ounces lime juice, fresh squeezed
  • 3/4 ounce agave
  • salt or sugar for rimming the glass (optional)

Method
 

  1. Add berries to cocktail shaker, muddle berries until partially crushed. Remove a third of the berries and place in a margarita glass.
  2. Add ice, lime juice, agave and tequila to the cocktail shaker. Shake vigorously until well combined and the outside of the shaker is very cold.
  3. If desired rime your glass with salt or sugar. Run a cut lime around the edge of the glass, then dip into salt or sugar.
  4. Add reserved berries to the bottom of the glass, fill the glass with ice. Pour cocktail over ice. Serve with additional limes or berries as garnish. Enjoy!

Notes

Notes: If using frozen berries defrost first.

Queso Dip

May 3, 2019 by Danielle Leave a Comment

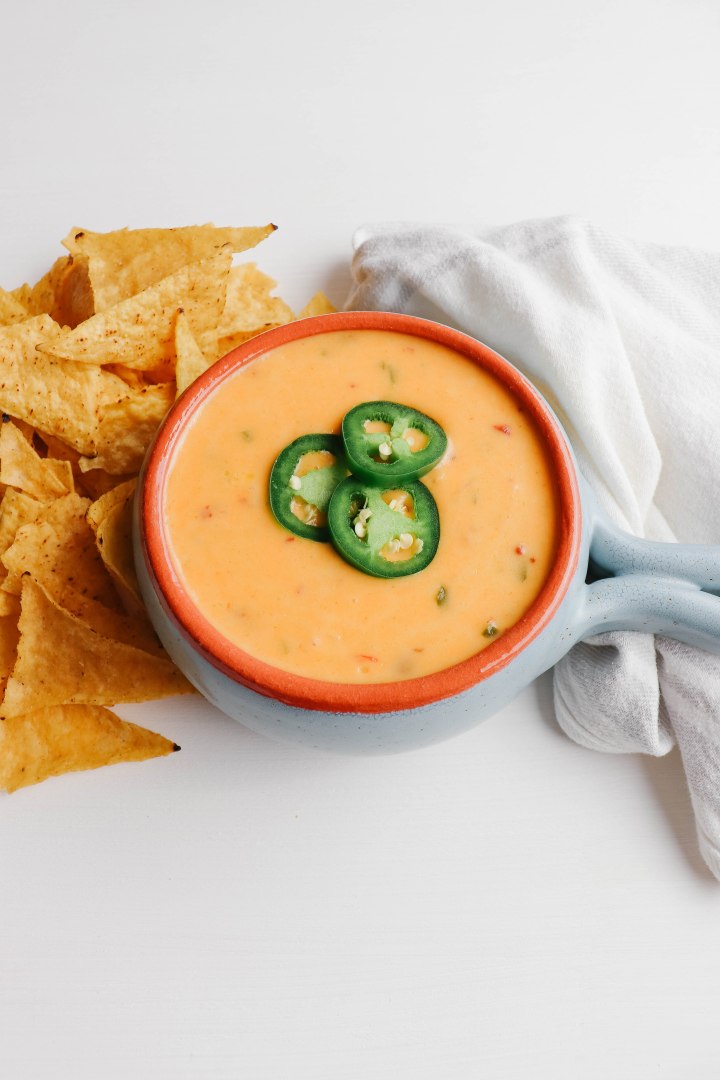
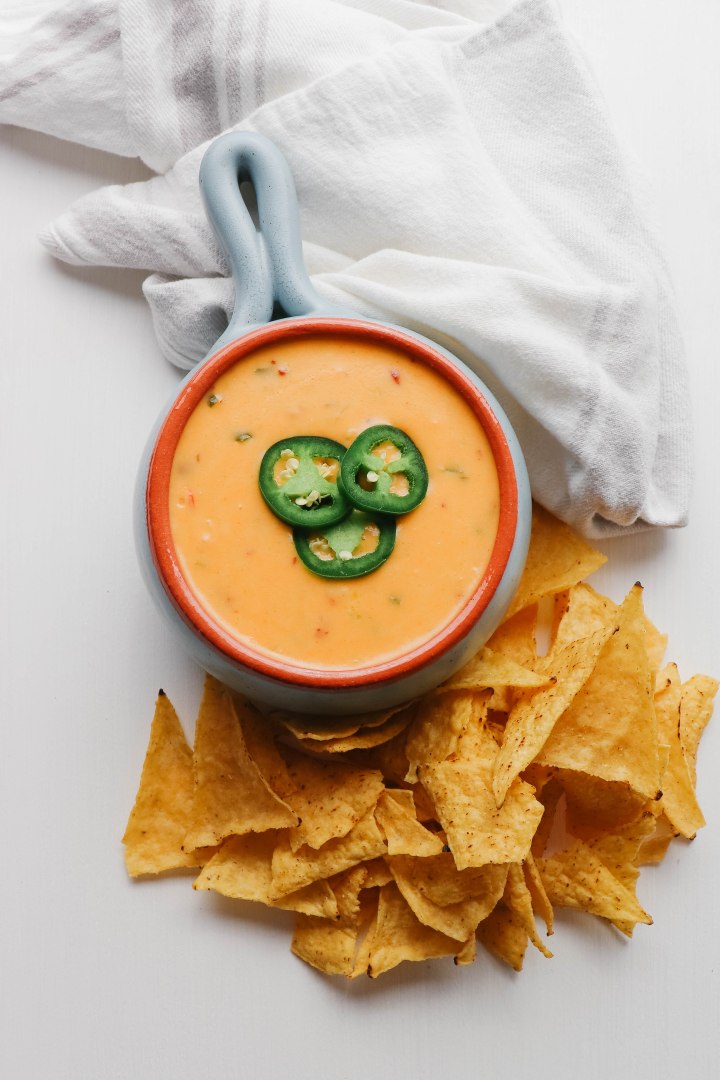
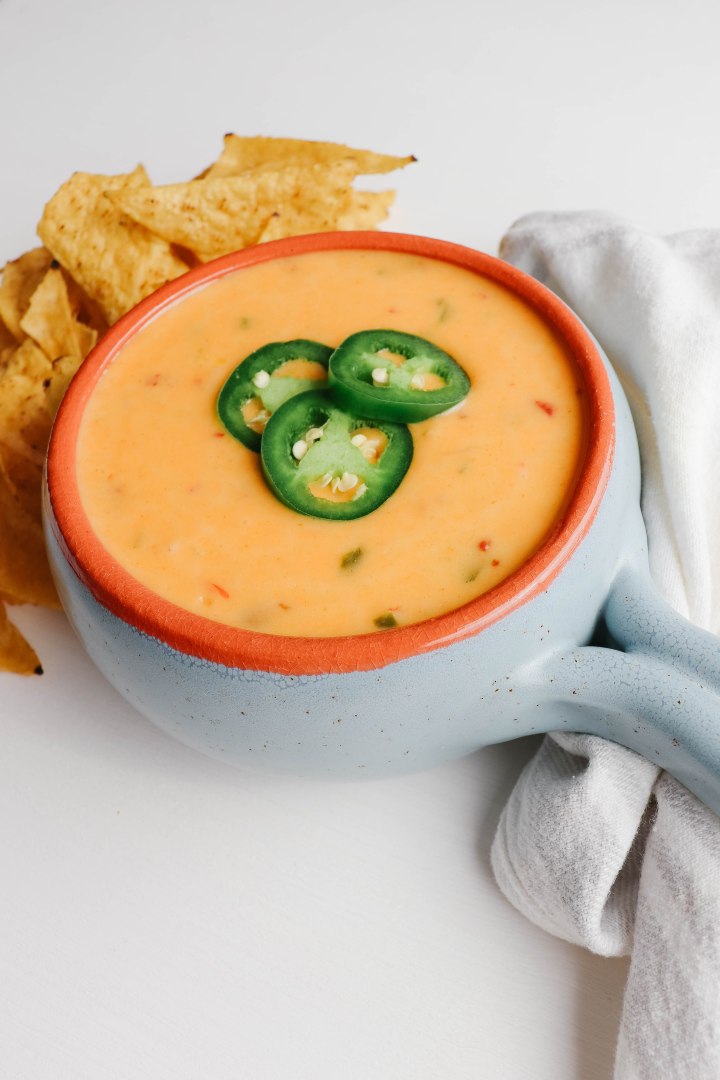
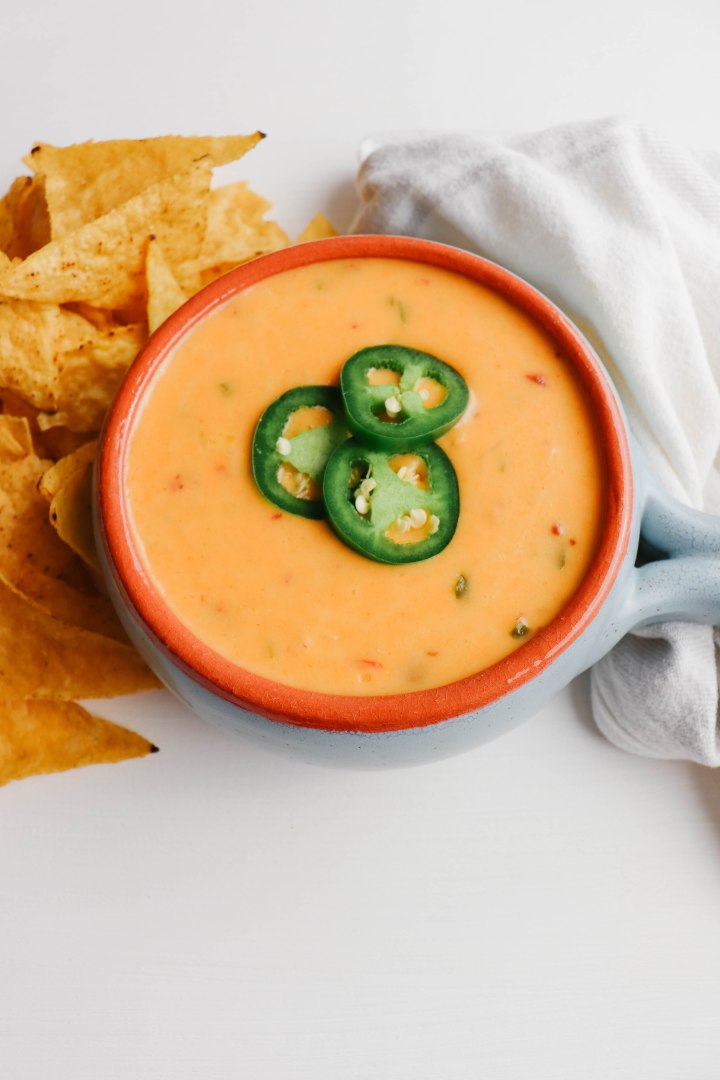
Want to really kick your next Mexican feast up a notch? Make homemade queso. It’s actually really easy!

IMG_0361

Ok guys today I am sharing what might be the best recipe I’ve ever shared! Seriously this queso dip is bomb! And it’s insanely easy to make for any party or even for Cinco De Mayo! Which check your calendars is coming up on Sunday!

I love queso whether its from the best tex-mex restaurant or out of a jar from the grocery store I will eat it. I do prefer to eat real food though, not necessarily health food but really food with ingredients I actually recognize. Most commercially prepared queso has processed cheese, some how it’s gross and delicious at the same time. I won’t judge you for having either opinion! Also please note although I will eat processed queso from a jar I won’t eat Cheese Wiz or Velveeta… go figure!

IMG_0349IMG_0357

This queso recipe has jalapeños, onions, cumin, cream cheese, chipotle, jack cheese and sharp cheddar! Defiantly the kind of ingredients I want in my queso. This recipe has just enough spice to warm your mouth but isn’t over the top. Personally I like my salsa hot, my queso medium and my guacamole mild. Anyone else?

Essentially you cook the jalapeños and onions together then add the rest of the ingredients and heat together slowly. Seriously simple. Serve it warm with lots of chips! Or pour it over chips and your favourite nacho fixings for the ultimate and most delicious nachos you’ve ever tasted.

Ok guys this recipe is a must make for Cinco De Mayo!

IMG_0362.jpg

Queso Dip

Yields: 4 servings

Ingredients:

  • 1 tbsp Butter
  • 1/4 cup Onion, diced
  • 1 Jalapeños, chopped with seeds and ribs removed (keep the seeds if you like it spicy)
  • 2 Garlic Cloves, minced
  • 1 tsp Cumin
  • 2 ounces Cream Cheese
  • 1 1/4 cup Whole Milk
  • 8 ounces Sharp Cheddar Cheese, grated
  • 8 ounces Monterey Jack Cheese, shredded
  • 1 tbsp All Purpose Flour
  • 1 Chipotle Pepper in Adobo, finely minced
  • Salt to taste

Directions:

In a fry pan over medium low heat sauté onions, garlic and jalapeños until loft and onions are translucent. Season with cumin and continue to cook for another minute or two. Add cream cheese to the pan. Melt and combine with vegetables. Add milk to the pan and warm through.

Combine shredded cheese with flour. Add cheese and flour to the pan. Heat and stir until the cheese fully melts. Stir chopped chipotle peppers to the mixture. Taste and adjust salt and seasonings accordingly.

Serve warm with tortilla chips.

Adapted from Half Baked Harvest.


Pineapple Margarita

August 16, 2018 by Danielle Leave a Comment

IMG_3520

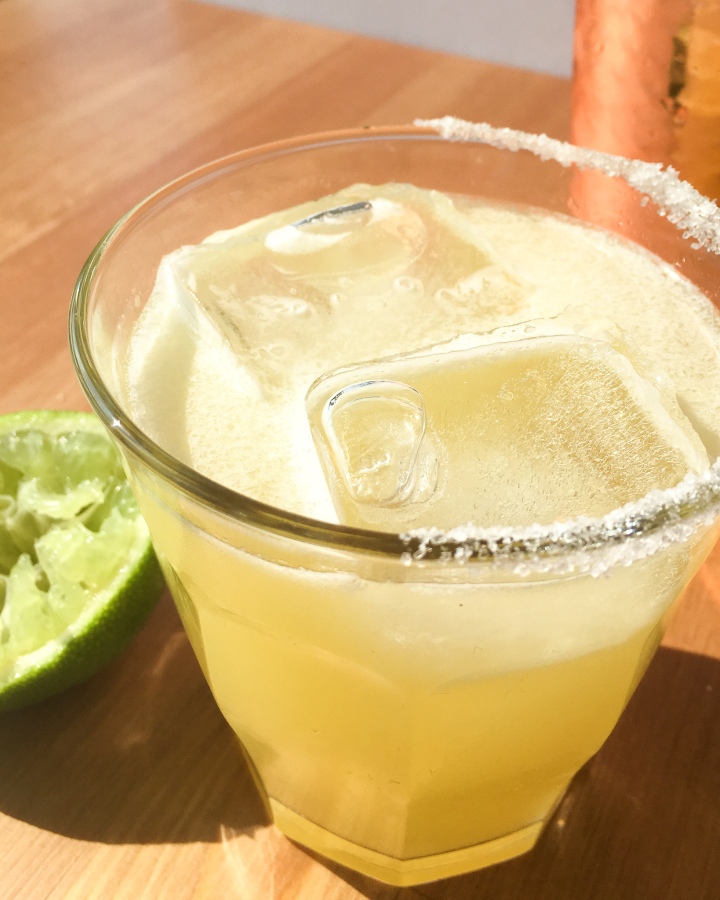
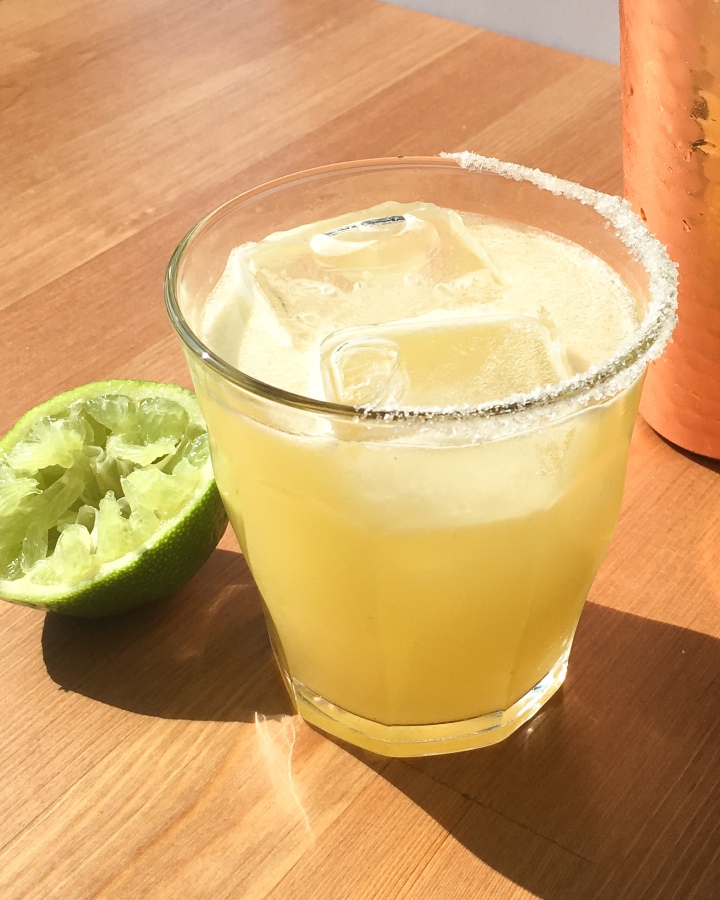
I love a good cocktail, and margaritas are at the top of my list! I like my margaritas fresh, unsweetened, shaken over ice in a short glass with a half salt rim. Can you tell I’m a bartenders dream… kidding.

The thing I love of this particular margarita is the twist of adding pineapple juice. It’s delicious and totally customizable to your taste. I love to sip on this with my favourite Mexican food. Chips, salsa, guacamole, tacos, enchiladas and fajitas.

IMG_3515

Now I’m so thirsty, is it 5 o’clock? So whats your favourite margarita?

Servings: 1

Ingredients:

  • 1 Ounce Tequila (silver or reposado are best)
  • 1/2 Ounce Cointreau
  • 1 Ounce 100% Pineapple Juice (no added sugar)
  • 1 Lime, juiced
  • Optional: Salt or sugar for rim, and agave syrup

Directions:

Fill a cocktail shaker with ice, and tequila, cointreau, pineapple juice, lime juice and agave if using. Shake until the cocktail shaker becomes very cold.

Rub the inside of the lime along the rim of your glass. Dip the glass into salt or sugar. Fill the glass with ice, and pour drink over the ice.


You might also like…

IMG_3475

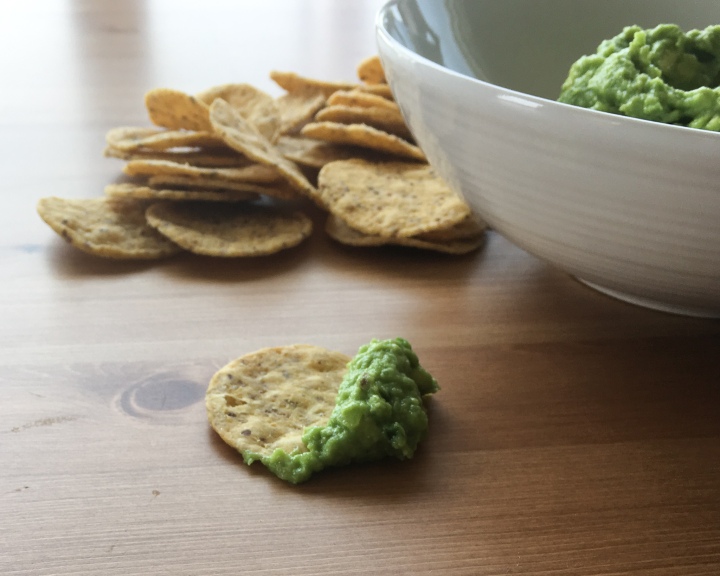
Homemade Guacamole

IMG_3416

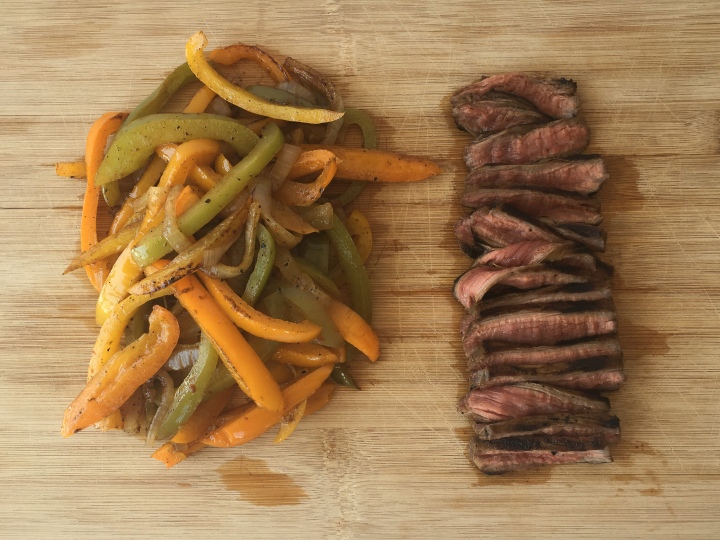
Steak Fajitas

Next Page »

Primary Sidebar

Danielle at Home

Hi, I’m Danielle. I am a twenty something woman working her office job by day and blogging at night! I’m married, a new home owner and I love sharing all my favourite things on this blog. So grab a glass of wine and follow along. I’m so glad you’re here!

SUBSCRIBE & FOLLOW

Pinterest
Instagram
Facebook
Twitter

Footer

Copyright © 2025 Danielle at Home on the Foodie Pro Theme