• Skip to primary navigation
  • Skip to main content
  • Skip to primary sidebar
  • Skip to footer

DANIELLE AT HOME

  • HOME
    • About
    • Contact
  • LIFESTYLE
    • Favourites
    • Goals
    • Home
      • DIY Projects
      • Organization
    • Holidays
      • Christmas
      • Easter
      • Halloween
      • New Years
      • Thanksgiving
      • Valentine’s Day
      • Gift Guides
  • STYLE
  • WELLNESS
  • FOOD + DRINK
    • Appetizers
    • Breakfast
    • Dessert
    • Drinks
    • Side Dishes
    • Snacks
    • Holiday Recipes
      • Christmas
      • Cinco De Mayo
      • Easter
      • Father’s Day
      • Halloween
      • Mother’s Day
      • New Years
      • St. Patrick’s Day
      • Thanksgiving
      • Valentine’s Day

Thanksgiving

Cheddar Drop Biscuits

July 1, 2020 by Danielle Leave a Comment

This post was originally published on September 6th, 2018.

On Sunday’s I like to go all out an make a really delicious dinner. I make lots of sides and sometimes I even make dessert, all from scratch. We have a nice glass of wine and linger at the table a little longer then normal. This is one of our favourite weekend traditions. These biscuits are a highly requested Sunday night side. They go well with just about everything.

Easy Cheddar Biscuits

Super Simple Cheddar Biscuits

These biscuits are so savoury and delicious. They’re rich yet light and so easy to make. The chives in these biscuits add a delicious light onion flavour to these biscuits that pairs really well with cheese in these biscuits. Plus the chives cut the richness in the biscuits and add a freshness.

I love to serve these at a bbq, but I’ve brought these to thanksgiving before and they were a big hit. They’re also super delicious with chicken soup. And if there are leftovers they go great with eggs and bacon for breakfast! I’ve even make these in a large size and used them for egg sandwiches (so yummy!).

Cheddar Biscuits

These biscuits are also super easy to make. They only use one bowl and since they are drop biscuits there’s not rolling and cutting. Just scoop them out, and drop them on the tray! So dang easy and such a crowd pleaser. Let me know if you try these, I’m sure you’ll love them!

Danielle xo

Cheddar Biscuits

Cheddar Drop Biscuits

Cheesy, buttery drop biscuits. The perfect side year round.
Print Recipe Pin Recipe
Prep Time 10 minutes mins
Cook Time 15 minutes mins
Total Time 25 minutes mins
Servings: 12 biscuits
Course: Side Dish
Cuisine: American
Ingredients Method Notes

Ingredients
  

  • 2 cups all purpose flour
  • 2 tsp sugar
  • 2 tsp baking powder
  • 1/2 tsp baking soda
  • 1/2 tsp salt
  • 1/4 tsp black pepper
  • 1/4 tsp garlic powder
  • 1/2 cup salted butter, cubed
  • 1 cup cheddar cheese, shredded
  • 1 cup milk
  • 2 tbsp salted butter, melted
  • 2 tbasp chives, chopped

Method
 

  1. Preheat oven to 425 degrees. Line a baking sheet with parchment paper, set aside.
  2. In a large mixing bowl whisk together flour, sugar, baking powder, baking soda, salt, pepper and garlic powder. Add butter and cut into mixture using a pastry cutter or fork until butter is coated in flour and is the size of peas. Add in cheddar cheese, chives and stir to combine. Pour in milk and stir until mixture comes together.
  3. Scoop dough out a heaping 1/4 cup of dough per biscuit. Space evenly on baking tray. Bake for 12 minutes. Brush with melted butter and return to the oven for 3 minutes or until tops are golden brown. Serve warm.

Notes

Adapted from Cooking Classy


Vegan Pumpkin Pie Smoothie

October 14, 2019 by admin Leave a Comment

Happy Thanksgiving! I hope you all are enjoying your holiday weekend with family and lots of pumpkin pie! Today I thought I would share my Pumpkin Pie Smoothie. It’s creamy delicious, tastes like desert, but packed with healthy ingredients. Sweetened with maple syrup and it’s entirely dairy free! So yummy it can pass as breakfast or dessert!

Vegan Pumpkin Pie Smoothie!

For this recipe I use pumpkin puree, this is the unsweetened pure mashed pumpkin. That’s what you want for pretty much every recipe out there. We will add our own spices and sweetener. Pumpkin is full of Vitamin A and Vitamin C, it’s also super nutrient dense so it’s perfect for a smoothie.

I use a frozen banana in this recipe to keep the smoothie creamy and super cold. You won’t really taste it but it adds natural sweetness and keeps things cold. The sweetener for this recipe is maple syrup, being Canadian maple syrup screams Thanksgiving for me, but you could toss in a date or two if you’re really watching your sugar source. And of course no pumpkin pie would be complete without a little pumpkin pie spice, here’s a link on how to make your own blend if you can’t find it in the store.

Last but not least lets talk dairy, now something you don’t know is I’m actually about 80-90% dairy free. I cut dairy for my skin, but theres still a few things I can’t give up, like cheese. So I only have dairy when it’s truly worth it to me, like on holidays or in my very favourite dishes. Since we eat at other peoples homes so much this time of year I’m strict on dairy when I’m cooking for myself. This recipe is make with almond milk, coconut yogurt (this is the best brand I’ve found!) and coconut whipped cream ( I use this one, so yummy). Of course it will taste delicious with dairy products, but I thought I’d share just incase you struggle with dairy as well.

Vegan Pumpkin Pie Smoothie!

As for the process for this recipe, well it’s pretty simple. Dump, blend, top and enjoy!

My husband was super skeptical of pumpkin in a smoothie, would it taste good, would it be too healthy tasting, or to make it delicious would it be so sugary that it really shouldn’t be eaten at breakfast? In the end he was really impressed!

This really is a must try for the fall and I hope you enjoy it as much as I do!

Vegan Pumpkin Pie Smoothie!

Vegan Pumpkin Pie Smoothie

The creamy, delicious flavour of pumpkin pie without the guilt. A perfect festive breakfast, or a guilt free dessert!
Print Recipe Pin Recipe
Prep Time 5 minutes mins
Total Time 5 minutes mins
Servings: 2 small smoothies
Course: Breakfast, Dessert
Cuisine: American
Ingredients Method Notes

Ingredients
  

  • 1/2 cup pumpkin puree
  • 1/4 cup dairy free yogurt (I use coconut yogurt)
  • 1/2 frozen banana
  • 1 tbsp real maple syrup (more or less to taste)
  • 1/2 tsp pumpkin pie spice
  • 1 cup nut or dairy free milk (I used almond)
  • prepared coconut whipped cream (optional)

Method
 

  1. Add pumpkin, yogurt, banana, maple syrup, spices, and milk to a blender. Blend until smooth. Pour into glasses and top with coconut whipped cream if desired.

Notes

This recipe makes two small smoothies, or one large one. When I make this for breakfast I have one large one without whip.
 
Optional add ins/swaps:
  1. If you eat dairy feel free to use regular yogurt and milk.
  2. Swap maple syrup for a date if you want a more natural sugar source.
  3. Add flax, chia or hemp hearts to increase nutrition.
  4. Protein powder can be added if desired.

Spiced Pear Galette with Maple Whipped Cream

October 1, 2019 by admin Leave a Comment

My first dessert recipe of fall is a spiced pear galette! And it’s topped with yummy maple whipped cream, I’m so excited to share it!

Fall and winter desserts are my favourite. Rich chocolates, spiced fruit and delicious pumpkin are by far my favourite flavours for dessert. So today I thought I would share a galette. It’s a fun and super simple twist on the classic fall apple pie!

Spiced Pear Galette

A galette is essentially a freeform pie with only a bottom crust, it’s insanely easy and totally forgiving. It’s a rustic dessert, the edges should be jagged and rough. If you’ve even made pie you know that sometimes it’s not easy to get the dough perfectly rolled and placed. Although some of my ugliest pies have been the most delicious!

I chose pears for this dessert simply because they are one of my favourite fruits, there delicious and just don’t get as much attention as apples this time of year. I only started baking with them over Christmas last year, but I was blown away with the flavour they bring to a dessert. They’ve always been a favourite snack but now there a favourite dessert!

Spiced Pear Galette
Spiced Pear Galette
Spiced Pear Galette

I decided to leave the skin on the pears in this dish, I find pear skin much softer then apple so I didn’t think it would be a problem. Plus it’s much prettier this way in my opinion.

Now as for the spice mix, I just used a classic apple pie spice, if you can’t buy the mix in store here’s a link to how to make it. I could have played around with the spices more but I really wanted a classic flavour with a twist. So I used lots of apple pie spice.

Now the whipped cream! Of course you could top your galette with deliciously creamy vanilla ice cream, but I thought a flavoured whipped cream would be better for this yummy dessert. So I added maple syrup instead of sugar to heavy whipping cream. It’s so yummy I now want to put it on everything!

This dessert would be perfect for Thanksgiving, or just a simple Sunday dinner. I hope you give it a try and love it as much as I do!

Spiced Pear Galette with Maple Whipped Cream

Spiced pear filling on top of rustic buttery pastry, finished with slightly sweet maple whipped cream.
Print Recipe Pin Recipe
Prep Time 20 minutes mins
Cook Time 30 minutes mins
Chilling Time 1 hour hr
Total Time 1 hour hr 50 minutes mins
Servings: 6
Course: Dessert
Cuisine: American, French
Ingredients Method Notes

Ingredients
  

Crust
  • 1 1/3 cup all purpose flour
  • 1 tbsp sugar
  • 1/2 tsp salt
  • 1/4 cup butter, cold and cubed
  • 1/4 cup shortening, cold and cubed
  • 4-8 tbsp ice water
Filling
  • 3-4 small pears, sliced (1/8 inch thick)
  • 2 tbsp brown sugar
  • 3/4 tsp apple pie spice
  • 1 tsp corn starch
  • pinch salt
  • 1 egg, beaten
  • turbinado sugar
Maple Whipped Cream
  • 1 cup heavy cream
  • 2 tbsp maple syrup (high quality)

Method
 

Crust
  1. Whisk, flour, sugar and salt together in a medium bowl. Add shortening and butter. Using a pastry cutter or two forks cut the fat into the flour until it is the size of peas. Slowly add ice water 1-2 tbsp at a time until a ball starts to form.
  2. Form dough into a disk, wrap and place in the fridge for 1 hour
Filling
  1. Pre heat oven to 425 °F. Line a rimless baking sheet with parchment and set aside.
  2. Combine sliced pears, sugar, apple pie spice, corn starch and salt in a bowl.
  3. Flour the parchment lined baking sheet, roll pie dough out into a 9 inch rustic circle. Arrange pears in the centre of the dough leaving a 2-3 inch border. Fold border over fruit.
  4. Egg wash the folded dough and sprinkle with turbinado sugar. Bake for 25-30 minutes, until fruit is cooked and crust is browned. Remove and allow to cool for at least 10 minutes before serving.
Whipping Cream
  1. In a high sided bowl whip cream on high using a hand mixer. Continue to whip until soft peaks form, about 3-5 minutes. Add maple syrup. Whip for another 30 seconds to combine on medium high.
  2. Serve galette slightly warm or at room temperature with a large helping of maple whipped cream.

Notes

Adapted from Grandma’s Berry Pie
Spiced Pear Galette and Maple Whipped Cream

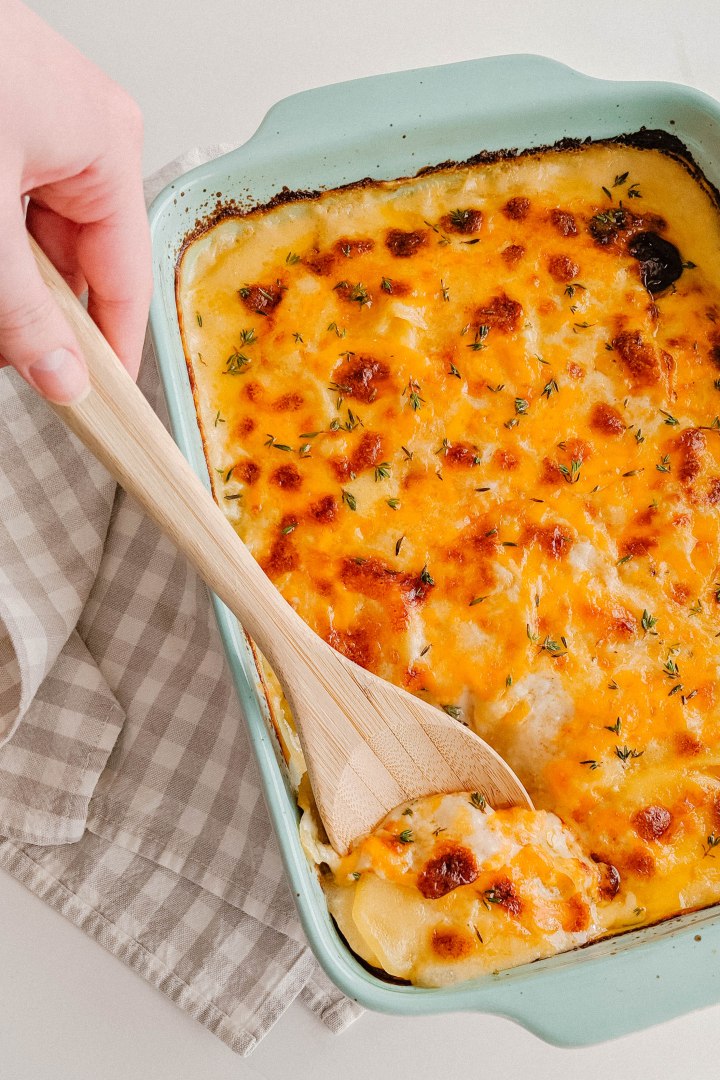
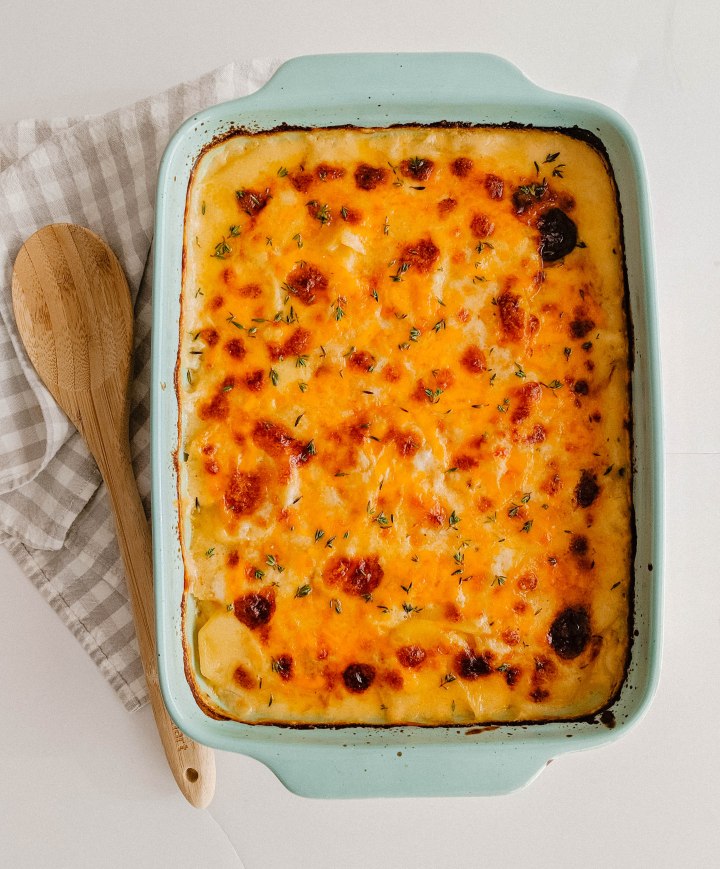
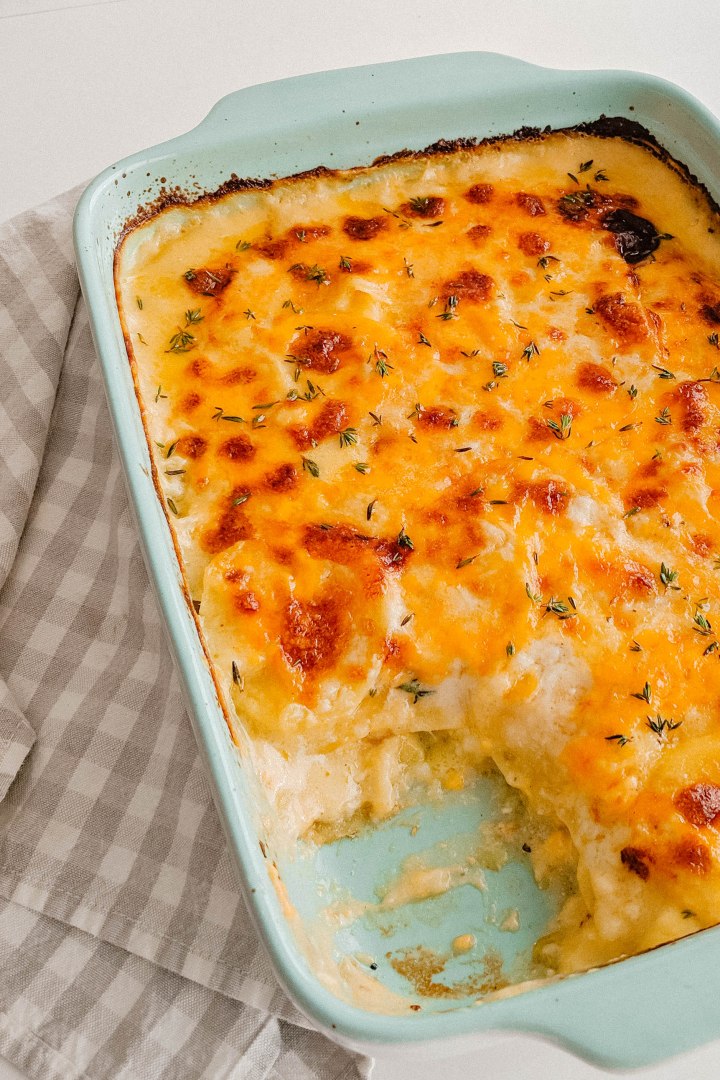
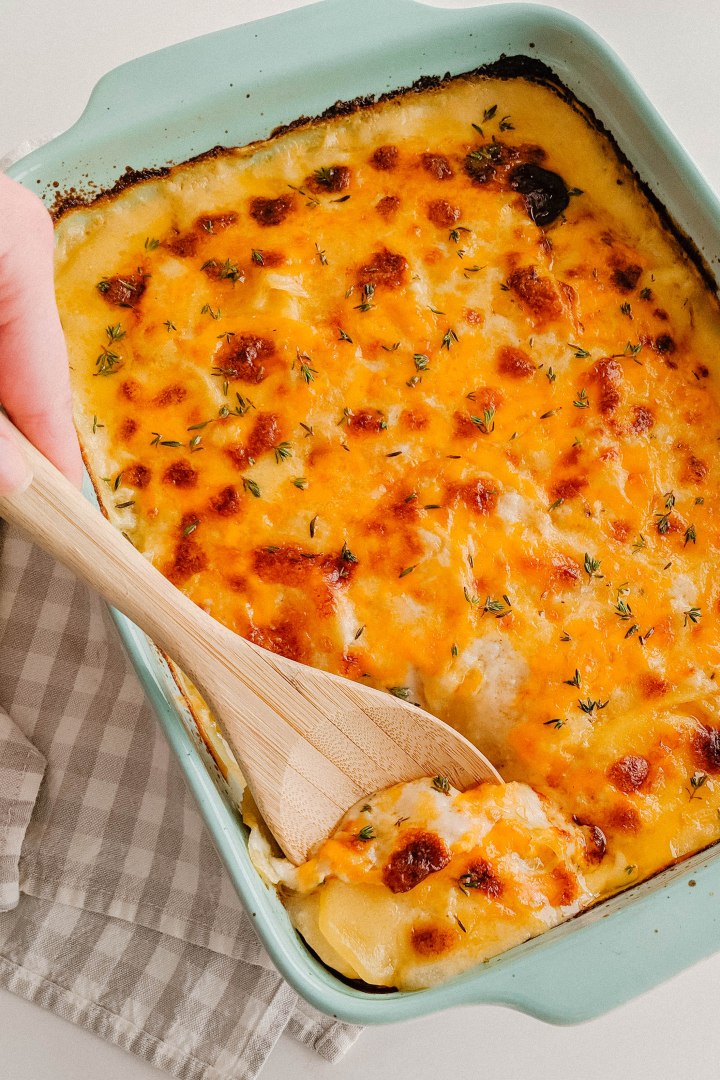
Scalloped Potatoes

April 5, 2019 by Danielle Leave a Comment

The perfect Easter side dish.

IMG_20190317_172403

Ok this recipe is a real winner. Scalloped potatoes are so yummy. I didn’t grown up eating scalloped potatoes with Easter dinner. My Grandma hates cheese (crazy right?!) so a potato dish covered in cheese just wasn’t on our table. But in my house we love cheese and potatoes and my hubby loves anything smothered in a creamy sauce. That means this recipe is a serious winner!

Layers of potatoes smothered in a creamy sauce , sautéed onions and more cheese than your diet would ever allow. This is comfort food people. It’s for special occasions not everyday.

IMG_20190317_172243IMG_20190317_172536

I’ve got a few tips for making this recipe and then we can get into making (and eating) this deliciousness!

Ok first things first cut those potatoes thin! As thin as you can. Personally I use a mandolin. They are really great at this job. This is the one I have. I love it because its small but effective. I use setting number two!

Secondly the type of potato. You can use russets but I like using a yellow potato. They hold their shape better after a long cook time and overall I prefer their flavour.

Slow cook your onions. This is a must! I’m super impatient but for this dish you can rush cooking your onions. You want them soft, translucent and not even a little brown. If they brown they will discolour your cream sauce.

Layering. Add sauce and cheese in between each layer of potatoes. Now depending how thin you cut your potatoes you will have approximately 4-6 layers of potatoes. Spoon a small about of sauce over each layer and sprinkle a small amount of cheese over each layer.

Now lets get into this delicious recipe!

IMG_20190317_172358.jpg

Scalloped Potatoes

Yields: 12 servings

Ingredients:

  • 3 tbsp Butter
  • Yellow Onion, thinly sliced into half moons
  • 4 Garlic Cloves, minced
  • 1/4 cup All Purpose Flour
  • 1 cup Vegetable Broth (you can use chicken)
  • 2 cups Milk (I use 2%)
  • 1 1/2 tsp Salt
  • 1/2 tsp Pepper
  • 1 tsp Fresh Thyme, chopped
  • 4 pounds Yellow Potatoes, peeled and sliced 1/8 inch thick
  • 2 cups Old Cheddar Cheese, grated
  • 1/2 cup Fresh Parmesan Cheese, grated

Directions:

Preheat oven to 400°F.

In a large sauté pan melt butter over medium low heat. Add onions sauté until soft and translucent, about 6-7 minutes. Add garlic and cook until fragrant. Add flour to the pan. Cook flour and onions for about a minute. Slowly add vegetable stock, stir constantly until a thick but smooth sauce forms. Slowly add milk to sauce, stir until smooth. Add salt, pepper and thyme. Cook over low heat for 5 minutes to thicken slightly. Set aside.

Line a 13×9 inch baking dish with a layer of potatoes. Top with 1/3 cup sauce (approx.) and onions. Sprinkle 1/4 cup cheese over sauce. Continue to layer potatoes until complete. Pour the remaining sauce over the top layer of potatoes. Sprinkle with remaining cheese.

Cover pan with foil and bake for 30 minute. Remove foil and bake for an additional 30-40 minutes until the top is brown and the potatoes are cooked though.

Remove from the oven and let cool for 5 minutes before serving. Top with additional thyme and cheese if desired.

Recipe adapted from Gimme Some Oven.

Scalloped Potatoes copy

Garlic and Thyme Roast Potatoes

December 4, 2018 by Danielle 1 Comment

IMG_20181123_183128

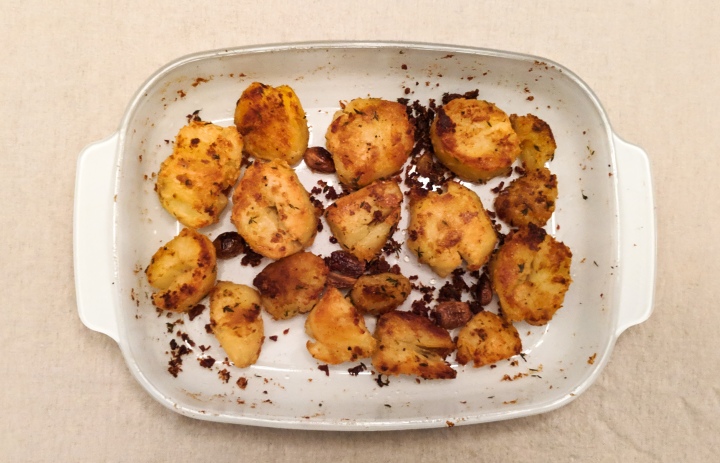
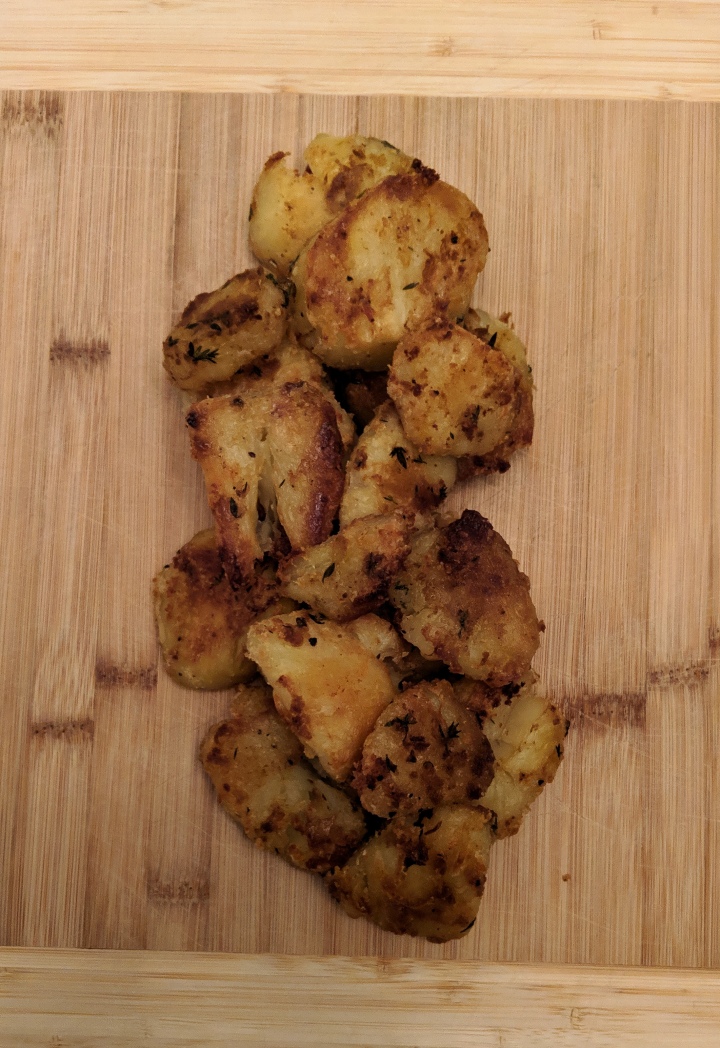
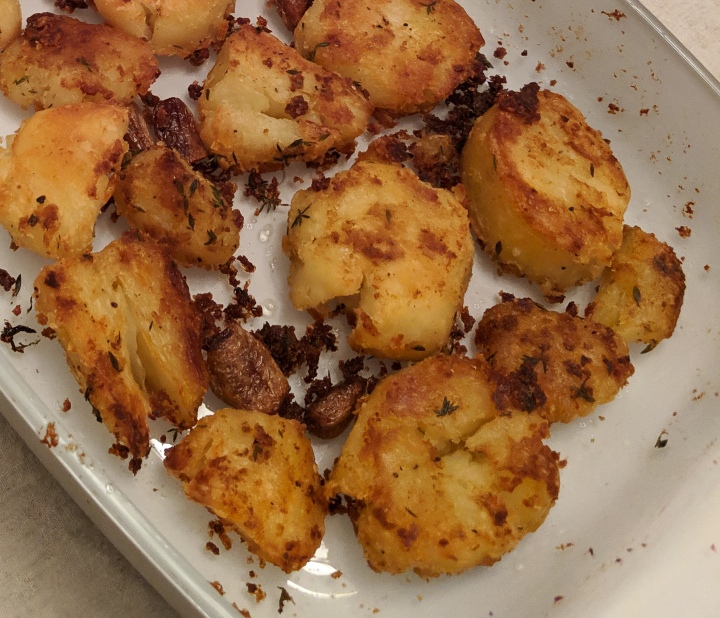
Ok so I know these aren’t the prettiest pictures, but this is an amazing recipe so I had to share it anyway. This recipe is for a classic English roast potato, kicked up a notch with garlic and thyme. They were so tasty!

This is a riff on my Mom’s roast potatoes. She always makes them with roast beef dinner and they are amazing! She even get chunks of beef fat from the butcher to roast her potatoes in… just like her mom did. Personally that’s a bit much or me. Plus I like to try to make as many side as I can vegetarian, so everyone can enjoy.

I like to use half butter and half olive oil to roast my potatoes. This way you get delicious flavour from the butter, but a slightly higher smoke point for the oil. This will help stop things from burning. And both make for a crispy potato! Yum!

IMG_20181123_183424_1.jpg

This recipe calls for russet potatoes.. I have not experimented with any other type of potato. This is what my mom and Grandma used, so why mess with a good thing?

The most important part about working with potatoes is to let them steam in the colander after cooking,  this is the only way you will get crispy potatoes.

The second rule of this recipe is patience. These potatoes roast for an hour and a half! Yes they do! It takes a long time to get the texture of a signature roast potato! Believe me when I say it is so worth the wait. Patience is a virtue right…. And believe me it will all be worth it!

IMG_20181123_183131

Garlic and Thyme Roast Potatoes

Serves: 6

Ingredients:

  • 5 Russet Potatoes
  • 2 Tablespoons Butter, melted
  • 3 Tablespoons Olive Oil
  • 1 Bunch Thyme
  • 6 Garlic Gloves
  • Salt and Pepper

Directions:

Preheat the oven to 375°F.

In a large pot of salted water, boil potatoes for 8 minutes. Strain potatoes and set aside to steam for 5 minutes.

In a large baking dish or roasting pan add butter and oil (2 tbsp each). Place in your preheated oven for a few minutes until butter is melted (2-5 mins). Remove pan from the oven and add potatoes. Season liberally with salt and pepper, and toss to coat in fat. Roast in the oven for 30 minutes.

In a small bowl place garlic cloves. Tear thyme bunch in half or thirds and add to bowl. Drizzle with oil (about a tbsp). Toss to coat. Remove potatoes from the oven and sprinkle garlic and thyme over the pan. Give the pan a good shake to evenly distribute and return to the oven. Bake for an additional hour.

Remove from the oven and serve immediately…. hopefully with lots of gravy!

Adapted from Jamie Oliver


Baked Brie Braid – 2 Ways!

November 27, 2018 by Danielle Leave a Comment

It’s officially the holiday season, so you know what that means. Lots of holiday entertaining! Today I’ll be sharing a super quick and easy appetizer idea for your next party.

Baked Brie Braids are the perfect way to impress your guests without a lot of effort. It looks fancier then your standard cheese wheel, but it really doesn’t take much effort. I’ll admit it’s barely a recipe.

The two flavours of Bakes Brie Braids I’m sharing today are a classic fig jam and a savoury sun-dried tomato pesto. This couldn’t be easier since all you have to do is assemble and bake… like I said barely a recipe.

Even though it’s crazy easy it’s also crazy delicious and is a really show stopper at any party! Put it alongside some roasted cashews and you’re ready for cocktails!

Baked Brie Braid – 2 Ways

Serves: 8-10

Ingredients:

  • 2 Sheets Puff Pastry
  • 6-8 Slices of Brie Cheese
  • 2 Tablespoons Fig Jam
  • 2 Tablespoons Sun-dried Tomato Pesto
  • 1 Egg, beaten
  • Optional: Pine Nuts or Walnuts for garnish 

Directions:

Preheat the oven to 400 °F. Line a baking sheet with parchment paper and set aside.

Gently mark your puff pasty with a knife to section off the pastry into thirds vertically. Do not cut through the pastry.

Spread fig jam down the center of the puff pastry. Top with 3-4 slices of brie. Using a small knife cut the outer sections of the puff pastry into 1 inch strips. Fold the strips into the centre to cover the cheese and jam, alternating sides to form a braid. Brush the braid with egg wash.

Repeat the steps with the sun-dried tomato pesto.

Place the two braids on the prepared baking sheet. Bake for 25 minutes or until the puff pastry is golden brown. Remove from the oven and top with nuts if desired. Allow to cool for 5 minutes before serving.

Adapted from Entertaining With Beth.

You may also like…

Warm Sweet & Salty Cashews
Next Page »

Primary Sidebar

Danielle at Home

Hi, I’m Danielle. I am a twenty something woman working her office job by day and blogging at night! I’m married, a new home owner and I love sharing all my favourite things on this blog. So grab a glass of wine and follow along. I’m so glad you’re here!

SUBSCRIBE & FOLLOW

Pinterest
Instagram
Facebook
Twitter

Footer

Copyright © 2025 Danielle at Home on the Foodie Pro Theme