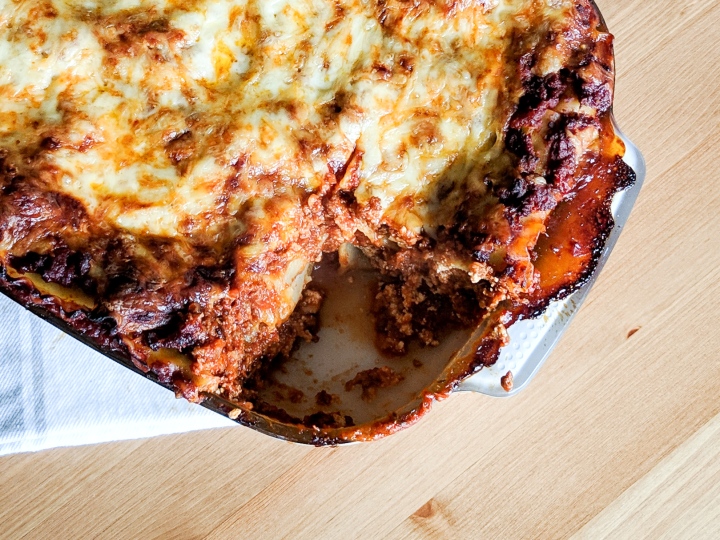
Seriously delicious and very comforting!
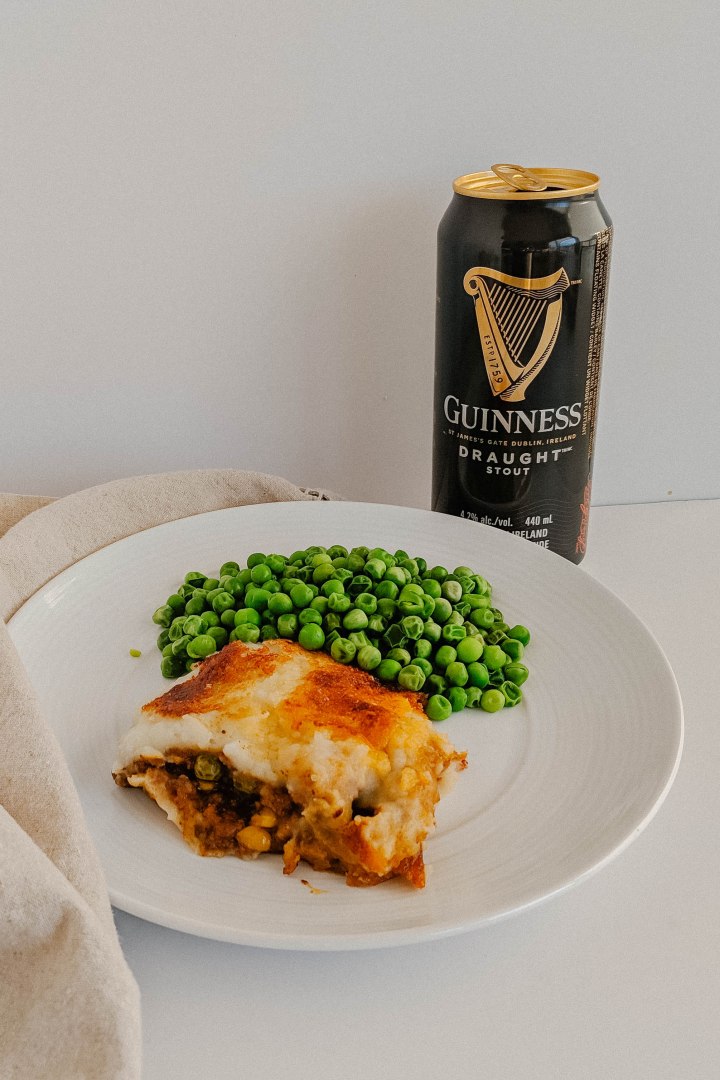
St. Partick’s day is just over a week away. On Wednesday I shared my St. Patty’s party fav’s and now I’m sharing the perfect meal to serve at your party! It also has Guinness in it which adds a nice festive twist! Not only is this recipe great if your hosting people for St. Patrick’s day, but it’s also amazing for dinner year round. It’s delicious, filling and comforting.
When I was a kid my mom used to make shepherd’s pie out of leftover roast beef. It’s so good that way but today I’m using ground beef since it’s easy and readily available. Did you know that technically when you use beef you’re making cottage pie. Seriously lamb is traditionally used in shepherd’s pie. It gets it’s name from the shepherd’s who tend to the sheep. But since I know it as shepherd’s pie that’s what we’re going with.
The first time I made Shepherd’s pie it was a failure. It was dry and tasteless. Since then I’ve discovered a few very important secrets to making a delicious Shepherd’s pie. First things first you need to make a thick flavourful gravy. Nothing is worse than dry filling. Cook down onions, garlic and carrots to create a flavourful base. brown off your ground beef add flour to thicken and then deglaze with Guinness. Seriously this creates an insane amount of deep flavour. Then add beef broth to create a thick luscious gravy.
The other tip I have is to make a super flavourful spreadable mashed potato. You need pretty loose mashed potatoes. You want them to still be soft and smooth when you eat them. Since they have to go in the oven if you dont add enough butter and milk they will really dry out. Also adding parmesan or another cheese can’t hurt either!
This recipe is seriously delicious and a must make for St. Patrick’s day, or any day!

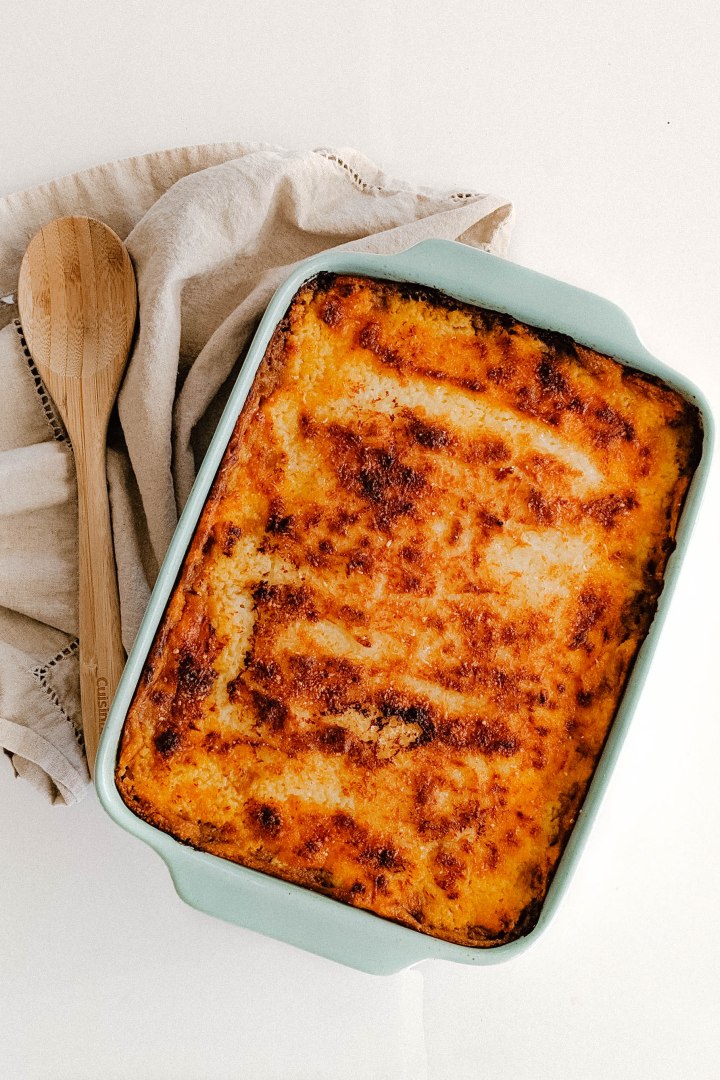
Guinness Shepherd’s Pie
Yields: 6 servings
Ingredients:
Filling:
- 2 tbsp Olive Oil
- 2 Garlic Cloves, minced
- 1 Onion, diced
- 2 Carrots, diced
- 1 tsp Dried Thyme
- 1 tsp Dried Rosemary
- 1.5 lbs Extra Lean Ground Beef
- 1/4 cup All Purpose Flour
- 1/4 cup Tomato Paste
- 1/2 cup Guinness
- 2 cups Beef Broth
- 1 Beef Bouillon cube
- 1 tbsp Worcestershire Sauce
- Salt and Pepper, to taste
- 1 cup Frozen Peas
- 1 cup Frozen Corn
Mashed Potato
- 2 lbs Russet Potatoes, peeled and quartered
- 3/4 cup Milk (I used 2%)
- 1/4 cup Butter, melted
Topping
- 3 tbsp Parmesan Cheese, grated
- 2 tbsp Butter, melted
Directions:
In a large skillet over medium heat warm oil. Add onion, cook for 1 minute. Add carrots, cook for 1 minute until starting to soften and brightening in colour. Season with salt and pepper. Add garlic and cook for an additional 3 minutes until vegetables are soft.
Turn heat up to medium high and add ground beef. Break into small pieces and cook until browned.
Add flour, stir and cook for one minute to remove the raw four taste. Add tomato paste, bouillon cube, Worcestershire sauce, thyme and rosemary. Mix seasoning into meat until well distributed. Deglaze the pan with Guinness. Scrape brown its off the bottom of the pan until the beer cooks don and the pan becomes mostly dry again.
Add beef broth to the pan. Continue to scrape the pan to release the brown bits. Bring the mixture to a simmer, turn down the heat to low. Cook for 20 minutes, string occasionally. A thick gravy will develop. Taste gravy, add additional salt and pepper if desired. Stir in peas and corn. Cook for an additional 3-5 minutes to defrost the vegetables.
Cool the mixture and place in the fridge until ready to use.
Place potatoes in a large pot, cover with water, season with salt and bring to a boil. Cook for 15 minutes until the potatoes are fork tender.
Drain potatoes. Leave in the colander to dry for 5-10 minutes. In the mean time melt the butter in the microwave and measure out the milk. Return the potatoes to the pot. Using a potato masher or a hand mixer mash the plain potatoes. Add half the butter and milk to the potatoes, mash together. Check the consistency. The potatoes should be looser then regular mashed potatoes. They should be spreadable but not runny. Continue to add milk and butter until the mashed potatoes reach the desired consistency.
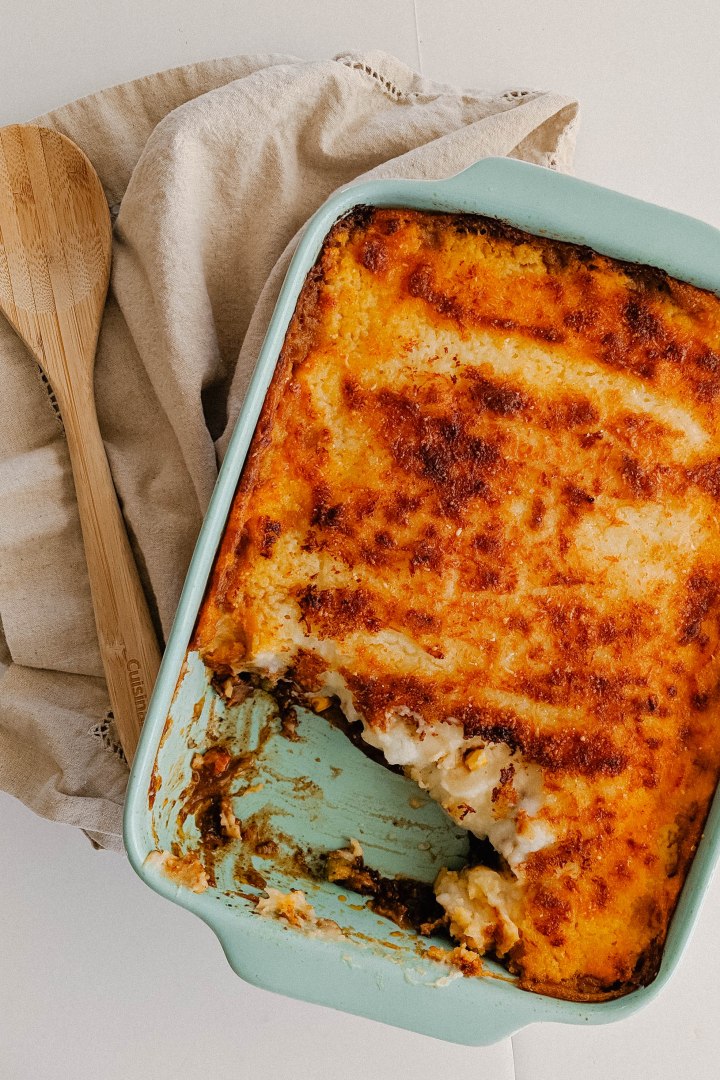
Preheat the oven to 350°F. Pour filling into a 9×11 inch baking pan, spread evenly. Spread mashed potatoes out evenly to cover the filling. Sprinkle parmesan cheese over the potatoes evenly. Spoon melted butter evenly over potatoes. Bake for 45 minutes or until the filling is bubbling and the top is golden brown.
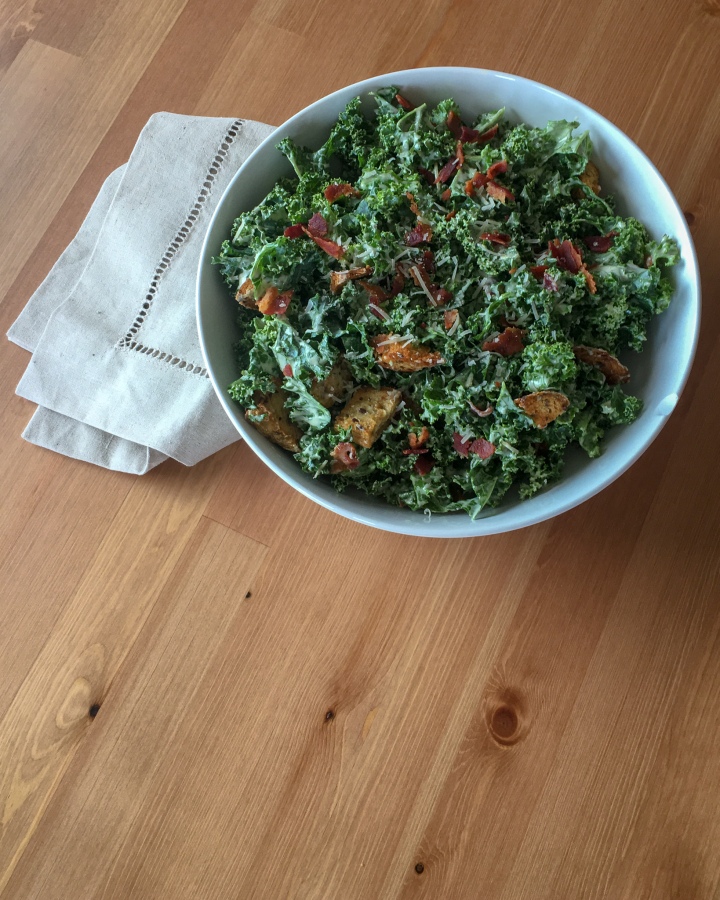
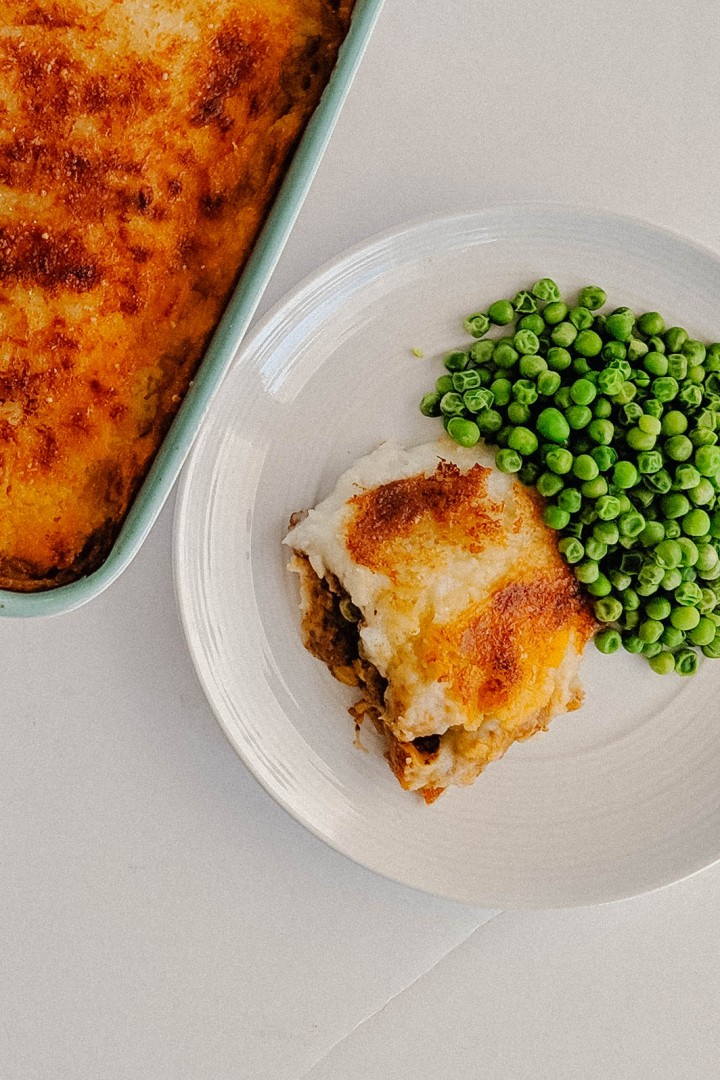
Allow to cool for 10-15 minutes to make serving easier. Serve with peas or a side salad.
Adapted from RecipeTin Eats.