• Skip to primary navigation
  • Skip to main content
  • Skip to primary sidebar
  • Skip to footer

DANIELLE AT HOME

  • HOME
    • About
    • Contact
  • LIFESTYLE
    • Favourites
    • Goals
    • Home
      • DIY Projects
      • Organization
    • Holidays
      • Christmas
      • Easter
      • Halloween
      • New Years
      • Thanksgiving
      • Valentine’s Day
      • Gift Guides
  • STYLE
  • WELLNESS
  • FOOD + DRINK
    • Appetizers
    • Breakfast
    • Dessert
    • Drinks
    • Side Dishes
    • Snacks
    • Holiday Recipes
      • Christmas
      • Cinco De Mayo
      • Easter
      • Father’s Day
      • Halloween
      • Mother’s Day
      • New Years
      • St. Patrick’s Day
      • Thanksgiving
      • Valentine’s Day

Winter

Spaghetti & Meatballs

February 2, 2019 by Danielle 3 Comments

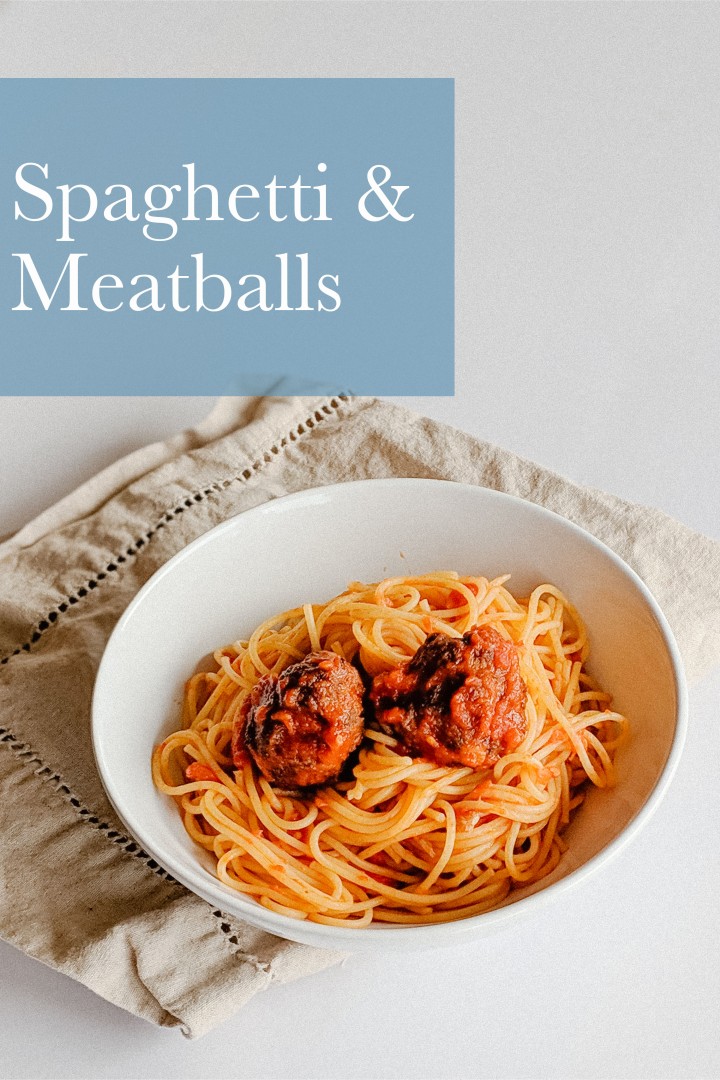
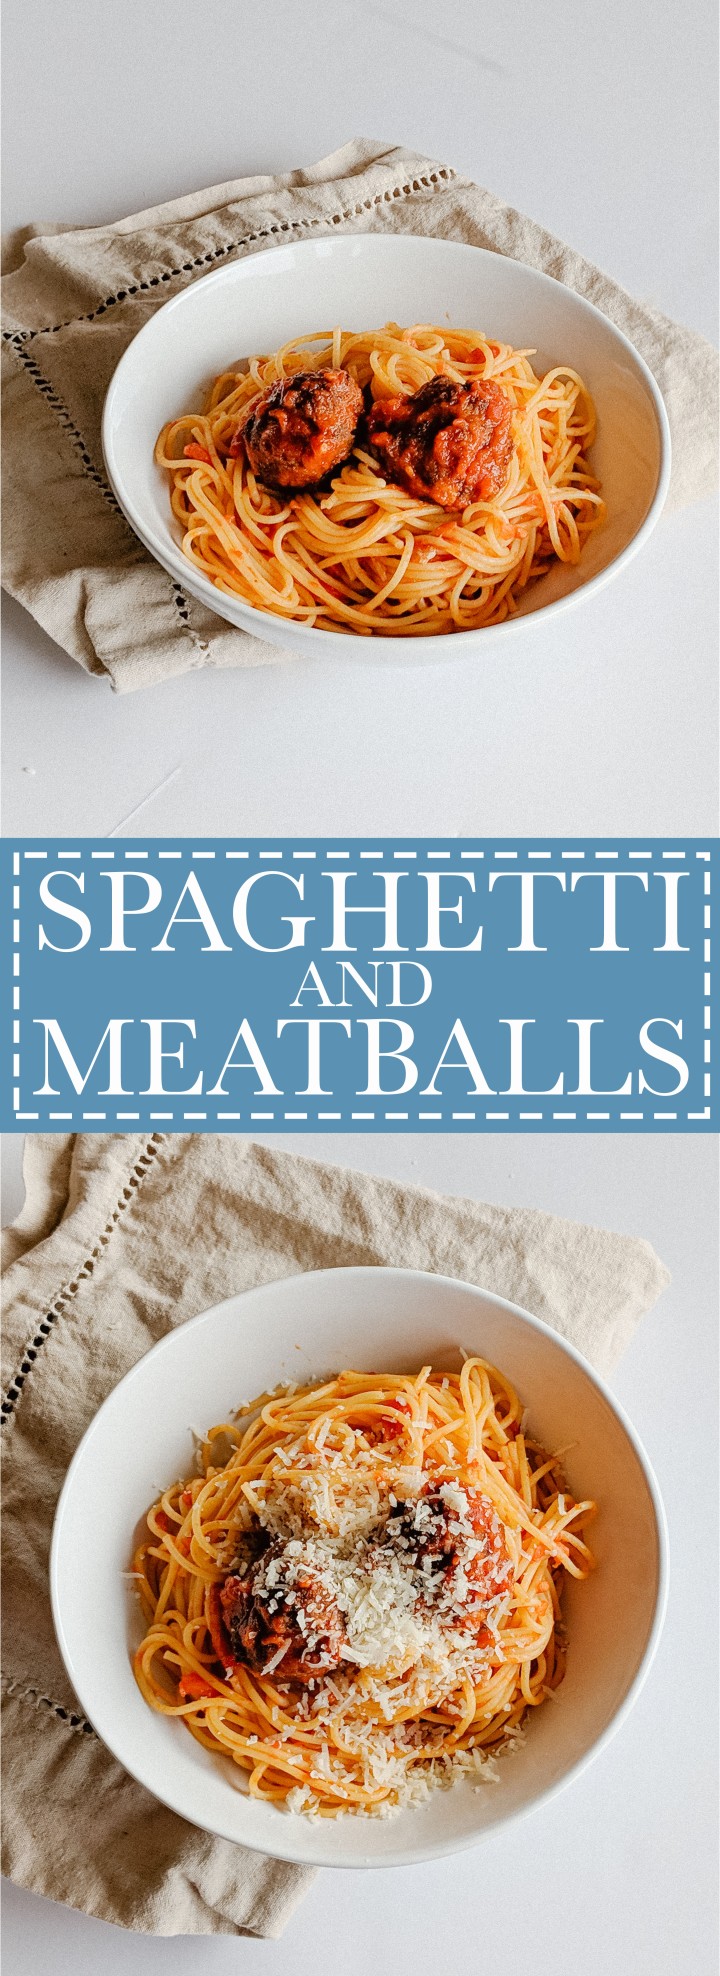
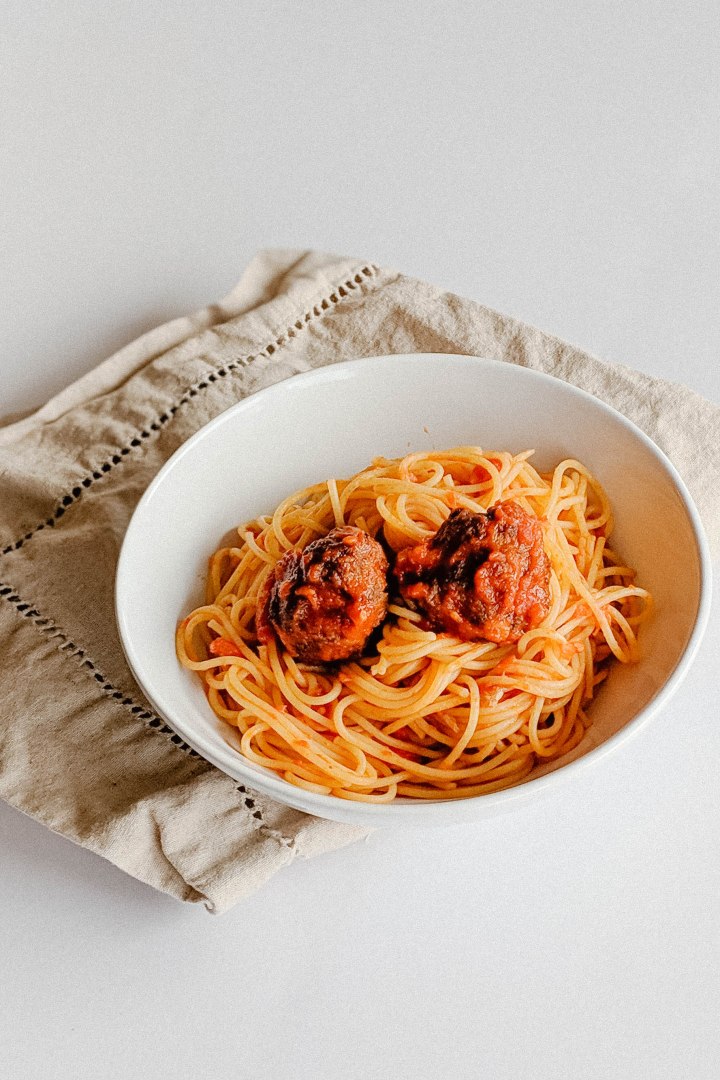
Flavour packed meatballs smothered in tomato sauce served on top of spaghetti.

00100dPORTRAIT_00100_BURST20190118141428913_COVER.jpg

I am constantly searching for dinner ideas that can be made ahead and frozen. Freezer meals save me during the week. I love spaghetti and meatballs. It’s such a classic comforting meal.

I like a flavour packed and tender meatball. I fill my meatballs with ground beef, sausage, herbs and parmesan cheese. They are baked not fried. I like to bake mine on a wire rack so that excess fat can be rendered off. This makes the meatballs really tender on the inside and crispy on the outside.

This recipe makes 24 meatballs, so I freeze what we won’t eat and pull the meatballs out portion by portion as we need them. It’s perfect since I always have spaghetti and pasta sauce on hand. Add a side salad and you have a complete meal in 20 minutes. I don’t know about you but I need more meals like this in my life!

As for the sauce. I keep it super simple fresh and flavourful. I like the meatballs to shine in this one. They have such a delicious flavour I didn’t want a heavy marinara sauce to overpower it. If you want to keep it super simple buy a really good marinara sauce doctor is up with garlic and seasonings, tell everyone it’s a family recipe. But if you have the time make your own sauce… it really is better.

00000PORTRAIT_00000_BURST20190118141539424.jpg

Spaghetti and Meatballs

Yields: 24 meatballs

Ingredients:

Meatballs:

  • 1 cup Breadcrumbs
  • 1/2 cup Parmesan, grated
  • 1 tbsp Italian Seasoning
  • 1/4 cup Milk (Use whatever you have on hand – I used 2%)
  • 1 tbsp Tomato Paste
  • 3/4 tsp Salt
  • 1/2 tsp Black Pepper
  • 2 Eggs
  • 2 Garlic Cloves, minced
  • 1 Small Onion, finely chopped
  • 1 pound Extra Lean Ground Beef
  • 1 pound Spicy Italian Sausage, removed from casings

Sauce:

  • 2 28 oz Can Whole Plum Tomatoes
  • 2 tbsp Tomato Paste
  • 2 Garlic Clove, minced
  • 2 tbsp Butter
  • 2 tbsp Balsamic Vinegar

Directions:

Preheat the oven to 400°F. Line a baking sheet with aluminum foil (for easy clean up!), place a wire rack into the baking sheet. Spray the wire rack with cooking spray. Set

In a large bowl mix together breadcrumbs, parmesan, Italian seasoning, milk, tomato paste, salt, pepper and eggs. Stir until thoroughly combined. Add ground beef and sausage. Gently mix all ingredients until combined (you can use a spoon, but your fingers are best.. I know it’s gross, but worth it!)

Roll mixture into 1 1/2 inch balls (about 1 ounce each). Place on the prepared wire rack. Bake for 20 minutes.

Meanwhile, melt butter in a large sauce pan on low. Add garlic to the pan cook for 30 seconds until fragrant and softened. Add tomato paste, heat through for 1 minute. Add canned tomatoes to the pan. Simmer sauce over medium low heat for 10 – 15 minutes. Use a potato masher to crush the plum tomatoes. Add balsamic vinegar and simmer for 5 minutes.

Once the meatballs are cooked through add them to the sauce. Simmer for 5-10 minutes.

Cook spaghetti according to package directions. Drain and toss pasta with tomato sauce.

Serve spaghetti in bowls topped with meatballs. Garnish with parmesan cheese if desired.

Spaghetti and Meatballs - Yum! Classic comfort food!

Winter Grain Salad with Glory Dressing

January 19, 2019 by Danielle 3 Comments

Simple delicious whole food ingredients smothered is the best dressing ever invented.

img_20190106_125638

Happy Saturday guys! I’m popping on here today to share a staple salad and a dressing that can be used to make just about anything taste delicious! This recipe is actually adapted from a recipe my husband got from an old roommate. Many years ago my husband, then boyfriend made us glory bowls for dinner. It was one of the first dinners he ever cooked for me. At this time I was still living at home and honestly hadn’t cooked much, he was the better cook back then. I watched him prep the ingredients, cook rice, grill chicken and make the most amazing dressing. I was so impressed! Since then his recipe for glory dressing has evolved and the scrape of paper the recipe was written on is scribbled with notes and splattered with soy sauce. Isn’t that a sign of a well loved recipe? I think so.

img_20190106_125753img_20190106_125729

The best thing about the recipe I’m sharing today is how customizable it is. Today I’m sharing a simple but hardy salad full of whole grains and delicious vegetables. I’ve added grilled chicken, crispy tofu, sliced steak and soft boiled eggs to this salad to round out the meal. You can also switch up the vegetables, add cucumber and pickled red onion, or ad roasted cauliflower and sweet potatoes. The world is your oyster. This is really just a jumping off point for your own creativity!

Now the dressing, it’s made up of olive oil, tahini, soy sauce, apple cider vinegar, garlic and sesame oil. I recommend making this dressing in a blender or a magic bullet. You can make it by hand, but I like the magic bullet because it emulsifies the oil and makes the dressing super creamy. Also you can skip the step of chopping garlic, because lets be honest chopping garlic is the worst!

Once the dressing is made pick your favourite grain and veggies toppings, assemble and smother with dressing. You won’t regret it!

img_20190106_125728

Winter Grain Salad with Glory Dressing

Yields: 2 cups dressing & 4 salad bowls

Salads:

  • 3 cups Brown Rice, cooked
  • 4 Cups Spring Mix
  • 2 Carrots, raw grated
  • 4 Beets, cooked sliced
  • Optional: chicken, steak, crispy tofu, soft boiled egg

Dressing:

  • 3 tablespoons Tahini
  • 1/2 cup Soy Sauce
  • 1/4 cup Apple Cider Vinegar
  • 1/4 cup Water
  • 2 Garlic Cloves
  • 1 cup Olive Oil
  • 1 teaspoon Sesame Oil

Directions:

Add dressing ingredients to a blender, blend until smooth and emulsified.

Place a bed or rice into bowls or on plates, top with spring mix, sliced beets, grated carrots and optional protein toppings. Drizzle dressing over the salad. Serve immediately.

Dressing keeps up to week in your refrigerator.

You may also like…

IMG_4085

Apple Cheddar Pecan Salad

Winter Grain Salad with Glory Dressing - YUM!

Grapefruit and Ginger Champagne Cocktail

December 28, 2018 by Danielle Leave a Comment

Hi everyone! I’m back to blogging after a little Christmas break. It was so nice to get out of the kitchen and visit with all our family for a few days. It was hectic and I’ll admit I’m still exhausted from travelling but it was well worth it. We had a really great Christmas. I hope you all did too.

Now we’re all in this awkward stage between Christmas and New Years where like isn’t totally normal yet and chocolate and sweets are a main food group. I went back to work the day after boxing day and I will admit that really messes with my post Christmas coma I typically enter into. But it’s almost the weekend and then before we know it it will be New Year’s Eve.

New Years Eve is my jam, but I’m very particular in how I spend it. I’ve been on trips to Mexico, snowboarding, parties, game night and fancy dinners. But the only way we spend our New Years now is at home. We decorate the house, dress down in brand new comfy sweats eat fabulous food and drinking the best cocktails and wines. We play games, watch movies. And our strangest but favourite tradition is eating homemade cinnamon buns and drinking champagne while watching the ball drop at midnight. Then we stay up until 2 am chatting about our hopes, dreams and goals for the next year. It is one of the best nights of the year!

In the past I’ve cooked an elaborate dinner for New Years, but this year I am working, so we are doing appetizers only. I’m planning a charcuteries platter, baked brie, various homemade dips with the best bread in town and all of the homemade puff pastry appetizers in my freezer (yum!). I will be making fresh homemade cinnamon buns for midnight so I thought that keeping it simple with our savoury options was the right choice.

I’m also saving myself time so that I can make some delicious champagne cocktails. The recipe I’m sharing today has been a staple at our New Years Eve celebration for a few years now and I just cant get enough. I think it’s great to leave cranberry and pomegranate behind after Christmas and celebrate the brighter flavours of the season like citrus. Such as grapefruit. I love the colour a ruby red grapefruit gives this cocktail and the addition of ginger ale helps to sweeten things up and give another dimension of flavour. This is perfect for a small party where you have time to make your guests drinks. It is super fun and festive for New Years. I hope you enjoy it.

Grapefruit and Ginger Champagne Cocktail

Yields: 1 cocktail

Ingredients

  • 1 ounce Vodka
  • 1 ounce Ruby Red Grapefruit Juice (blood orange is great too!)
  • 2 ounces Ginger Ale
  • Champagnes
  • Mint Leaves

Directions:

In a champagne flute combine vodka and grapefruit juice. Add ginger ale, then top with champagne. Garnish with mint leaves.

Adapted from Half Baked Harvest.

Brown Butter Shortbread with Maple Glaze

December 22, 2018 by Danielle Leave a Comment

Today’s post is the very last Christmas cookie recipe I will be sharing for 2018. How did this month go so fast? I cant believe Christmas is in just a few days. If you still haven’t checked out week one through three of this series click here, here and here.

Today’s recipe is a variation on shortbread cookies. I know people think they are dry and tasteless, so I’ve added brown butter and brown sugar for a deeper flavour. I also added a delicious maple glaze to make then ever more flavourful.

These cookies are great because you probably already have all the ingredients in your pantry. These are also a slice and bake cookie so there isn’t any rolling and cutting out shapes to do. Slice and bake cookies are so simple to make.

So if you’re up for some more Christmas baking give these or any of the other recipes in this series a try. This is my last recipe post before Christmas, so I hope you have enjoyed all the festive holiday content over the past few months as much as I’ve enjoyed sharing it. Merry Christmas!

Brown Butter Shortbread with Maple Glaze

Yields: 24 cookies

Ingredients:

  • 2 Cups All Purpose Flour
  • 1/4 Teaspoon Salt
  • 1 1/4 Cup Unsalted Butter
  • 2/3 Cup Brown Sugar
  • 2/3 Cup White Sugar
  • 1 Teaspoon Vanilla Extract
  • 1 Cup Confectioners sugar
  • 2 Tablespoons Real Maple Syrup
  • 1 Tablespoon Half and Half
  • Optional: Raw Turbinado Sugar

Directions:

Melt butter over medium heat in a light coloured skillet. Swirl the pan occasionally. Cook until butter browns and has a nutty aroma, 2-3 minutes. pour butter into a bowl and place in the fridge to solidify for about 30 minutes. The brown butter should have a similar texture to softened butter.

Whisk flour and salt together set aside.

In a stand mixer beat the cooled brown butter on high until creamy and smooth. Add white sugar, brown sugar and vanilla, cream until smooth. Add dry ingredients to the mixer and beat on low until just combined.

Form dough into two 8 inch logs. Wrap in plastic wrap and chill for 1-2 hours.

Preheat the oven to 350°F, line baking sheets with parchment and set aside.

Roll the logs of dough in turbinado sugar and slice each log into 12 equal sized pieces. Place cookies on lined baking sheet about 2 inches apart. Bake cookies for 12-14 minutes. Allow to cool on the baking sheet for 5 minutes before transferring to a cooling rack.

In a small bowl combine confectioner sugar, maple syrup and half and half. Drizzle glaze over cooled cookies. Place in the fridge to set.

Adapted from Sally’s Baking Addiction.

You may also like…

Sugar Cookie Snowflakes
Cranberry White Chocolate Oatmeal Cookies

Peppermint Bark

December 18, 2018 by Danielle Leave a Comment

Today marks one week until Christmas….. let that sink in a moment.

Ok how are we all doing? Stressed, excited, organized, overwhelmed? Personally I’m feeling pretty good. I think I have things pretty under control. Since we travel at Christmas I’ve always had to be organized well in advance. And I think this year will be the smoothest… knock on wood. 

Today I am sharing a recipe I have made since I was a kid. I would make this with my mom and brother every Christmas as a kid and it’s still one of my favourites today. Peppermint Bark is seriously simple to make and so delicious. It looks great on a cookie tray, and it’s also a great hostess gift.

It’s so easy you can even make it in the microwave. Don’t we all need easy at the holidays? So give it a try and let me know what you think.

Peppermint Bark

Yields: 1 sheet pan

Ingredients:

  • 16 ounces White Chocolate
  • 8 ounces Milk or Dark Chocolate
  • 1 1/2 teaspoons Coconut Oil, divided
  • 1/4 teaspoon Peppermint Extract
  • 5 Candy Canes, crushed

Directions:

Line a large baking sheet with parchment paper. Set aside.

In a microwave safe bowl melt 6 ounces of the milk chocolate in 30 second intervals (1-2 mins), string in between. Stir in remaining chocolate and 1/2 teaspoon of coconut oil. Spread the chocolate thinly on the prepared baking sheet. Allow to set in the refrigerator for 20 minutes.

Repeat the same melting process with 12 ounces of the white chocolate. Stir remaining chocolate, remaining coconut oil and peppermint extract into the chocolate. Pour chocolate over the set milk chocolate and spread out to cover. Sprinkle crushed candy canes all over the white chocolate. Return bark to the fridge to set for at least 2 hours or overnight.

Once set break bark into sizes of your choosing. Store in an air tight container in your refrigerator for up to 2 weeks. You can also store in your freezer for a few months.

You may also like…

Sugar Cookie Snowflakes

Peppermint Chocolate Cookies

December 15, 2018 by Danielle Leave a Comment

Week three in my Christmas cookie series has arrived! If you missed the last two weeks find those posts here, and here.

This weeks cookie is so so delicious. These cookies are so delicious and rich, there are the perfect chocolate cookie for your Christmas spread. I actually have to make a few more batches of these since we can’t stop eating them!

I love the combination of a chewy brownie like double chocolate cookie, cooling peppermint and rich white chocolate. It truly is perfection. These are also great warmed up and eaten with a fork like a warm brownie. YUM!

Now when it comes to decorating these cookies with white chocolate the world is your oyster. Light drizzle, heavy drizzle. Half dunk, full dunk. Go ahead and do whatever you love. Just remember to work fast so your crushed candy canes will stick! Also did you know you can buy crushed candy canes? I found that out shortly after making this recipe and am so annoyed I wasn’t informed earlier. Crushing candy canes is such a pain. Oh well I guess I can buy pre crushed for next year!

Make sure to come back next week for the final Christmas cookie in this series…. I can’t believe we’re already there!

Peppermint Chocolate Cookies

Yields: 24 cookies 

Ingredients:

  • 1/2 Cup Unsalted Butter, softened
  • 1/2 Cup White Sugar
  • 1/2 Cup Brown Sugar, packed
  • 1 Egg
  • 1 Teaspoon Vanilla Extract 
  • 1 Teaspoon Peppermint Extract
  • 1 Cup All Purpose Flour
  • 1/2 Cup + 2 Tablespoons Unsweetened Cocoa Powder
  • 1 Teaspoon Baking Soda 
  • 1/8 Teaspoon Salt
  • 1 Cup Mini Chocolate Chips
  • 8 Ounces White Chocolate
  • 3 Candy Canes, crushed

Directions:

Using your stand mixer beat the butter on medium speed until smooth and creamy. Add the sugars and beat on medium high speed until fluffy and combined. Mix in the egg, vanilla and peppermint on high speed. 

In a medium bowl whisk the flour, cocoa powder, baking soda and salt together until combined. On low speed add the dry ingredients to the wet and mix until just combined. Beat in the chocolate chips. Cover and chill for at least 3 hours or overnight. 

Preheat oven to 350°F (177°C). Line two large baking sheets with parchment paper. Scoop out dough and roll into balls. Place on the cookie sheet about 2 inches apart. Bake the cookies for 8-10 minutes.  Allow to cool for 5 minutes on the cookie sheet. Then transfer to cooling rack to cool completely.

Melt the white chocolate in the microwave, string in 30 second intervals. Drizzle or dip each cooled cookie in the white chocolate. Sprinkle with crushed candy canes. Repeat for all the cookies. Place in the refrigerator to set completely.

Adapted from Sally’s Baking Addiction.

You may also like…

Sugar Cookie Snowflakes
Cranberry White Chocolate Oatmeal Cookies

« Previous Page
Next Page »

Primary Sidebar

Danielle at Home

Hi, I’m Danielle. I am a twenty something woman working her office job by day and blogging at night! I’m married, a new home owner and I love sharing all my favourite things on this blog. So grab a glass of wine and follow along. I’m so glad you’re here!

SUBSCRIBE & FOLLOW

Pinterest
Instagram
Facebook
Twitter

Footer

Copyright © 2025 Danielle at Home on the Foodie Pro Theme