• Skip to primary navigation
  • Skip to main content
  • Skip to primary sidebar
  • Skip to footer

DANIELLE AT HOME

  • HOME
    • About
    • Contact
  • LIFESTYLE
    • Favourites
    • Goals
    • Home
      • DIY Projects
      • Organization
    • Holidays
      • Christmas
      • Easter
      • Halloween
      • New Years
      • Thanksgiving
      • Valentine’s Day
      • Gift Guides
  • STYLE
  • WELLNESS
  • FOOD + DRINK
    • Appetizers
    • Breakfast
    • Dessert
    • Drinks
    • Side Dishes
    • Snacks
    • Holiday Recipes
      • Christmas
      • Cinco De Mayo
      • Easter
      • Father’s Day
      • Halloween
      • Mother’s Day
      • New Years
      • St. Patrick’s Day
      • Thanksgiving
      • Valentine’s Day

Summer

Grapefruit and Ginger Champagne Cocktail

December 28, 2018 by Danielle Leave a Comment

Hi everyone! I’m back to blogging after a little Christmas break. It was so nice to get out of the kitchen and visit with all our family for a few days. It was hectic and I’ll admit I’m still exhausted from travelling but it was well worth it. We had a really great Christmas. I hope you all did too.

Now we’re all in this awkward stage between Christmas and New Years where like isn’t totally normal yet and chocolate and sweets are a main food group. I went back to work the day after boxing day and I will admit that really messes with my post Christmas coma I typically enter into. But it’s almost the weekend and then before we know it it will be New Year’s Eve.

New Years Eve is my jam, but I’m very particular in how I spend it. I’ve been on trips to Mexico, snowboarding, parties, game night and fancy dinners. But the only way we spend our New Years now is at home. We decorate the house, dress down in brand new comfy sweats eat fabulous food and drinking the best cocktails and wines. We play games, watch movies. And our strangest but favourite tradition is eating homemade cinnamon buns and drinking champagne while watching the ball drop at midnight. Then we stay up until 2 am chatting about our hopes, dreams and goals for the next year. It is one of the best nights of the year!

In the past I’ve cooked an elaborate dinner for New Years, but this year I am working, so we are doing appetizers only. I’m planning a charcuteries platter, baked brie, various homemade dips with the best bread in town and all of the homemade puff pastry appetizers in my freezer (yum!). I will be making fresh homemade cinnamon buns for midnight so I thought that keeping it simple with our savoury options was the right choice.
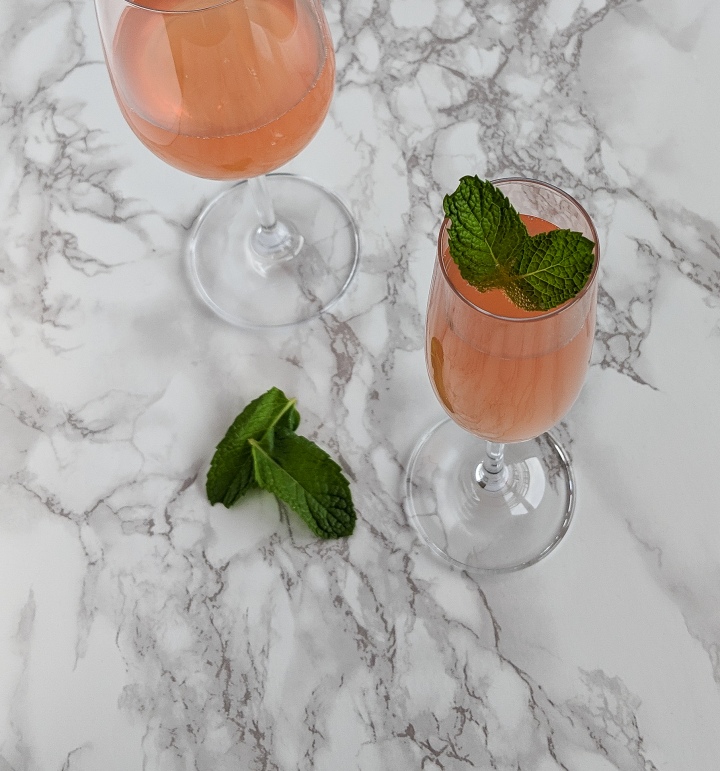
I’m also saving myself time so that I can make some delicious champagne cocktails. The recipe I’m sharing today has been a staple at our New Years Eve celebration for a few years now and I just cant get enough. I think it’s great to leave cranberry and pomegranate behind after Christmas and celebrate the brighter flavours of the season like citrus. Such as grapefruit. I love the colour a ruby red grapefruit gives this cocktail and the addition of ginger ale helps to sweeten things up and give another dimension of flavour. This is perfect for a small party where you have time to make your guests drinks. It is super fun and festive for New Years. I hope you enjoy it.

Grapefruit and Ginger Champagne Cocktail

Yields: 1 cocktail

Ingredients

  • 1 ounce Vodka
  • 1 ounce Ruby Red Grapefruit Juice (blood orange is great too!)
  • 2 ounces Ginger Ale
  • Champagnes
  • Mint Leaves

Directions:

In a champagne flute combine vodka and grapefruit juice. Add ginger ale, then top with champagne. Garnish with mint leaves.

Adapted from Half Baked Harvest.

Pressed Italian Sandwich

October 16, 2018 by Danielle Leave a Comment

IMG_20181012_153239-3

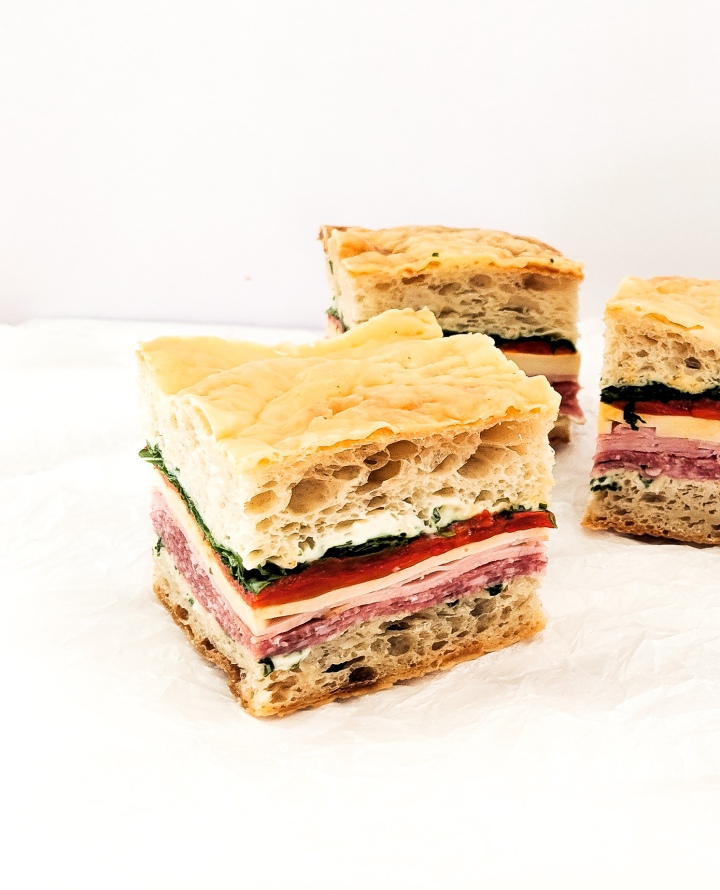
Italian and salami subs are my absolute favourite kind of sandwich. So last week when I discovered the most amazing asiago ciabatta bread I knew I have to combine this amazing bread with the fillings of my favourite sub. While looking for a little inspiration I came across Italian pressed sandwiches. I immediately wanted to try one.

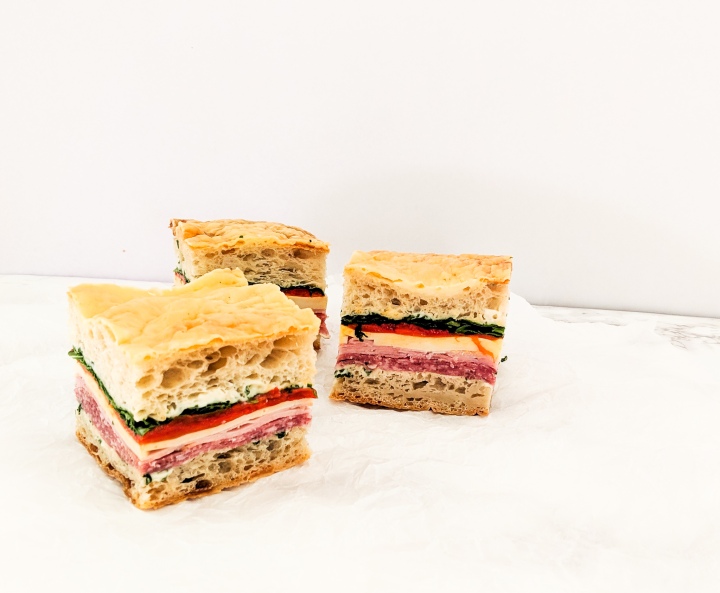
So the recipe I have for you today is my version of an Italian pressed sandwich. It has salami, ham, provolone, roasted red peppers and arugula on it. I even whipped up a little basil mayo for it. This is insanely simple and quite frankly is barely a recipe.

These are the perfect replacement for tea sandwiches at a party. You can whip them up in advance and since ciabatta is such a hearty bread they don’t get soggy! These would also be perfect for packing in a lunch box for work or school, so yummy!

IMG_20181012_153242-2

Italian Pressed Sandwiches

Yields: 8 Sandwiches

Ingredients:

  • 1 loaf Ciabatta Bread (I used asiago ciabatta, but any will work)
  • 1/3 Cup Mayonnaise
  • 1/4 Cup Fresh Basil, chopped
  • 300 Grams Italian Cold Cuts (I used 200 grams salami and 100 grams ham)
  • 6-8 Slices of Provolone Cheese
  • 6 Roasted Red Peppers
  • 3 Cups Arugula
  • Salt and Pepper to taste

Directions:

In a small bowl mix together mayonnaise and basil, set aside. Slice the ciabatta loaf horizontally separating the top half from the bottom half. Spread the both sides of the bread with a thin layer of basil mayonnaise. Season both halves of the bread with salt and pepper if desired. Layer meat on the bottom half of the bread, layer the cheese next. Pat the roasted red peppers dry to remove excess oil (the dryer the better). Layer the peppers on the sandwich. Top with arugula and the the top half of the loaf.

Wrap the sandwich tightly in plastic wrap. Place the sandwich in the fridge. To get the pressed effect and weight to the top of your sandwich. I placed a cast iron skillet and some canned goods on top of my sandwich. Allow to sit in the refrigerator for at least 3 hours, but up to 12 hours. The flavours get better the longer they sit.

Remove sandwich from the fridge and cut into 8 pieces, trim the edges if desired. Serve immediately.

Adapted from Seasons and Suppers 


You may also like…

IMG_4081

Apple Cheddar Pecan Salad


Dutch Apple Pie Bars with Salted Caramel

August 30, 2018 by Danielle 1 Comment

IMG_3729

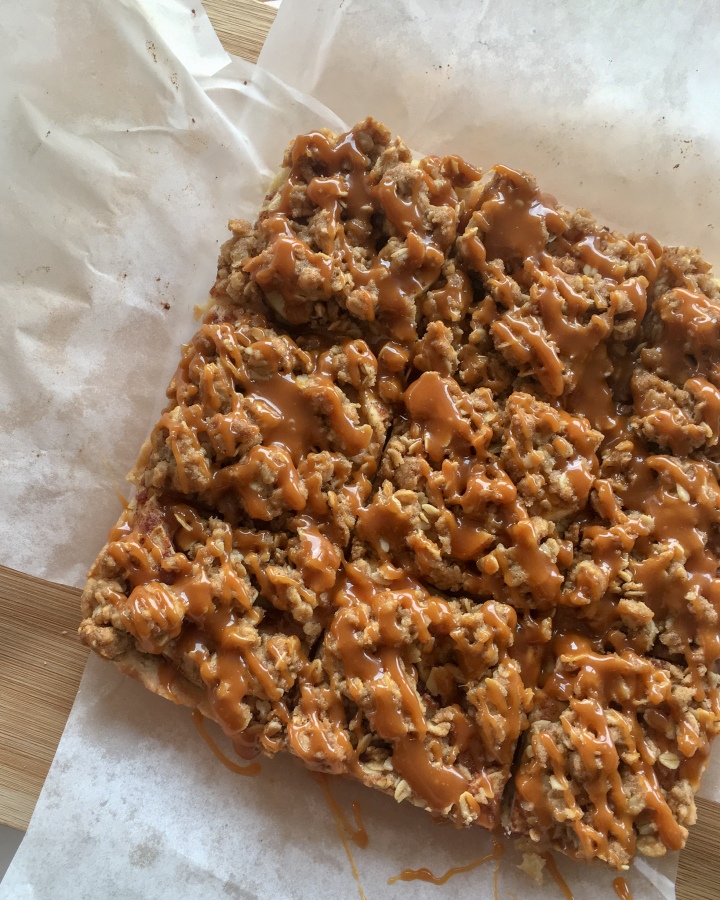
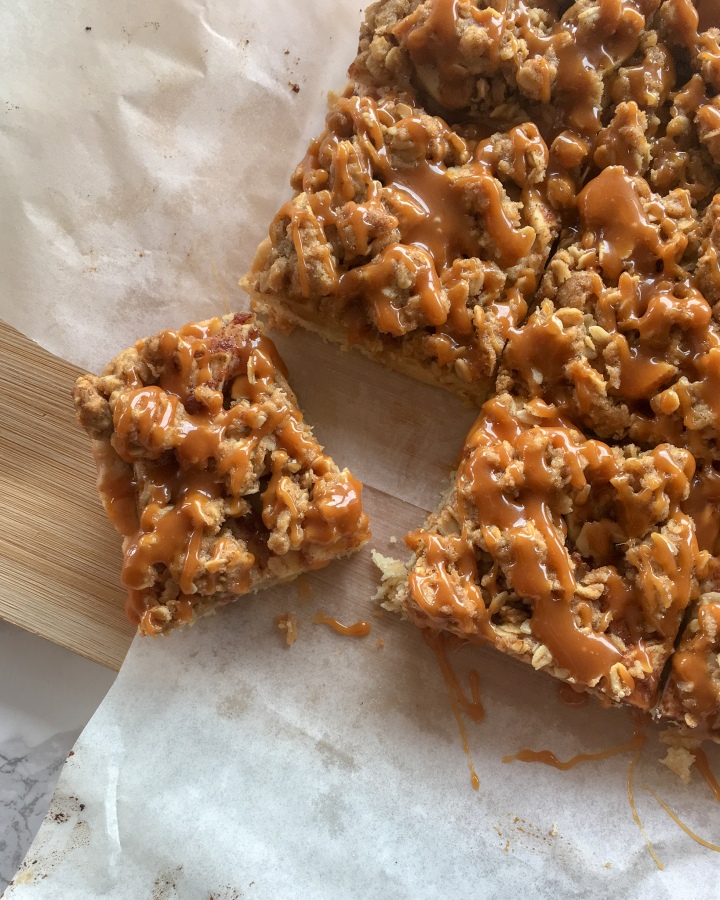
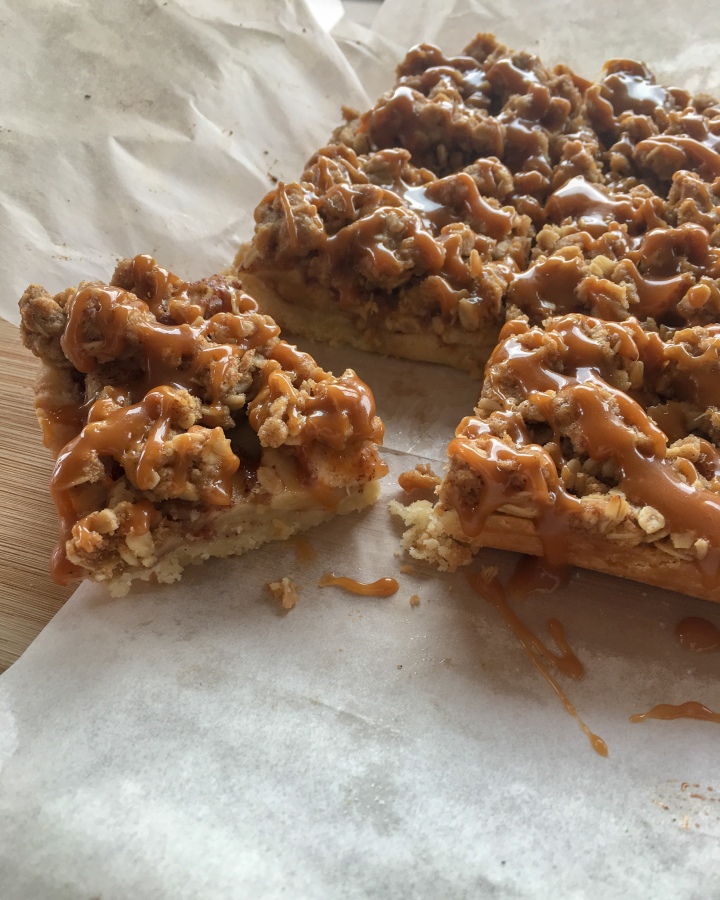
We all know I love pie, and dutch apple pie is one of my favourites. What makes apple pie different from dutch apple pie it that instead of a top crust their is a crumble topping. It’s the best of both worlds. Now these bars a essentially a portable dutch apple pie. They are also drizzled with salted caramel, so you know they are good.

IMG_3731

These bars have four layers, shortbread crust, apple filling, crumble topping and caramel drizzle. I know that seems like a lot of work, but the ingredients and simple and so is the method. The tricky part is the caramel sauce. Now I like to make homemade salted caramel, it simple is the best. If you have the time please do yourself a favour and make the sauce from scratch. You wont be disappointed.

If you’re short on time, or just aren’t ready to try your hand at homemade caramel sauce you can use store bought. Buy the best quality caramel sauce you can find. Drizzle that on top of your bars and sprinkle some flaky sea salt on top. They will be almost as good.

IMG_3733

These are perfect to serve at an end of summer barbecue or on a fall dessert buffet. These bars with a cup of tea after your thanksgiving dinner… with a side of pumpkin pie of course.

Yields: 9-16 Bars

Ingredients:

Shortbread Crust:

  • 1/2 Cup Unsalted Butter, melted
  • 1/4 Cup White Sugar
  • 1 Teaspoon Vanilla Extract
  • 1/4 Teaspoon Salt
  • 1 Cup All Purpose Flour

Apple Filling:

  • 2 Apples, peeled and thinly sliced
  • 2 Tablespoons All Purpose Flour
  • 2 Tablespoons White Sugar
  • 1 Teaspoon Cinnamon

Streusel:

  • 1/2 Cup Rolled Oats
  • 1/3 Cup packed Brown Sugar
  • 1/4 Teaspoon Cinnamon
  • 1/4 Cup All Purpose Flour
  • 1/4 Cup Unsalted Butter, cold and cubed

Homemade Salted Caramel Sauce

Directions:

Preheat the oven to 300°F. Line the bottom and sides of an 8-inch square baking pan with parchment paper, leaving enough overhang on all sides. Set aside.

Make the crust: In a small bowl stir together the melted butter, granulated sugar, vanilla, and salt. Add the flour and stir until everything is combined. Press the mixture into the prepared baking pan. Bake for 15 minutes.

Make the apple filling:Combine the sliced apples, flour, granulated sugar and cinnamon together in a large bowl until all of the apples are evenly coated. Set aside.

Make the streusel: Whisk the oats, brown sugar, cinnamon, and flour together in a medium bowl. Cut in the chilled butter with your hands until the mixture resembles coarse crumbs. Set aside.

Remove the crust from the oven, and turn the oven up to 350°F (177°C). Layer the apples on top of the warm crust. Sprinkle the apple layer with streusel and bake for 30–35 minutes or until the streusel is golden brown.

Remove from the oven and allow to cool for at least 20 minutes at room temperature. Lift the bars out of the pan using the tabs of the parchment. Cut the bars into your desired serving size. I normally cut them into 12 squares, but 9 or 16 will also work. Once cut, drizzle the bars with the salted caramel sauce. The bars can be served warm, room temperature or cold.

Adapted from Sally’s Baking Addiction

BBQ-less BBQ Chicken

August 21, 2018 by Danielle 2 Comments

IMG_3581

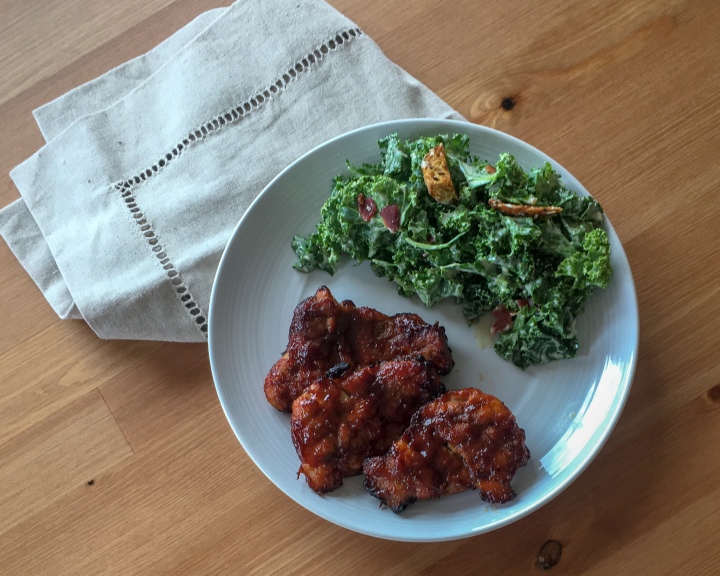
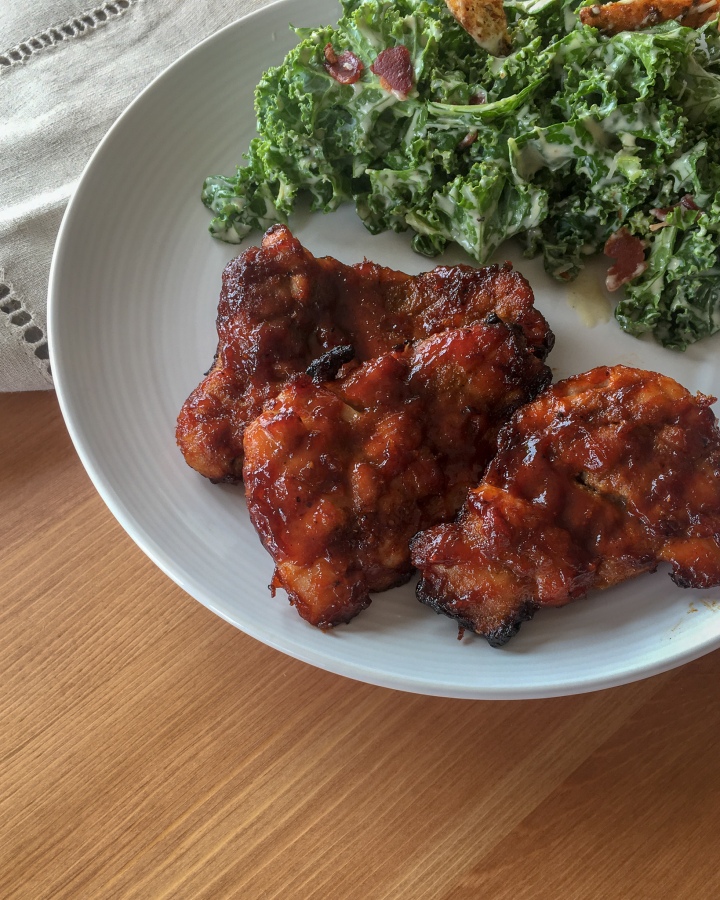
This is the best BBQ chicken I have ever had. They are tender and flavourful and you don’t even need a barbecue.

I use chicken thighs in this recipe since I’m convinced they are impossible to overcook. I also use a sheet pan with a baking sheet on it to crisp the outside of the thighs. This also renders off the excess fat in the thighs.

IMG_3592

You could also of course use your barbecue for this recipe, but I like the convenience of using the oven. Plus you can enjoy it year round!

So are you team barbecue or oven?

Servings: 4

Ingredients:

  • 1 Pound Boneless Skinless Chicken Thighs
  • 2 Teaspoons Garlic Powder
  • 2 Teaspoons Onion Powder
  • 1 Teaspoon Chilli Powder
  • 1/2 Teaspoon Salt
  • 1/4 Teaspoon Fresh Ground Black Pepper
  • 1 Cup BBQ Sauce (my favourite)

Directions:

Preheat the oven to 400°F. Place a cooling rack on a sheet pan and grease the cooling rack with non stick spray.

Mix together garlic powder, onion powder, chilli powder, salt and pepper. Season the chicken thighs on both sides. Place chicken thighs on the cooling rack. Bake the the chicken thighs for 2o minutes, flipping half way through.

Remove chicken from the oven and baste the chicken thighs on one side with BBQ sauce. Bake for 5 minutes. Flip the chicken and baste the other side of the chicken with BBQ sauce. Repeat the process two more times.

Allow chicken to rest for 10 minutes before serving.


You might also like…

IMG_3578

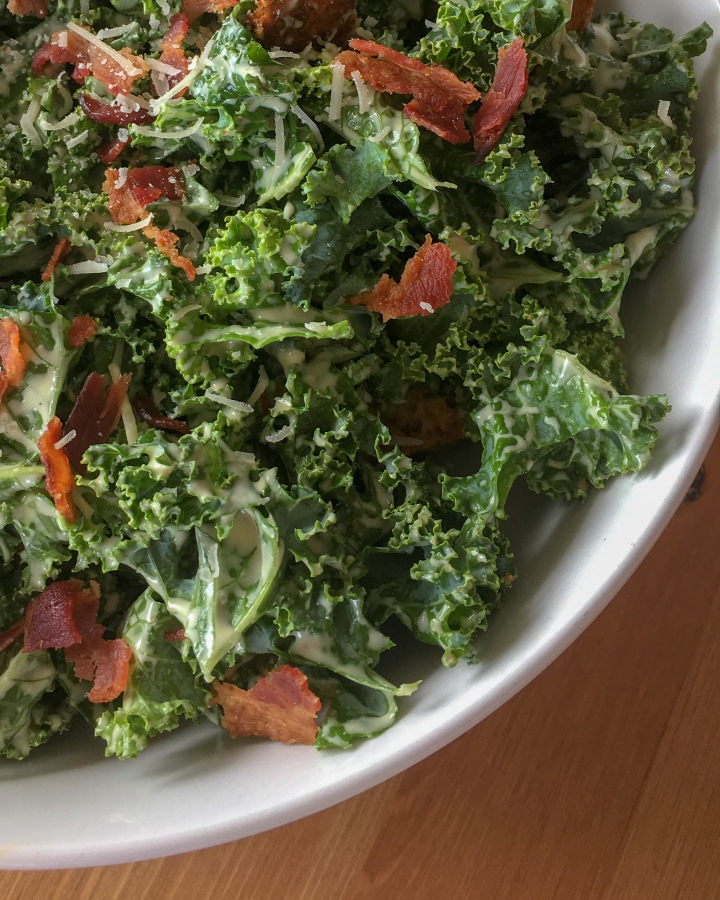
Kale Caesar Salad

IMG_3130

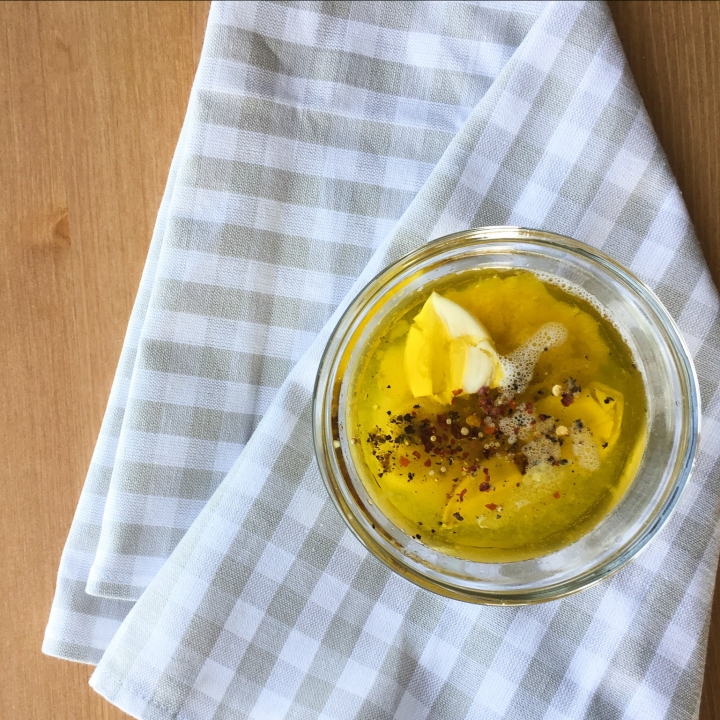
The BEST Chicken Marinade

IMG_3126

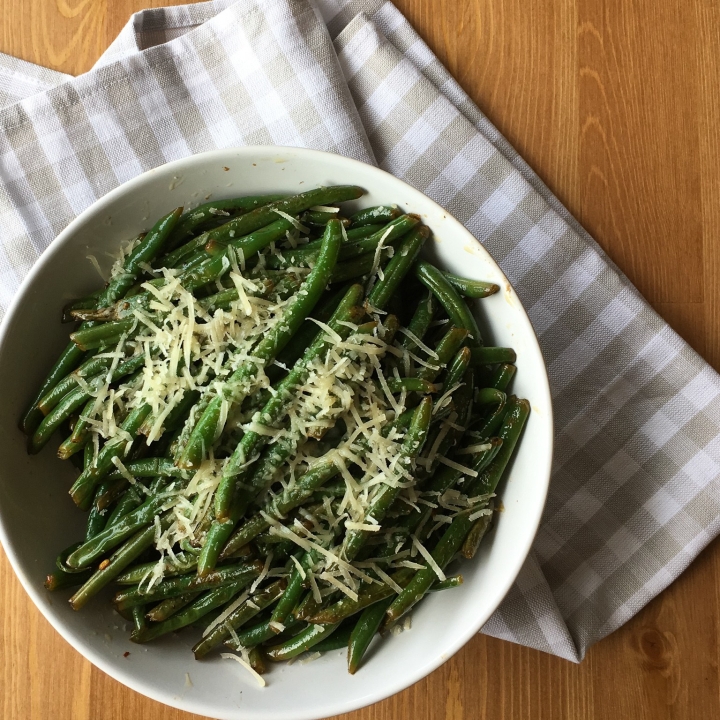
Lemon Parmesan Green Beans


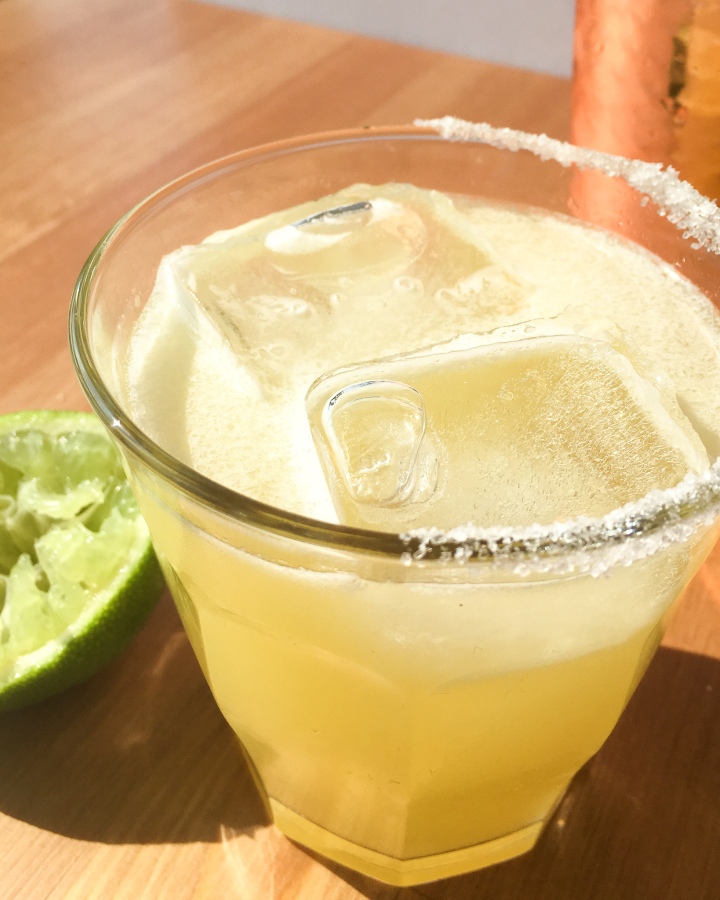
Pineapple Margarita

August 16, 2018 by Danielle Leave a Comment

IMG_3520

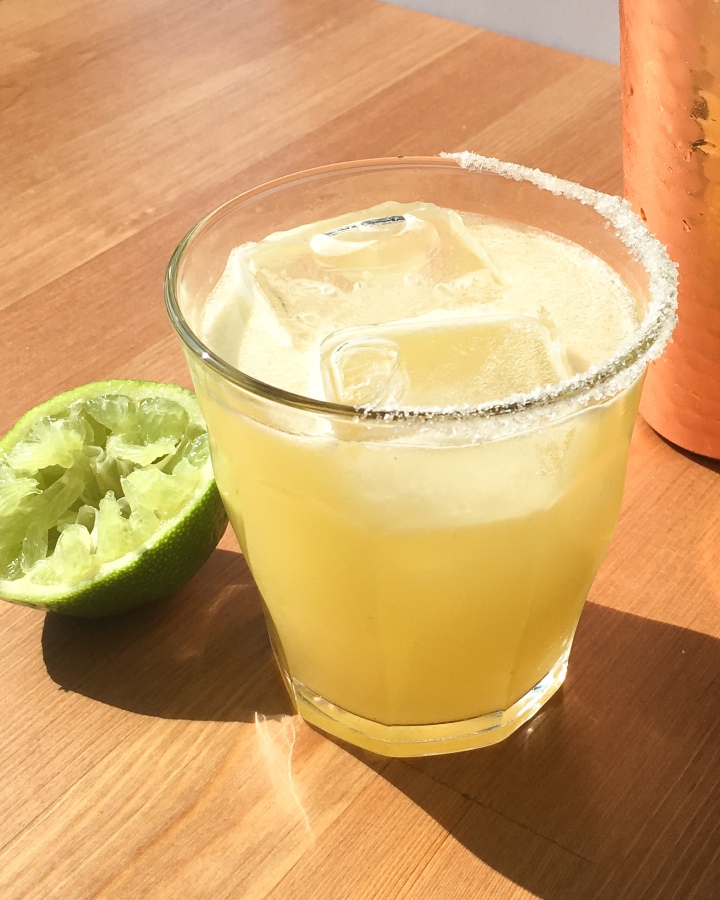
I love a good cocktail, and margaritas are at the top of my list! I like my margaritas fresh, unsweetened, shaken over ice in a short glass with a half salt rim. Can you tell I’m a bartenders dream… kidding.

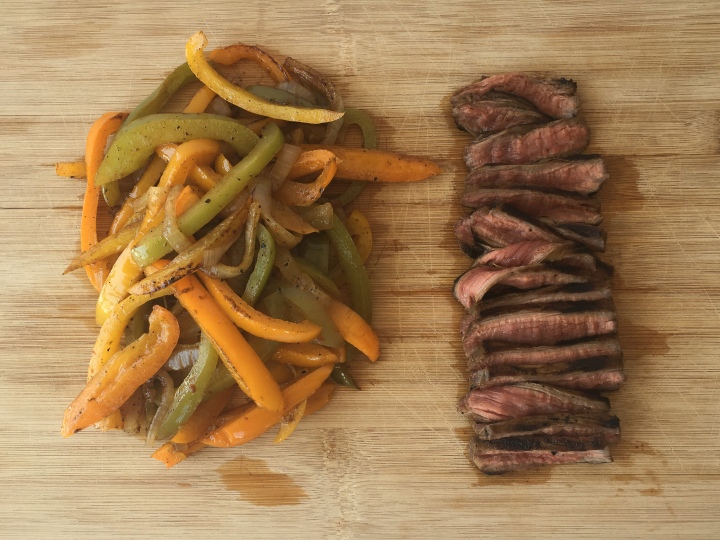
The thing I love of this particular margarita is the twist of adding pineapple juice. It’s delicious and totally customizable to your taste. I love to sip on this with my favourite Mexican food. Chips, salsa, guacamole, tacos, enchiladas and fajitas.

IMG_3515

Now I’m so thirsty, is it 5 o’clock? So whats your favourite margarita?

Servings: 1

Ingredients:

  • 1 Ounce Tequila (silver or reposado are best)
  • 1/2 Ounce Cointreau
  • 1 Ounce 100% Pineapple Juice (no added sugar)
  • 1 Lime, juiced
  • Optional: Salt or sugar for rim, and agave syrup

Directions:

Fill a cocktail shaker with ice, and tequila, cointreau, pineapple juice, lime juice and agave if using. Shake until the cocktail shaker becomes very cold.

Rub the inside of the lime along the rim of your glass. Dip the glass into salt or sugar. Fill the glass with ice, and pour drink over the ice.


You might also like…

IMG_3475

Homemade Guacamole

IMG_3416

Steak Fajitas

Guacamole

August 9, 2018 by Danielle 1 Comment

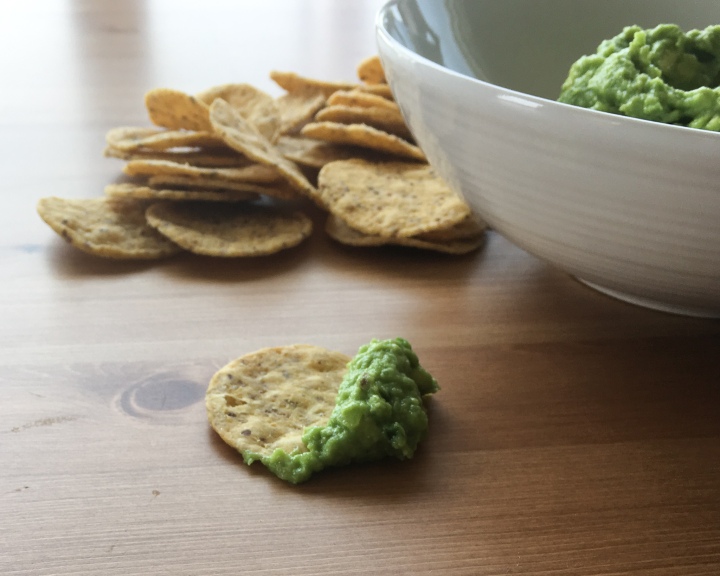
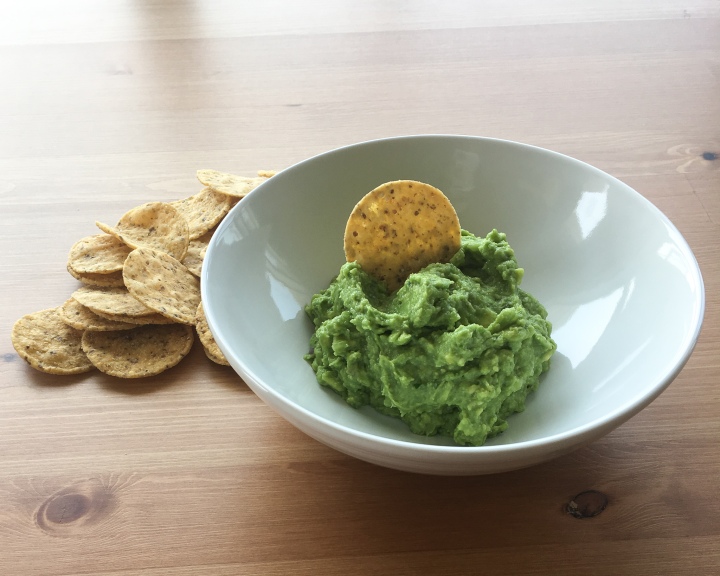
Today I’m sharing with you my favourite recipe for guacamole. There has been a lot of trial and error to get here. On this mission I once dumped about a tablespoon of salt into a bowl of guac 5 minutes before party guests were to arrive. Everyone politely told me they liked salty guac, but it was barley eaten so I know they were a bunch of liars! But I have finally nailed it and we have been enjoying this recipe along side of our favourite Mexican dishes all summer.

IMG_3470

I like my guacamole to be fresh and cooling with a hint of heat, but feel free to add extra jalapeños if you like yours extra spicy. I also don’t add cilantro to my guacamole since I am in the percentage of people who hate cilantro and think it tastes like soap. It actually makes me sick. When I was in high school I was a cashier at a grocery store and whenever I would ring through cilantro I would hold my breath because even the smell made me feel sick, crazy right. Of course if you are a cilantro lover go for it! I wish I could join you!

IMG_3475

This recipes is the perfect amount for 2-4 people, I like to serve it with chips, hot salsa, fajitas and a margarita.

So do you love or hate cilantro?

Servings: 2-4 people

Ingredients:

  • 2 Medium Avocados
  • 1 Jalapeño, stem and seeds removed, minced (more or less to taste)
  • 2 Tablespoons Red Onion, minced
  • Juice of 1 Lime
  • 1/2 Teaspoon Salt
  • Dash of Cumin
  • Optional: 1/4 Cup Cilantro, chopped

Directions:

In a bowl mash together avocados, minced onion, minced jalapeño, lime juice, salt, cumin and cilantro if using. Mix together until well combined and reaches your desired consistency. Serve with tortilla chips or alongside your Mexican favourites.

Adapted from, Saveur

« Previous Page
Next Page »

Primary Sidebar

Danielle at Home

Hi, I’m Danielle. I am a twenty something woman working her office job by day and blogging at night! I’m married, a new home owner and I love sharing all my favourite things on this blog. So grab a glass of wine and follow along. I’m so glad you’re here!

SUBSCRIBE & FOLLOW

Pinterest
Instagram
Facebook
Twitter

Footer

Copyright © 2025 Danielle at Home on the Foodie Pro Theme