• Skip to primary navigation
  • Skip to main content
  • Skip to primary sidebar
  • Skip to footer

DANIELLE AT HOME

  • HOME
    • About
    • Contact
  • LIFESTYLE
    • Favourites
    • Goals
    • Home
      • DIY Projects
      • Organization
    • Holidays
      • Christmas
      • Easter
      • Halloween
      • New Years
      • Thanksgiving
      • Valentine’s Day
      • Gift Guides
  • STYLE
  • WELLNESS
  • FOOD + DRINK
    • Appetizers
    • Breakfast
    • Dessert
    • Drinks
    • Side Dishes
    • Snacks
    • Holiday Recipes
      • Christmas
      • Cinco De Mayo
      • Easter
      • Father’s Day
      • Halloween
      • Mother’s Day
      • New Years
      • St. Patrick’s Day
      • Thanksgiving
      • Valentine’s Day

Summer

French Inspired Potato Salad

June 13, 2019 by admin Leave a Comment

I am not a potato salad fan, I know people love it but I just can’t get down with that egg filled mayonnaise mess. Sorry if it’s your fav, to each their own! If you’re in the I hate potato salad club then this is the potato salad for you!

Inspired by a french potato salad this salad is filled with delicious flavours and just a touch of mayonnaise. This is the perfect potato salad to serve at all your summer barbecues. It would be particularly perfect served with juicy burgers and caramel brownies on Father’s Day.

This potato salad is extremely simple to put together. Just whisk together mayonnaise, dijon mustard, red wine vinegar and shallots together. Pour this delicious dressing over your cooked potatoes and toss. Seriously simple!

I like using red potatoes since they have more flavour then a classic russet potato. They also keep their shape a bit better. I like chunks of potato instead of overly mashed potatoes in my potato salad.

When I made this for the first time I was worried it wouldn’t be flavourful enough, or maybe too dry. I really wasn’t confident, but once I tasted it I was blown away. My husband was raving about it all evening. I hope you give his recipe a try and enjoy it as much as we do!

French Potato Salad

A french twist on the classic potato salad, with chives, shallots and a creamy dijon mustard dressing. Perfect for all your summer barbecues.
Print Recipe Pin Recipe
Prep Time 10 minutes mins
Cook Time 20 minutes mins
Total Time 30 minutes mins
Course Side Dish
Cuisine American, French
Servings 6 people

Ingredients
  

  • 2 lbs red potatoes, quartered
  • 2 tbsp mayonnaise
  • 1 tbsp dijon mustard
  • 2 tbsp olive oil
  • 1 tbsp red wine vinegar
  • 1 small shallot, finely minced
  • 2 tbsp chives, chopped
  • salt and pepper to taste

Instructions
 

  • Add potatoes to a large pot, fill with water, season with salt and bring to a boil. Cook until potatoes are fork tender, approximately 15-20 minutes.
  • Meanwhile whisk mayonnaise, dijon mustard, olive oil, vinegar, salt pepper and shallot until combined.
  • Drain potatoes and add to a large bowl. Pour dressing over potatoes, toss to combine. Cool completely in the fridge.
  • Before serving add chives to the potato salad, stir to incorporate.

Notes

Adapted from Martha Stewart.
Keyword Barbecue, Potato, Potato Salad, Side Dish, Summer
French Inspired Potato Salad - Delicious!

Classic Cheeseburger

June 6, 2019 by admin Leave a Comment

I’ve been teasing this recipe for a few weeks now and it’s finally time to share! My recipe for the most delicious and juicy cheeseburger you will ever make!

I don’t eat a ton of red meat, but when I do I want it to be a perfectly cooked steak or the juiciest cheeseburger. Every few weeks I will crave a delicious cheeseburger and let’s get real a drive thru burger, or a pre made patty just aren’t going to cut it! One of two things happen; we order burgers from this amazing burger only restaurant we love (Bin4, get half salad half fries and the truffle aioli… thank me later!), or I make these burgers!

Now these burgers are pretty classic, there’s nothing surprising about the ingredients. The secret here is that the mix ins make this burger patty a touch wetter then other recipes. This really helps keep the burgers extra juicy! Another thing that takes these burgers tot he next level, good quality cheese. Sorry guys no kraft singles or American cheese in this house. Delicious high quality old cheddar cheese. My favourite brand for this is Armstrong.

Other then the ingredients in this burger the most important steps to get a juicy burger is in the mixing! Do not over mix your meat, if you do the burger texture will be weird. It gets tough and starts to resemble meatloaf not a meaty juicy burger.

Now for this you have to use your hands… I know I don’t like it either but it really is the only way to combine the ingredients and form the patty’s. Remove your rings, wash your hands and get in there.

My final tip to make abetter burger is to make a well in the middle of the patty. This way the burger won’t puff up into a round ball, it will stay nice and flat.

Ok there you have it my tips on how to make this delicious cheeseburger. If meat’s not your thing try this turkey burger recipe.

Classic Cheeseburger

Juicy delicious beef patty topped with old cheddar cheese. Perfect for your summer BBQ!
Print Recipe Pin Recipe
Prep Time 15 minutes mins
Cook Time 15 minutes mins
Total Time 30 minutes mins
Course Main Course
Cuisine American
Servings 4 people

Ingredients
  

  • 1 pound lean ground beef
  • 1 egg
  • 1/4 cup onion, minced
  • 2 garlic cloves
  • 1/4 cup breadcrumbs
  • 1 tbsp Worcestershire sauce
  • 1 tsp dijon mustard
  • 1/2 tsp salt
  • 1/4 tsp pepper
  • 4 slices sharp cheddar cheese
  • 4 buns (I used pretzel)
  • burger topping of your choice

Instructions
 

  • Add beef, egg, onion, garlic, breadcrumbs, Worcestershire sauce, dijon mustard, salt and pepper to a bowl. Using your hands gently combine mixture. Form meat into four burger patties. Place on a sheet pan, press a well into the centre of the patty.
  • Preheat your barbecue to high heat. While the grill heats prepare your buns (I love pretzel buns!) and toppings. Suggested toppings: lettuce, tomato, onion, pickles, ketchup, mayonnaise and mustard.
  • Grill burgers over high heat for 7 to 8 minutes per side with the lid closed. Add cheese in the final minute of cooking. Remove from grill and assemble burgers.

Notes

Adapted from myrecipes.
Keyword Barbeque, Burger, Cheeseburger, Summer
Classic Juicy Cheeseburger - YUM!

Springtime Strawberry Mint Mimosa

May 30, 2019 by admin Leave a Comment

Happy Friday friends!! Today I’m sharing a fun twist on a classic mimosa, perfect for your weekend brunch! I love mimosas I think they are such a fun addition to any brunch. A Caesar or a Bloody Mary is delicious and great for brunch but they are a bit of work. Sure you can batch them but you need all kinds of crazy toppings and not everyone loves savoury drinks. I have yet to meet anyone who doesn’t enjoy a mimosa. Also you can make them virgins so everyone can enjoy!

I’m planning to make these for Sunday brunch. Recently our lives have been so busy that my husband and I haven’t had a ton of time together. Spring is his busy season for work, so it’s been a lot of late nights and extra hours on the weekends, but this too shall pass right? Of course it will. We decided that during this busy time Sunday mornings are reserved for us. Just the two of us sharing a meal and connecting. I’m really cherishing our mornings and I want to continue this new tradition even when our lives slow down a bit.

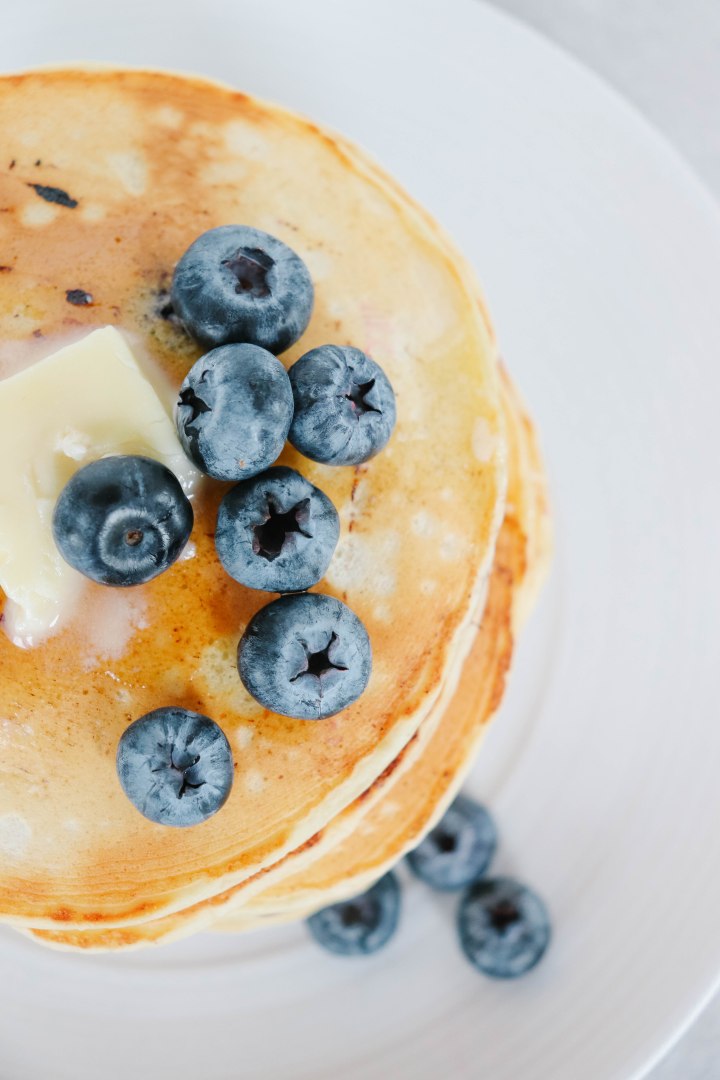
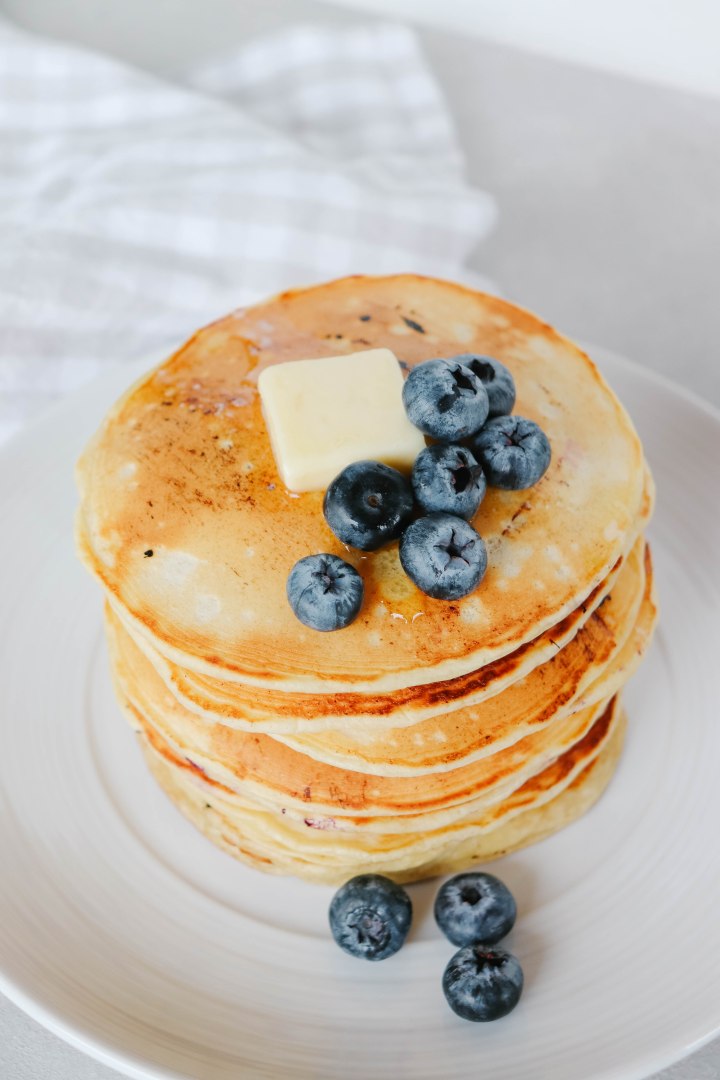
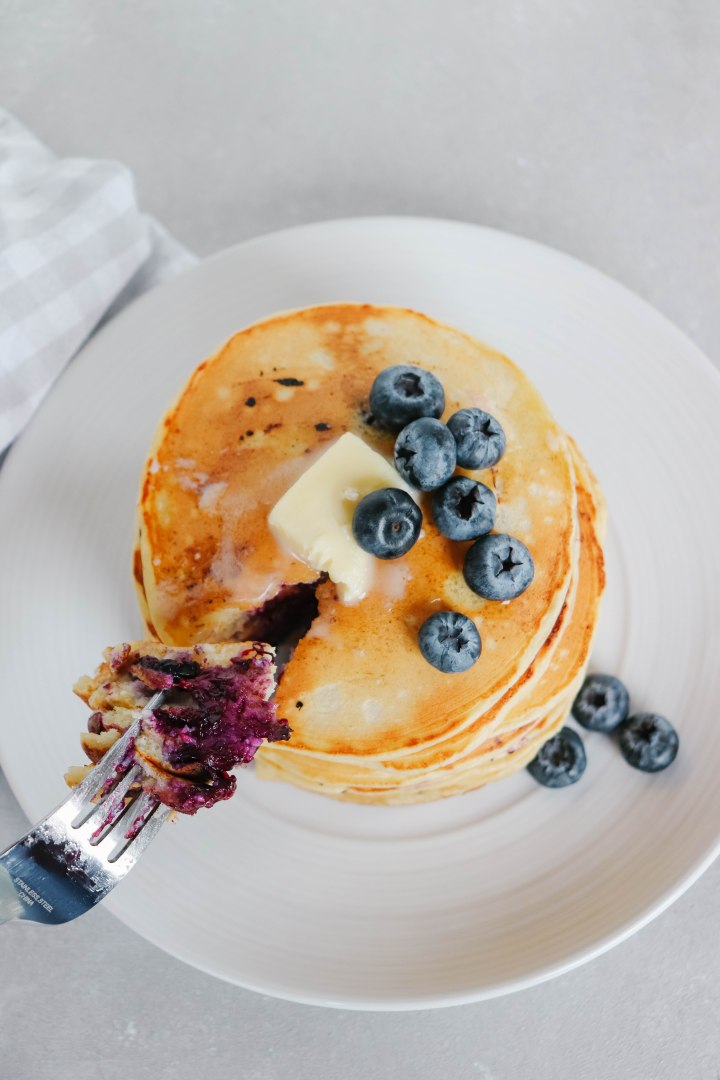
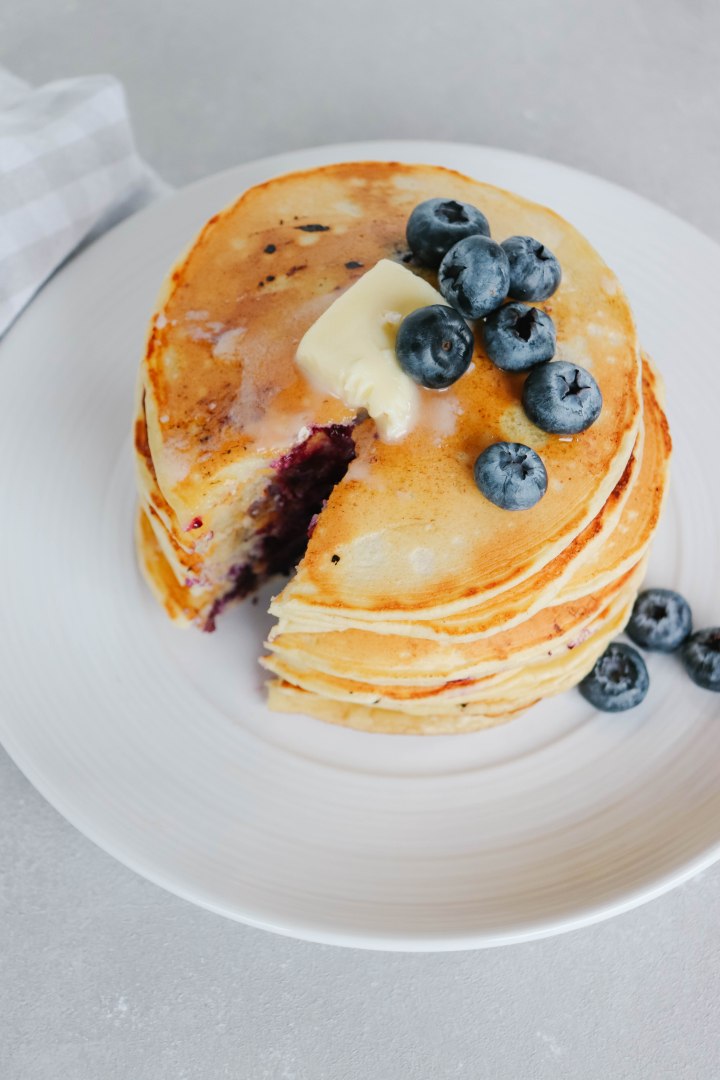
Since starting our new Sunday tradition I’ve been trying out lots of new recipe for breakfast. Of course we love waffles, banana pancakes and lemon ricotta blueberry pancakes. Now of course coffee works to wash any of those tasty meals down but a mimosa just makes things extra special!

These mimosas are so simple, just smash up some strawberries and mint. Add orange juice and top each glass with bubbly! And if you want to make these none alcoholic swap the champagne for sparkling water.

These are a must try for any weekend brunch! Make a big ol pitcher and relax this weekend!

Strawberry Mint Mimosa

Sweet strawberries, fresh mint and orange juice topped with champagne!
Print Recipe Pin Recipe
Total Time 5 minutes mins
Course Drinks
Cuisine American
Servings 6

Ingredients
  

  • 1 bottle Champagne (or sparkling water)
  • 3 cups Orange Juice (I prefer pulp free)
  • 1 1/2 cup Strawberries, chopped
  • 1/4 cup Mint Leaves

Instructions
 

  • Add strawberries and mint to a pitcher. Using the back of a spoon muddle mint and strawberries together until strawberries are broken and mint is bruised. Add orange juice, stir and place in the fridge until ready to use.
  • Fill glasses with juice mixture about 1/3 full. Top with champagne and enjoy!

Notes

Adapted from Half Baked Harvest.
Keyword Breakfast, Brunch, Cocktail, Mimosa, Weekends
Springtime Strawberry Mint Mimosa! So yummy!

Lemon Ricotta Blueberry Pancakes

May 16, 2019 by Danielle 2 Comments

Light airy and delicious pancakes…

IMG_0262_1

Breakfast is my favourite meal of the day. Now of course most mornings I’m gulping down a smoothie on my way to work, but on the weekends it’s a whole other story. I always try to make a special breakfast at least one morning of the weekend. We flip back and forth between sweet and savoury. Sometimes it’s eggs, bacon and hash browns and other days it’s waffles or pancakes.

Today’s pancake recipe is for those who like things on the sweeter side. This recipe is inspired by my dad. He loves lemons, he is even trying to grow lemons in his backyard. His next crop is expected to be a big one and I’m really hoping he will share. Anyway he loves all things lemon, citrus and tart flavours. He actually made similar recipe to this on for me once and it was pretty tasty.

IMG_0232_1IMG_0259IMG_0260

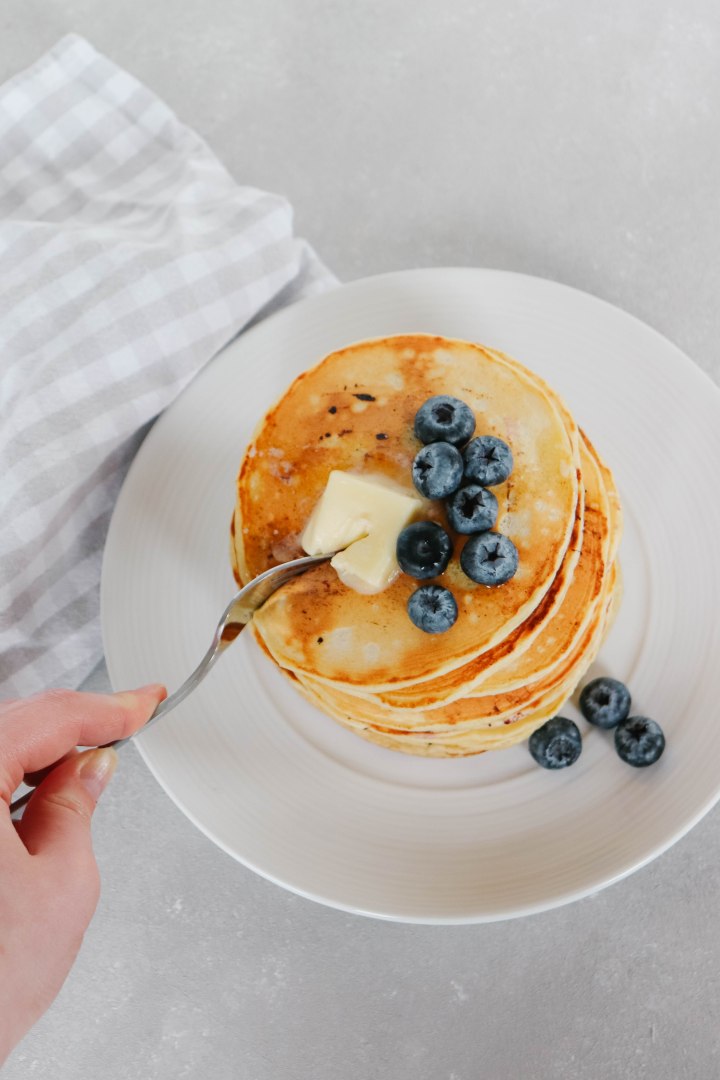
These pancakes have ricotta, lemon, vanilla and lots of blueberries. The ricotta adds a really nice fluffy texture to the pancakes. Lemon juice flavours the pancakes with just enough tart and sweet flavour. Now of course these pancakes have all the delicious components of a classic pancake recipe, and by that I mean butter and vanilla. In my opinion all pancakes require vanilla and copious amounts of butter. Once the batter is prepared (be sure not to over mix) fold in those juicy blueberries. So yummy!

Serve these pancakes with butter, real maple syrup an a squeeze of lemon juice! Such a delicious combo and the perfect weekend breakfast. Give them a try!!

IMG_0251.jpg

Lemon Ricotta Blueberry Pancakes

Yields: 18 pancakes

Ingredients:

  • 1 1/2 cups All Purpose Flour
  • 3 tbsp Sugar
  • 2 tsp Baking Powder
  • 1/4 tsp Baking Soda
  • 1/2 tsp Salt
  • 1 cup Milk (I used 2% but any dairy or non dairy works)
  • 3/4 cup Ricotta Cheese (I had whole milk ricotta on hand but you could use any)
  • 3 large Eggs
  • 1 tsp Vanilla Extract
  • 1/4 cup Lemon Juice
  • Zest of One Lemon
  • 2 tbsp Butter, melted
  • 3/4 cup Blueberries (I prefer fresh but frozen works in a pinch)

Directions:

In a large bowl whisk flour, sugar, baking powder, baking soda and salt together, set aside. In a medium bowl whisk milk, ricotta, eggs and vanilla. Once combined add lemon juice, lemon zest and butter to the wet ingredients, the wet ingredients will curdle. Don’t be alarmed the curdling is normal and it won’t affect your batter.

Pour the wet ingredients into the dry. Fold until just combined. Make sure to keep some lumps, a lump batter makes a better pancake. Fold blueberries into batter.

Heat a fry pan or electric griddle over medium/medium high heat. Pout 1/3 cup batter onto the skillet and cook on one side until golden brown and bubbles begin to form on the top. Flip and cook on the other side until golden brown and cooked though.

Serve with butter, maple syrup and a squeeze of lemon.

Recipe adapted from Cooking Classy.

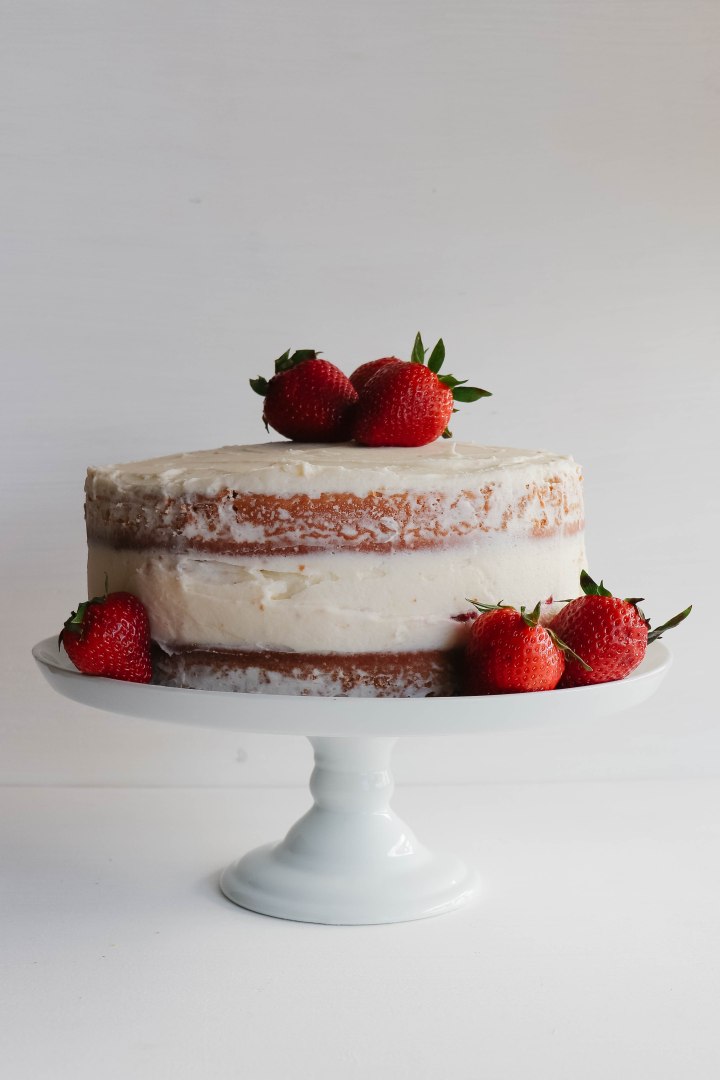
Strawberries and Cream Naked Cake

May 8, 2019 by Danielle Leave a Comment

Packed full of berry flavour and perfect for spring.

IMG_0394

Today I am sharing my new favourite cake recipe. It’s pretty fitting to share a cake on your birthday right! Yep it’s my 26th birthday today! This year has gone so fast and I can’t believe I’m turing another year older. Twenty five was a huge year for me, I got married, was in a wedding, attended weddings, saw friends and family become Mamas for the first time, lost my Grandma, changed jobs twice, got asked to be a bridesmaid (again!), made the biggest purchase of my life (more to come on that!) and started this BLOG! This year was big! I’m heading into 26 more confident, wiser, more patient and ready to tackle anything life throws my way. I though it would be hard to say goodbye to this age since 25 was so great, but I’m actually ok with turning another year older. I’m grateful for my life and ready to see what the second half of my twenties has in store.

Now enough about me let’s talk cake! I made this cake with Mother’s day in mind, fun fact we always celebrate my birthday, my grandmas birthday (we’re birthday twins!) and mother’s day all at once. So cake is always the dessert of choice. My grandma was what inspired this pink cake! She loves pink and since mother’s day and her birthday get rolled into one I think she deserves a pink cake. She’s also turning 90 this year, so believe me when I say we are celebrating hard this weekend.

IMG_0370IMG_0422IMG_0373

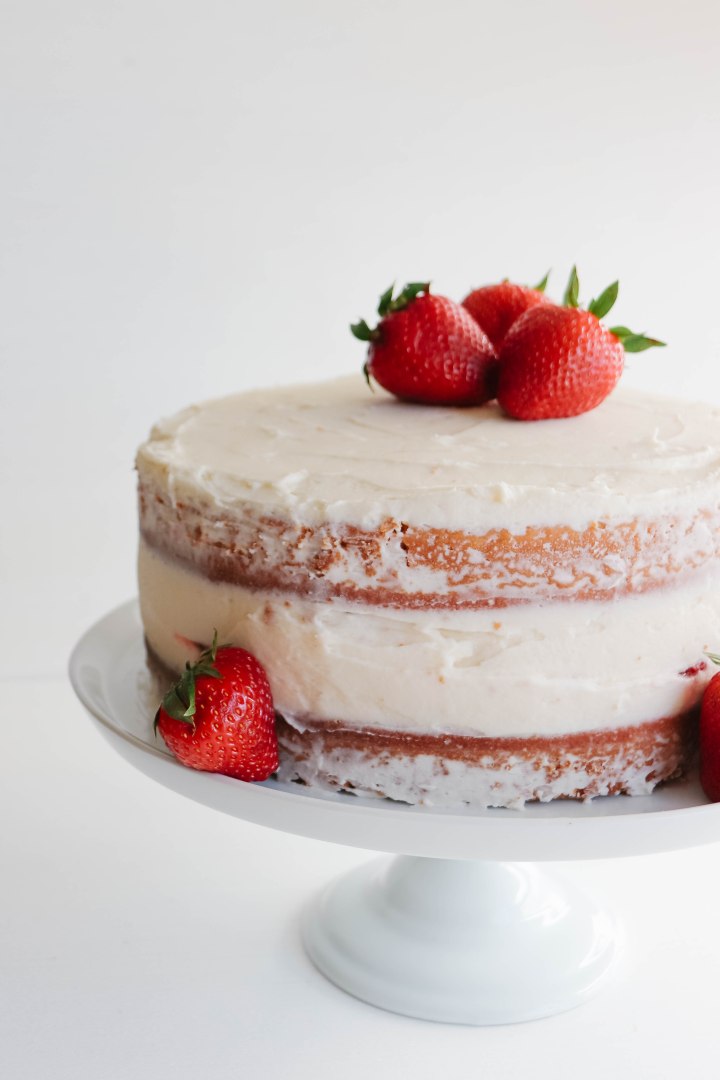
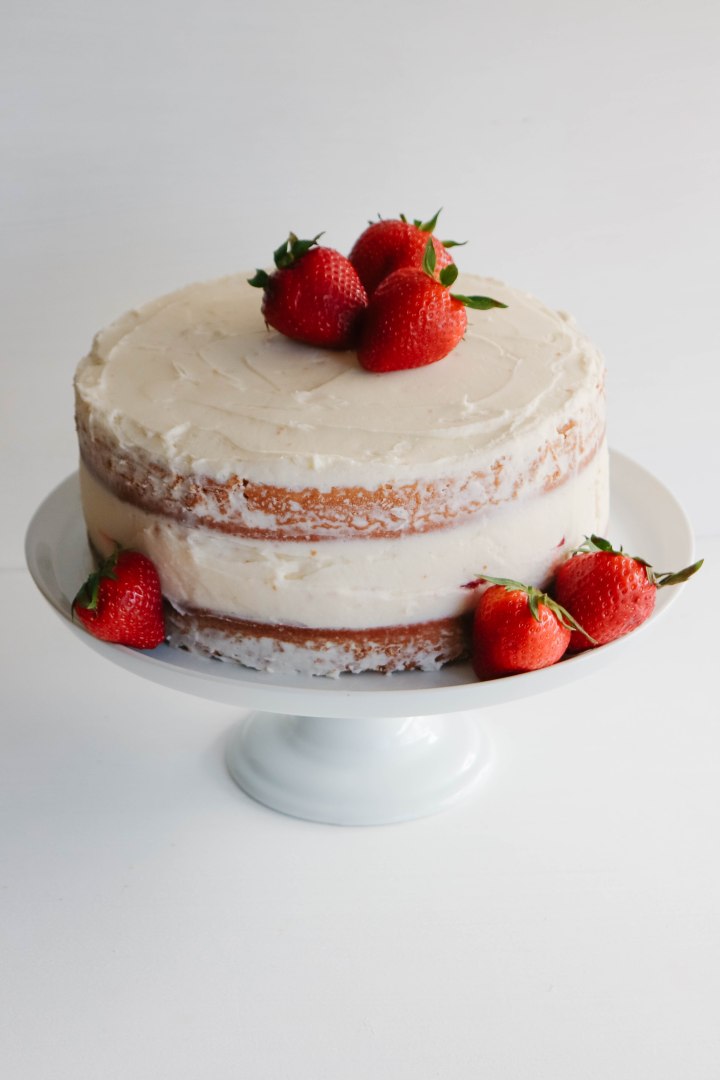
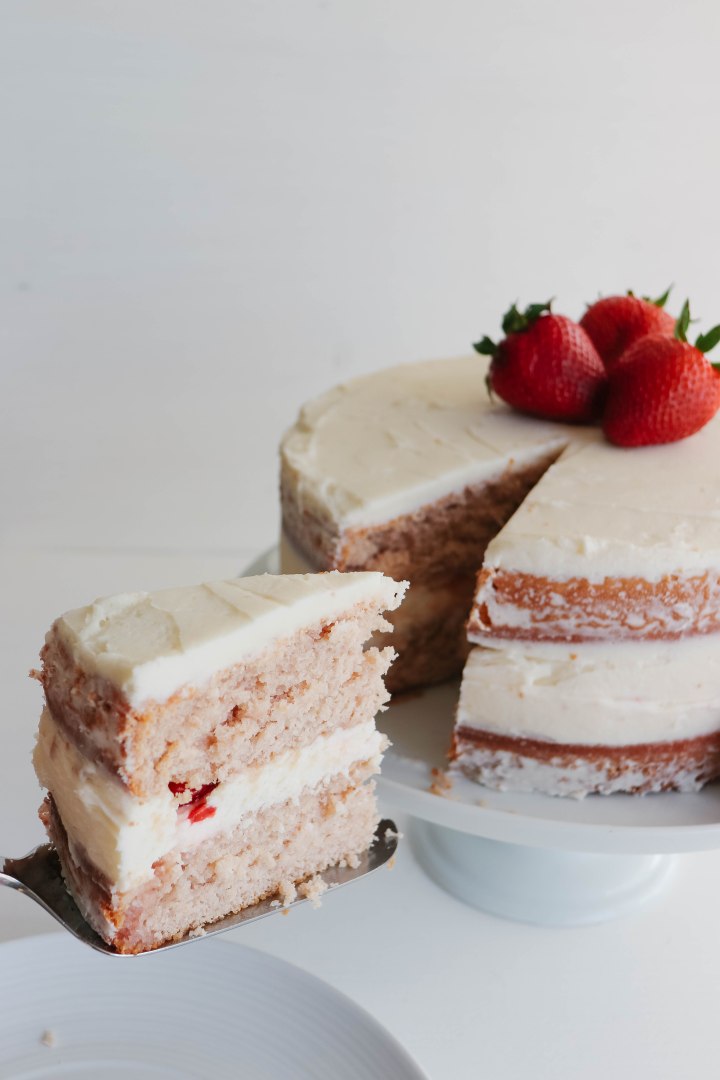
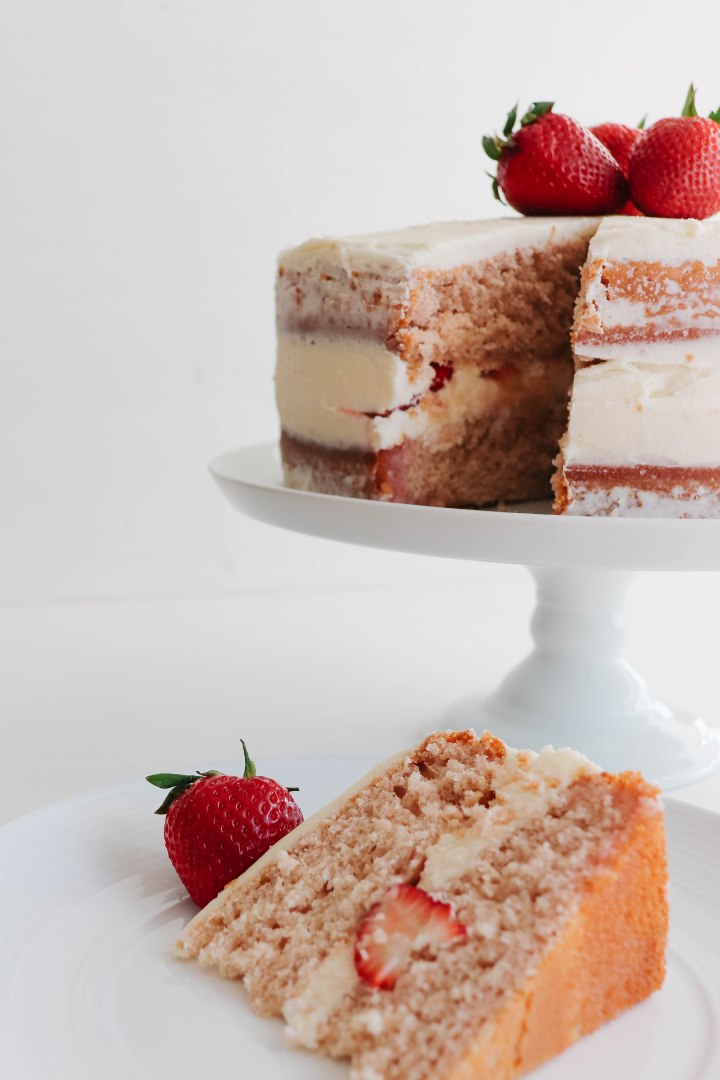
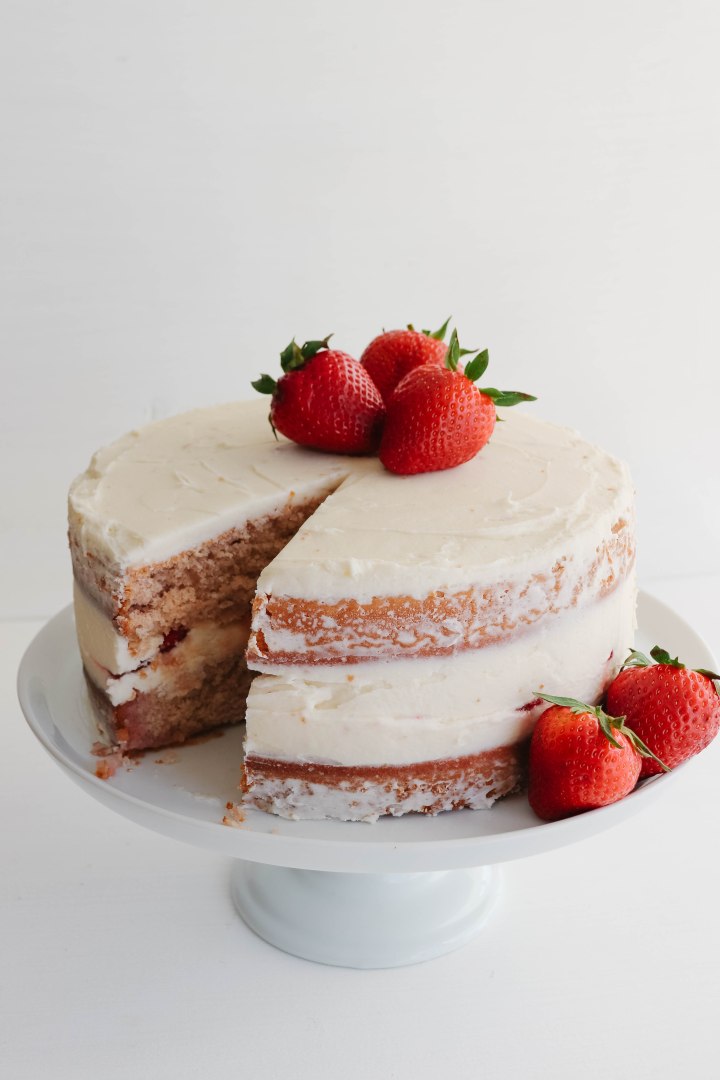
I made this cake a naked cake because I don’t like too much frosting. Plus the actual cake is quite sweet. Between the cake layers and strawberries you really dont need too much buttercream. So let’s break this thing down!

Cake Layers: The cake layers are strawberry flavoured. I use a strawberry purée to flavour the classic vanilla cake layer. This also tints the cake a slight pink colour which is a perfect compliment to the bright white frosting!

Filling: Fresh strawberries! Pretty self explanatory, but you can’t have a strawberry cake without it if you ask me!

Frosting: A classic vanilla frosting! This is always my go to frosting, it’s highly requested in my house! It goes well on just about everything including this cake.

IMG_0431

Ok guys no excuses, this cake is almost as easy as a boxed one, but so much better! Make it for your Momma this Sunday or heck make it in honour of my birthday!! xo

IMG_0437

Strawberry and Cream Naked Cake

Yields: 2 layer cake

Ingredients:

Cake Layers:

  • 2 1/2 cups All Purpose Flour
  • 2 tsp Baking Powder
  • 1/2 tsp Baking Soda
  • 1 tsp Salt
  • 3/4 cup Unsalted Butter, softened
  • 1 3/4 cups White Sugar
  • 5 Egg Whites
  • 1/3 cup Sour Cream
  • 2 tsp Vanilla Extract
  • 1/2 cup Whole Milk
  • 1 pound Strawberries

Filling:

  • 10-12 Strawberries, sliced

Frosting:

  • 1 cup Salted Butter
  • 4 – 5 cups Confectioner’s Sugar
  • 1/4 cup Half & Half (or whole milk)
  • 2 tsp Vanilla Extract

Directions:

Cake Layers:

In a blender or food processor blend 1 pound of strawberries until smooth. Add blended strawberries to a small sauce pan over medium heat. Cook until the mixture reduces and starts to thicken slightly about 10-15 minutes. Allow to cool fully in the fridge for at least an hour, or overnight.

Pre heat the oven to 350°F. Grease and flour two 9 inch cake pans, set aside.

In a bowl whisk together flour, baking powder, baking soda and salt. Set aside. Add butter to the bowl of a stand mixer. Beat on high for 2-5 minutes until the butter is pale yellow or white in colour. Add sugar to the whipped butter. Mix on medium until fully combined. Add egg whites and whip on high until combined and fluffy. Add sour cream and vanilla mix on medium low until well combined.

Add half of the dry ingredients on low until just combined. Keeping the mixer on low slowly drizzle in half of the milk until combined. Repeat with the remaining flour and milk mixtures. Add strawberry purée to batter and mix on low until combined.

Pour batter into cake pans. Bake for 20-25 minutes or until a toothpick comes out clean. Allow to cool in pans for 5 minutes before transferring to a cooling rack. Cool completely before assembling and icing.

Buttercream Frosting:

Add butter to the bowl of stand mixer. Whip on high for at least 5 minutes until pale in colour and light and fluffy. Add confectioners sugar on low until well mixed. Add vanilla and half and half to the bowl. Continue to whip on high until frosting is fluffy and is you desired consistency.

Filling & Assembly:

Trim tops of cake layers to level if necessary. Place cake layer on your cake plate or cake stand. Place about a cup of frosting on first cake layer. Spread slightly to cover. Cover frosting with layers of sliced strawberries. Place second cake layer on top. Cover the cake with the remaining frosting. Keeping most of the frosting on the top of the cake. Decorate with whole strawberries. Place in the fridge for an hour to set before serving.

Adapted from Sally’s Baking Addiction strawberry cake and buttercream frosting.


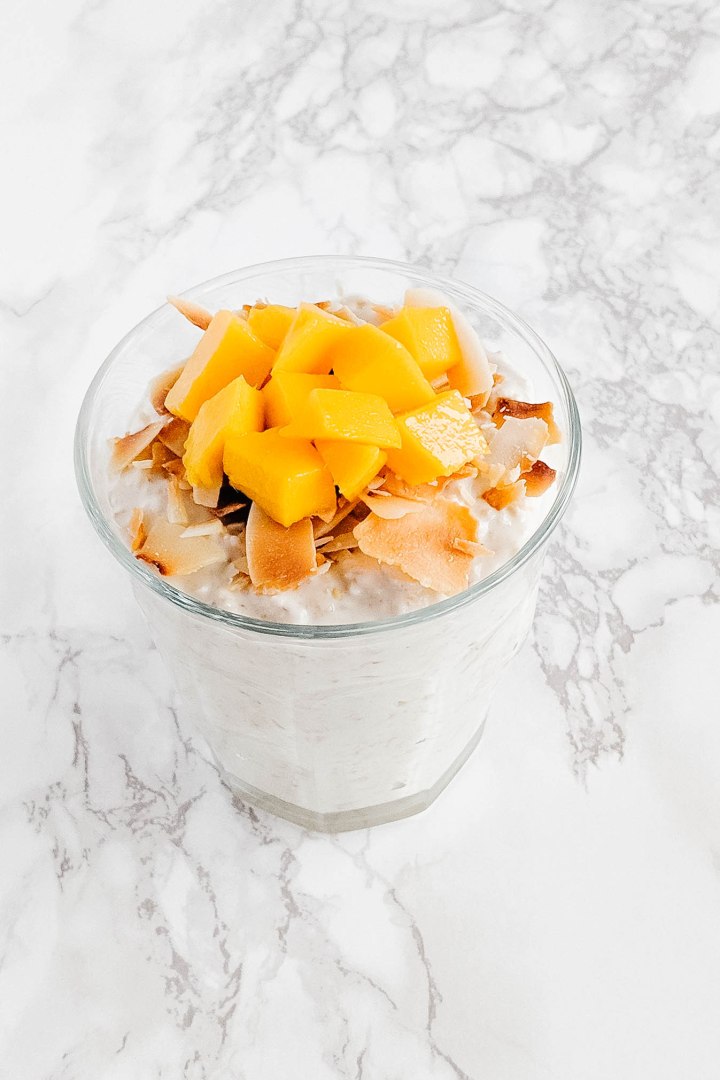
Mango Coconut Overnight Oats

March 3, 2019 by Danielle 4 Comments

A healthy, but decadent make ahead breakfast.

IMG_20190224_091833-2x3

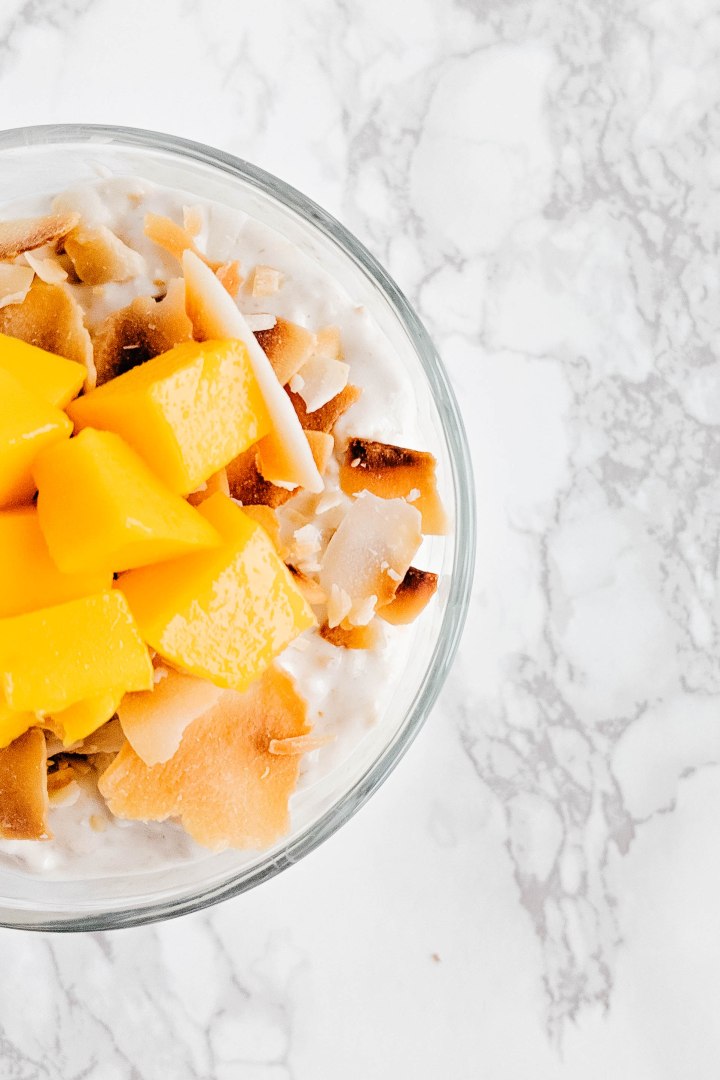
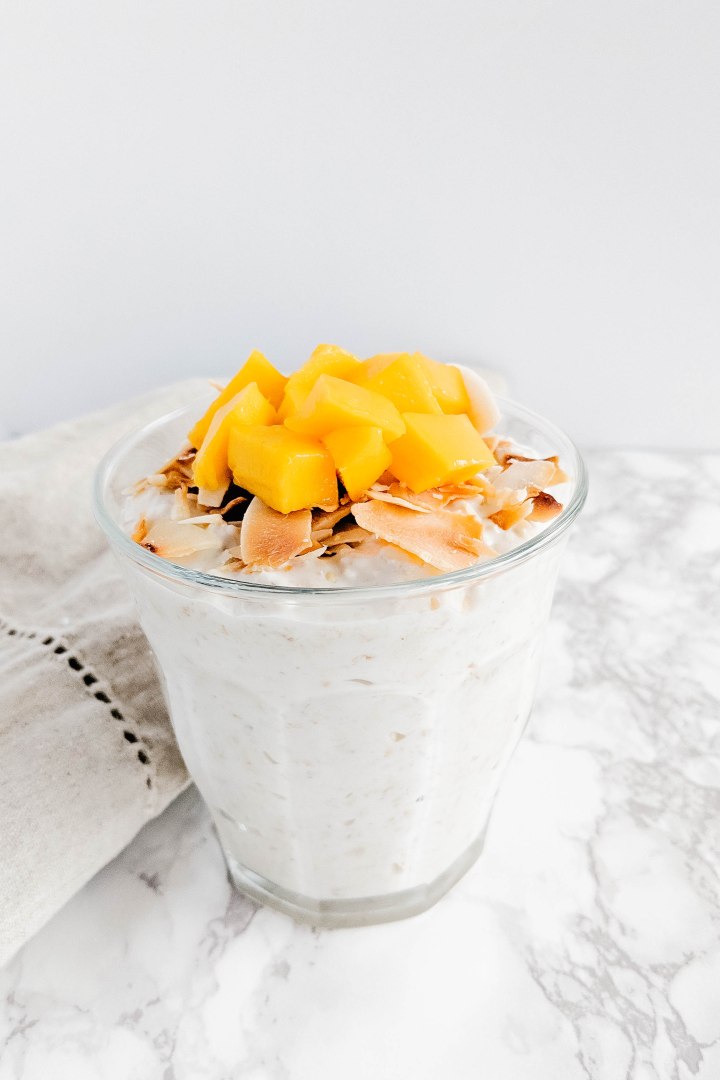
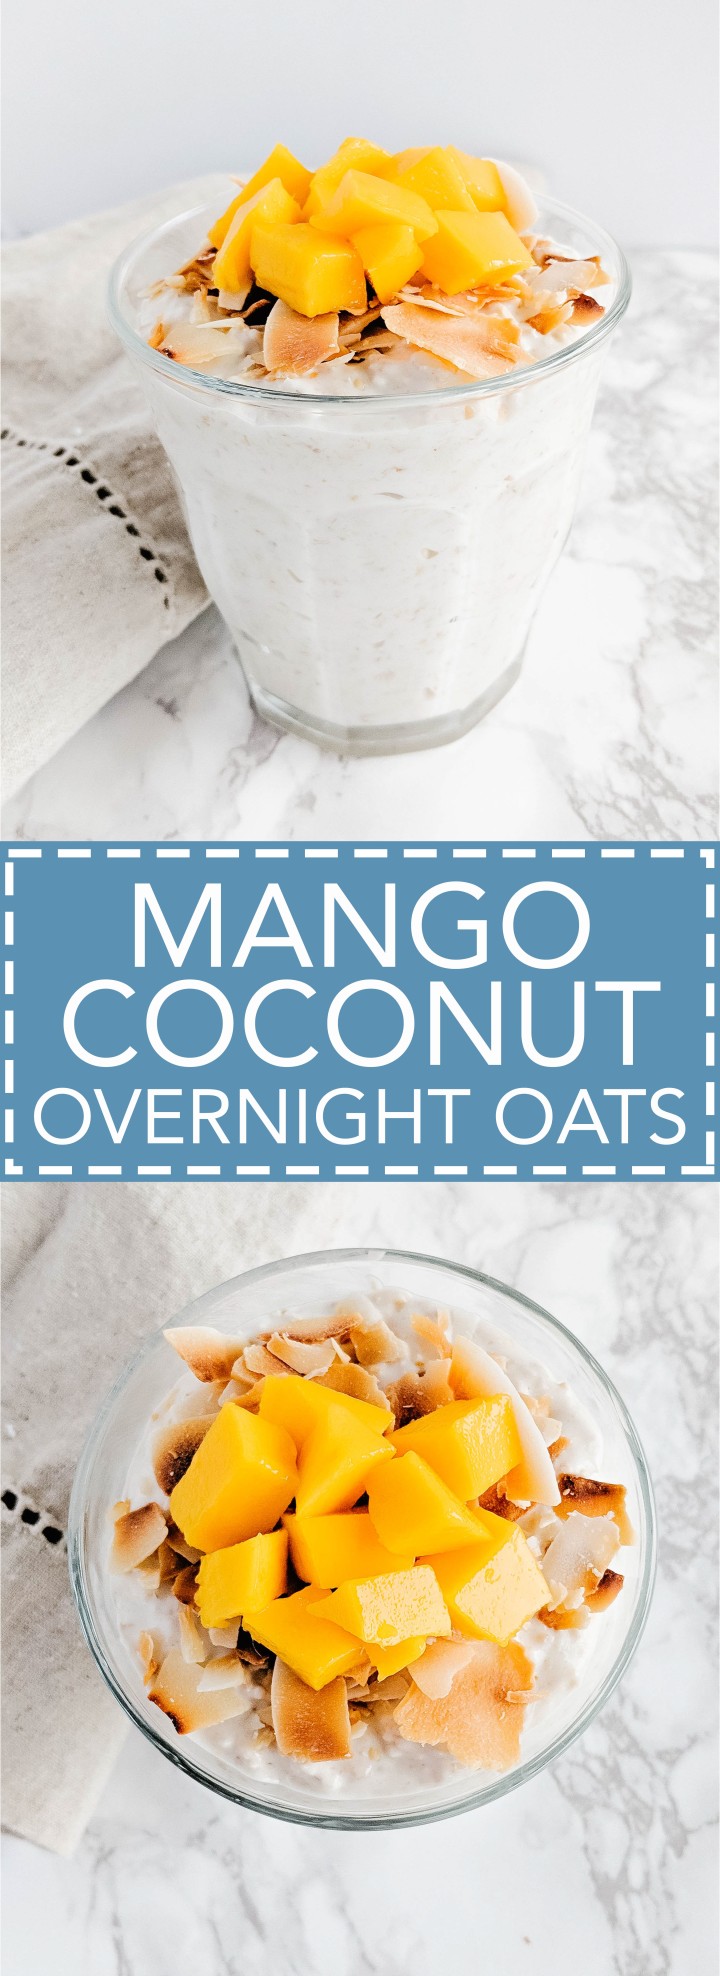
Ok guys this recipe is a real winner. It is decadent, sweet, filling and healthy. Whole grains, unsweetened coconut milk, high protein greek yogurt, a touch of honey and fresh mango make this breakfast fast filling and delicious. I was shocked how good this tasted. How had I never though to add coconut before? I love overnight oats for the ease and convenience. You can even prep a few days worth and have breakfast to go all week.

If you’ve been reading my blog for a while now you know I love a fast recipe, especially for breakfast. it brings me so much joy to experiment and make delicious recipes that take a little extra effort. But that isn’t always realistic. Life is just busy. And I just cant bring myself to make some elaborate breakfast during the week. Honestly I rarely do it on a regular weekend. These kind of delicious make ahead breakfasts are perfect. They feel special but are really simple. And just freakin delicious!

IMG_20190224_091949-2x3IMG_20190224_092054-2x3

Mango Coconut Overnight Oats

Yields: 2-3 servings

Ingredients:

  •  1 cup Rolled Oats
  •  1 cup Canned Coconut Milk
  •  1 cup Coconut Greek Yogurt (I used 2%)
  •  1 tbsp Honey
  •  1 tsp Vanilla
  •  4 tbsp Unsweetened Coconut Chips, toasted preferred
  •  1/2 Mango, chopped

Directions:

In a bowl combine rolled oats, coconut milk, greek yogurt, honey and vanilla in a medium bowl. Transfer to an air tight storage container and place in the fridge overnight.

If you can’t find pre toasted coconut chips (or flakes) you can make your own by baking then on a sheet pan for 5-10 minutes at 325°F. Once bake cool and store in an air tight container for up to a week.

When ready to eat, place oats in a serving bowl. Top with toasted coconut and chopped mango. Enjoy!

Adapted from Eat Drink Love.

Healthy Mango Coconut Overnight Oats - Yum!
« Previous Page
Next Page »

Primary Sidebar

Danielle at Home

Hi, I’m Danielle. I am a twenty something woman working her office job by day and blogging at night! I’m married, a new home owner and I love sharing all my favourite things on this blog. So grab a glass of wine and follow along. I’m so glad you’re here!

SUBSCRIBE & FOLLOW

Pinterest
Instagram
Facebook
Twitter

Footer

Copyright © 2025 Danielle at Home on the Foodie Pro Theme