Simple delicious whole food ingredients smothered is the best dressing ever invented.
Happy Saturday guys! I’m popping on here today to share a staple salad and a dressing that can be used to make just about anything taste delicious! This recipe is actually adapted from a recipe my husband got from an old roommate. Many years ago my husband, then boyfriend made us glory bowls for dinner. It was one of the first dinners he ever cooked for me. At this time I was still living at home and honestly hadn’t cooked much, he was the better cook back then. I watched him prep the ingredients, cook rice, grill chicken and make the most amazing dressing. I was so impressed! Since then his recipe for glory dressing has evolved and the scrape of paper the recipe was written on is scribbled with notes and splattered with soy sauce. Isn’t that a sign of a well loved recipe? I think so.

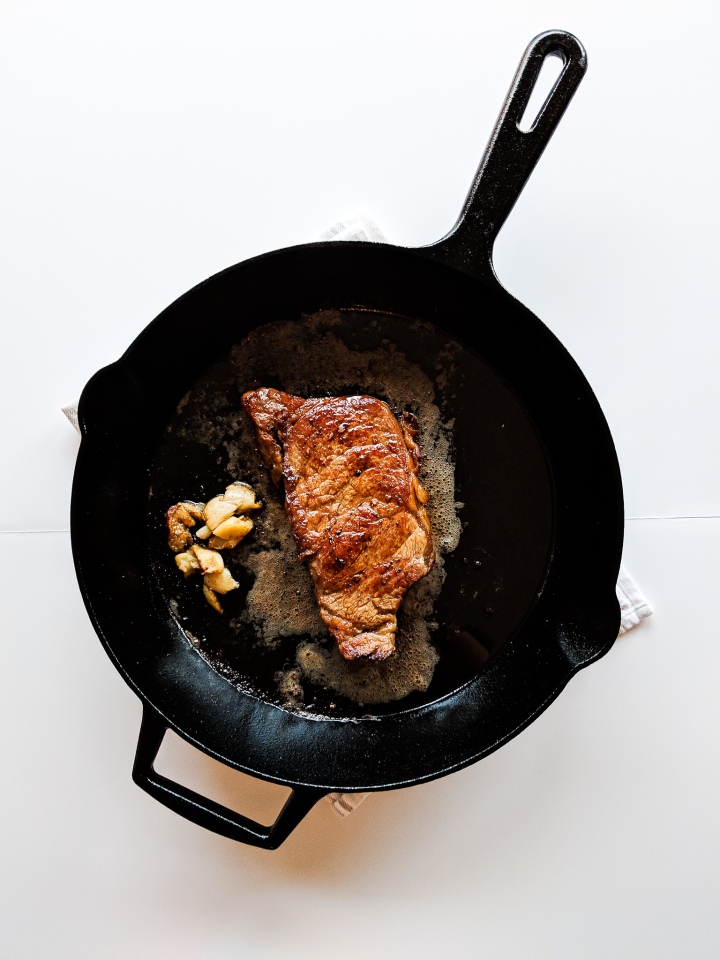
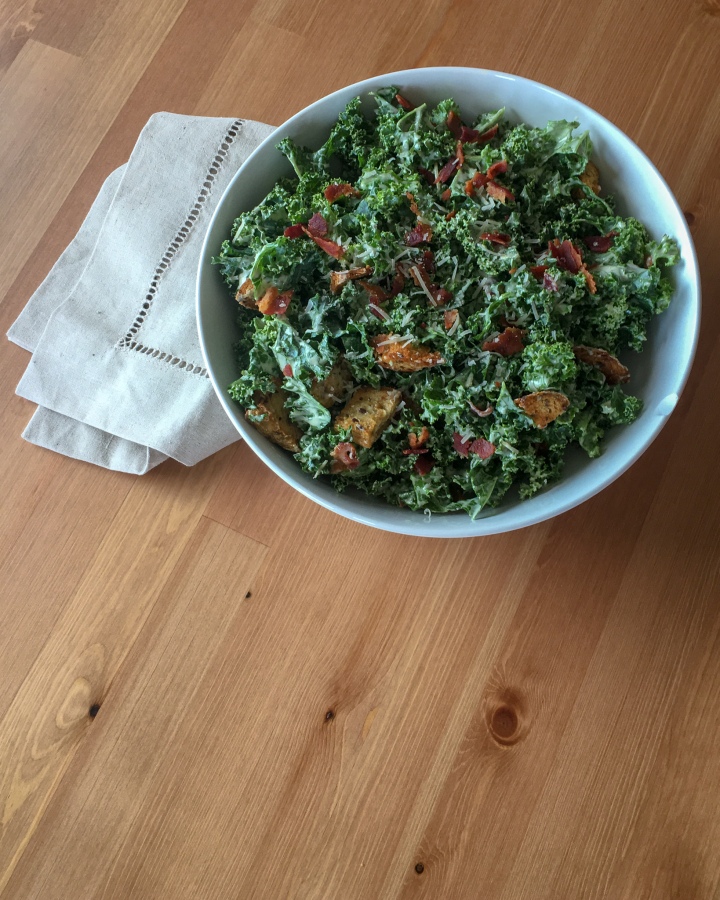
The best thing about the recipe I’m sharing today is how customizable it is. Today I’m sharing a simple but hardy salad full of whole grains and delicious vegetables. I’ve added grilled chicken, crispy tofu, sliced steak and soft boiled eggs to this salad to round out the meal. You can also switch up the vegetables, add cucumber and pickled red onion, or ad roasted cauliflower and sweet potatoes. The world is your oyster. This is really just a jumping off point for your own creativity!
Now the dressing, it’s made up of olive oil, tahini, soy sauce, apple cider vinegar, garlic and sesame oil. I recommend making this dressing in a blender or a magic bullet. You can make it by hand, but I like the magic bullet because it emulsifies the oil and makes the dressing super creamy. Also you can skip the step of chopping garlic, because lets be honest chopping garlic is the worst!
Once the dressing is made pick your favourite grain and veggies toppings, assemble and smother with dressing. You won’t regret it!
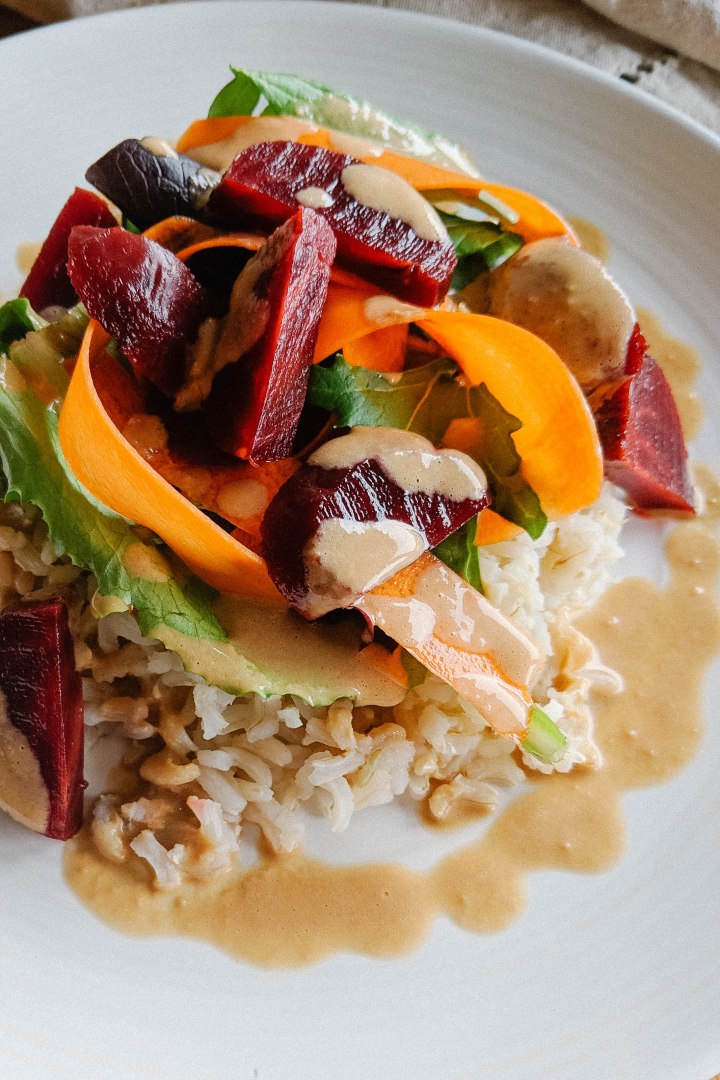
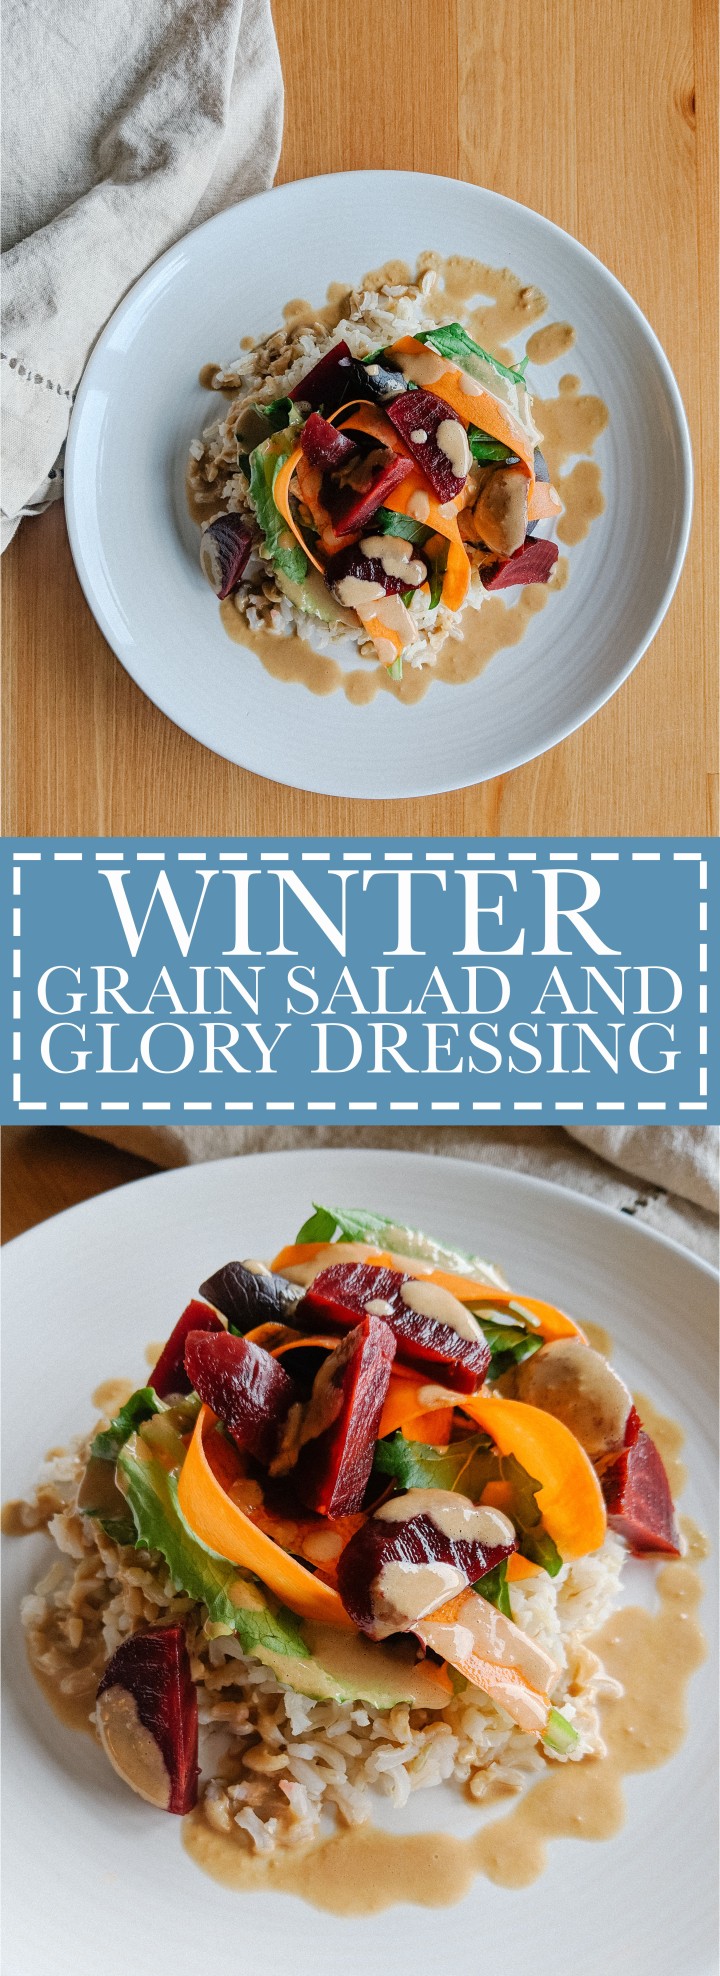
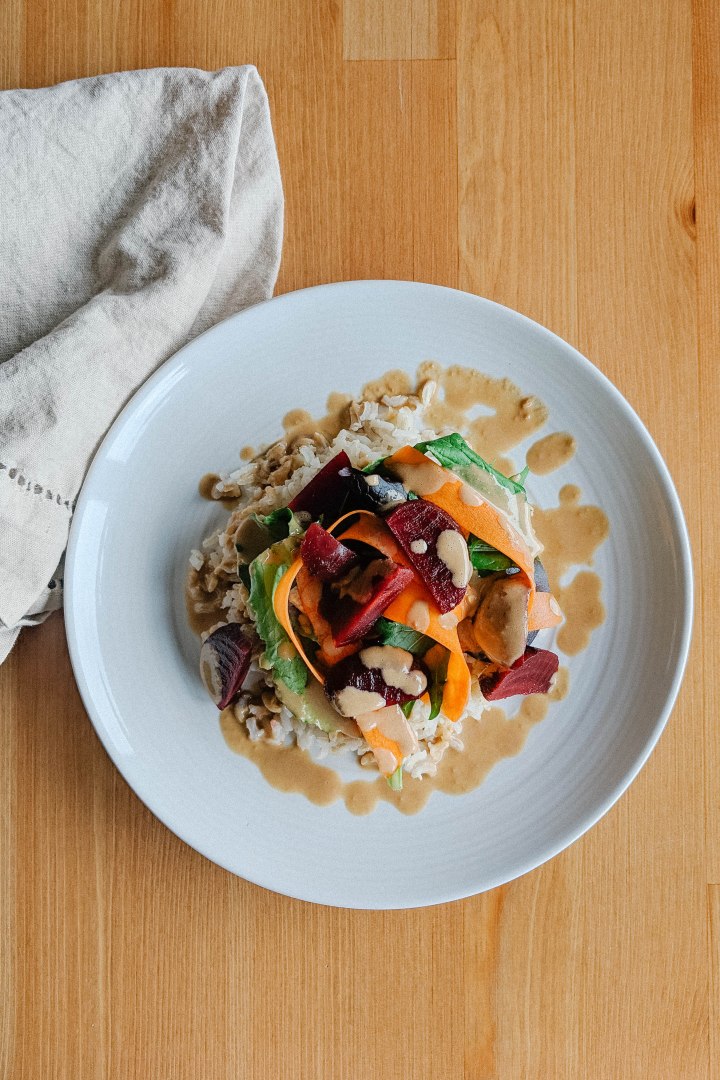
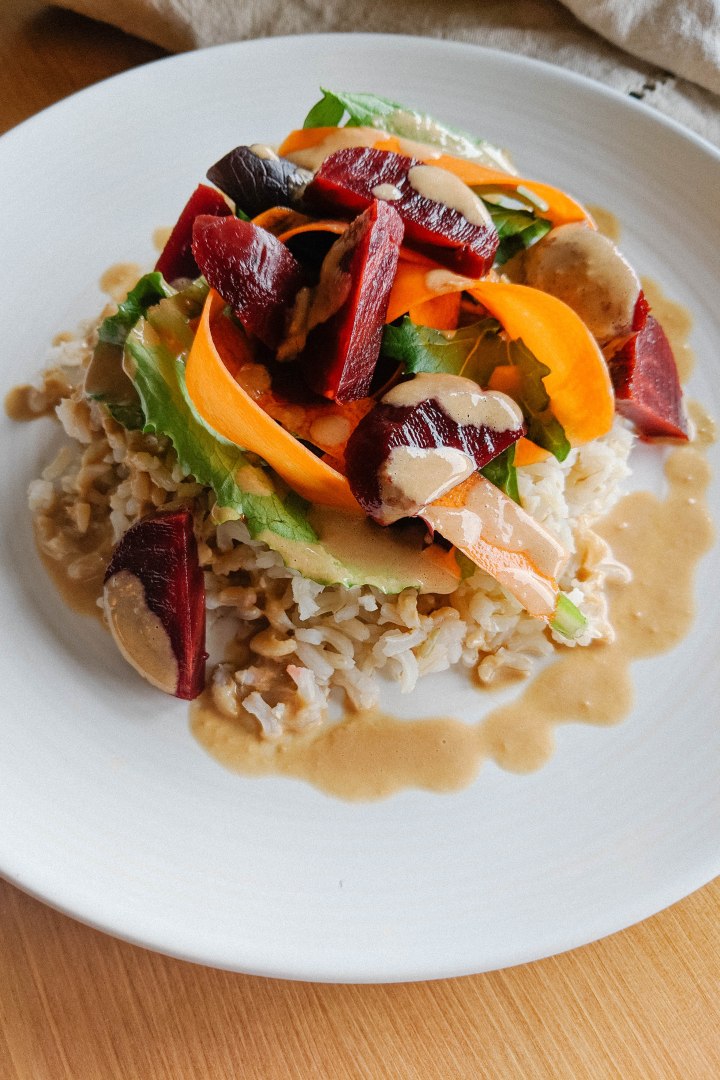
Winter Grain Salad with Glory Dressing
Yields: 2 cups dressing & 4 salad bowls
Salads:
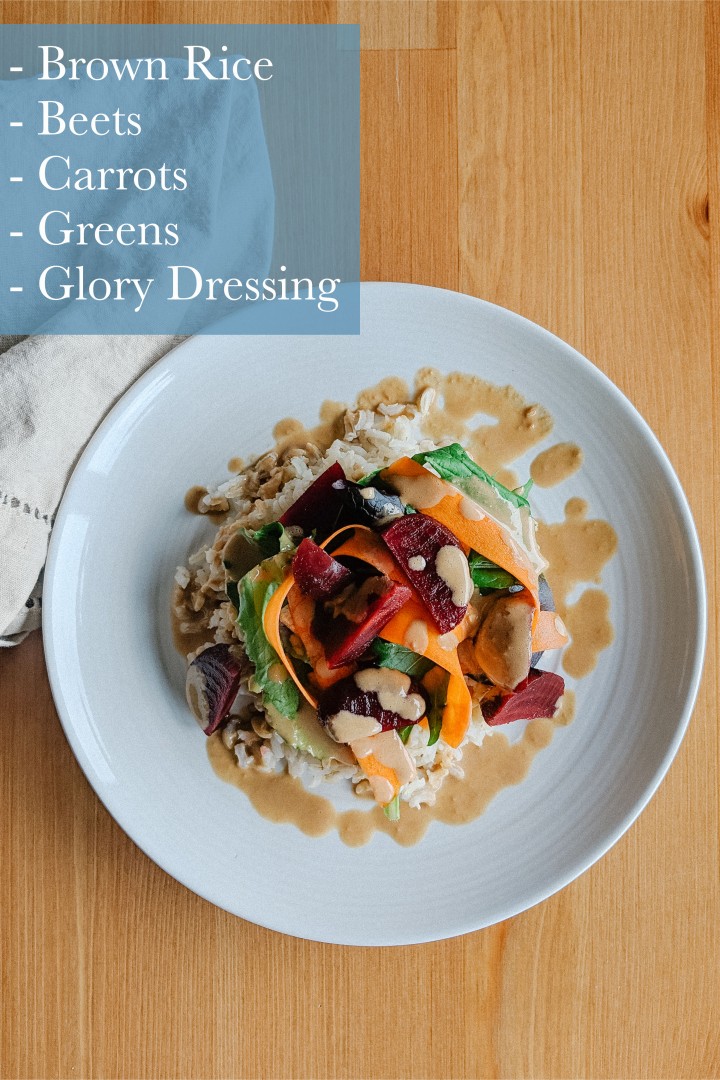
- 3 cups Brown Rice, cooked
- 4 Cups Spring Mix
- 2 Carrots, raw grated
- 4 Beets, cooked sliced
- Optional: chicken, steak, crispy tofu, soft boiled egg
Dressing:
- 3 tablespoons Tahini
- 1/2 cup Soy Sauce
- 1/4 cup Apple Cider Vinegar
- 1/4 cup Water
- 2 Garlic Cloves
- 1 cup Olive Oil
- 1 teaspoon Sesame Oil
Directions:
Add dressing ingredients to a blender, blend until smooth and emulsified.
Place a bed or rice into bowls or on plates, top with spring mix, sliced beets, grated carrots and optional protein toppings. Drizzle dressing over the salad. Serve immediately.
Dressing keeps up to week in your refrigerator.
You may also like…