I love all carbs, but noodles are my favourite! I always get cravings for Baked Macaroni and Cheese in the fall and winter. It’s just so comforting. I know the box stuff is convenient but it’s not the same. I have also tried all of those trick for making a single serving in the microwave and I’m sorry but that just wont cut it! Homemade with a roux and cream sauce os the only way!
I have been making homemade Baked Macaroni and Cheese since I was a teenager. In high school I used to make it every Monday night for my brother and I to have for dinner before heading off to dance and soccer. I used a recipe out of one of my mom’s well used cookbooks and would top the whole thing with ritz crackers instead of breadcrumbs. It was good, but even back then I knew it wasn’t perfect.
It was dry, there wasn’t enough cheesy flavour and the noodles were way too soft. For years I didn’t make Baked Macaroni Cheese. There is a store by my house that sells a decent Baked Macaroni and Cheese, so when I need my fix my husband runs out and grabs some (he knows to keep me well fed!). Since it’s just the two of us it seemed like over kill to make a whole pan. But one morning I was watching cooking videos on Youtube and got inspired to perfect my Baked Macaroni and Cheese recipe.
This recipe it perfect. It solved all the issues I had in the past and I really learned a lot about making Baked Macaroni and Cheese.
- Undercook your pasta. Always undercook your pasta when making a Baked Macaroni and Cheese. Then you won’t end up with bloated macaroni
- Use the strongest and highest quality cheese you can afford. You want to get the most flavour out of your cheese as possible. Find the best old cheddar cheeses you can find, you wont be disappointed.
- Make way more sauce then you think you need. The sauce to noodle ratio should alarm you, you should be terrified that your making soup instead of macaroni and cheese. All kidding aside you need a lot of sauce!
If you can remember those three things your Baked Macaroni and cheese will turn out perfect. I hope that this recipe makes it to your table this fall.
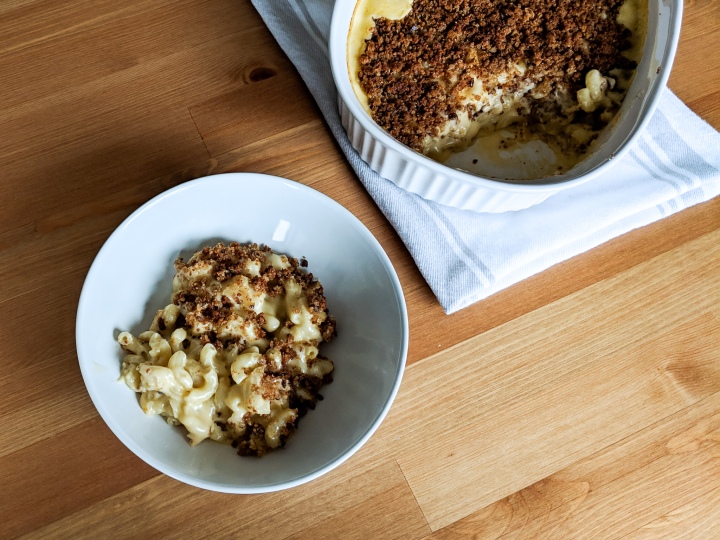
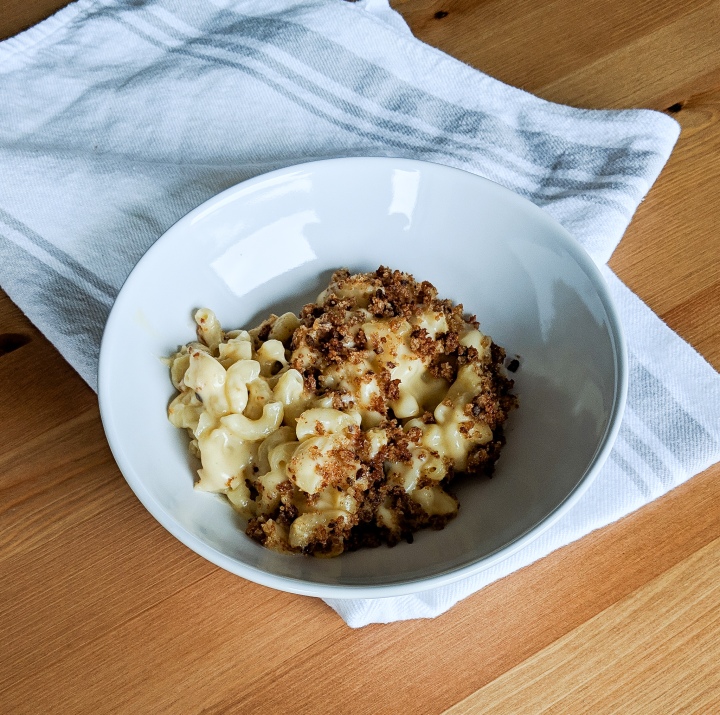
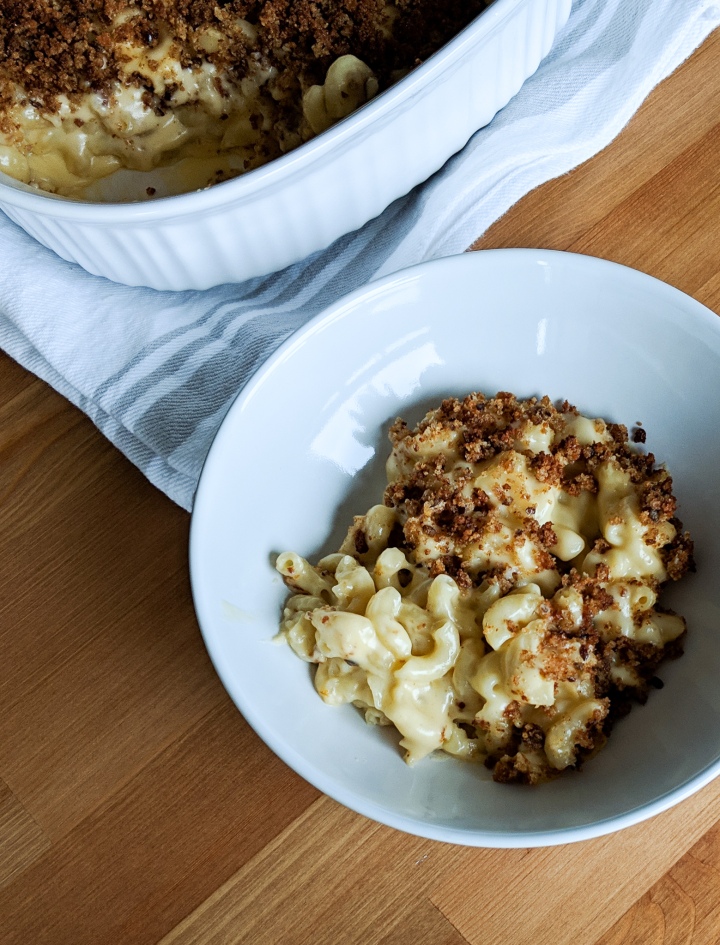
Baked Macaroni & Cheese
Yields: 6 servings
Ingredients:
8 Ounces Elbow Macaroni
- 1/4 Cup Butter
- 1/3 Cup All Purpose Flour
- 3 Cups Whole Milk
- 8 Ounces Aged Old White Cheddar (crumbled or grated)
- 4 Ounces Sharp Orange Cheddar Cheese (crumbled or grated)
- 1/4 Teaspoon Salt
- 1/4 Teaspoon Chili Powder
- 1/8 Teaspoon Garlic Powder
- 1 Cup Plain Breadcrumbs
- 2 Tablespoons Butter, melted
Directions:
Cook macaroni according to package directions, but reduce the cook time by 2 minutes. You need very al dente pasta for this recipe. Drain pasta and set aside.
Preheat the oven to 350 °F. Grease an 8 inch baking dish with butter or oil.
In a large sauce pan melt butter over medium heat. Whisk in flour and continue to cook for about 2 minutes. Slowly whisk milk into the roux. Whisk constantly to combine the mixture and prevent milk from burning. Continue to cook the mixture until it thickens, about 10 minutes. Whisk sauce occasionally.
Once the sauce has thickened reduce the heat to low. Add the cheese to the sauce, stir to combine. Season the sauce with salt, chili and garlic powder.
Fold cooked macaroni to the sauce to coat. Transfer the mixture to your prepared baking dish. Set aside.
In a small bowl mix together breadcrumbs and melted butter. Sprinkle the mixture over the macaroni and cheese. Bake for 25 minutes until the top is golden and the macaroni and cheese is bubbling.
Adapted from Seasons and Suppers
You may also like…