Fresh pasta and spring vegetables tossed in a creamy and cheesy sauce…
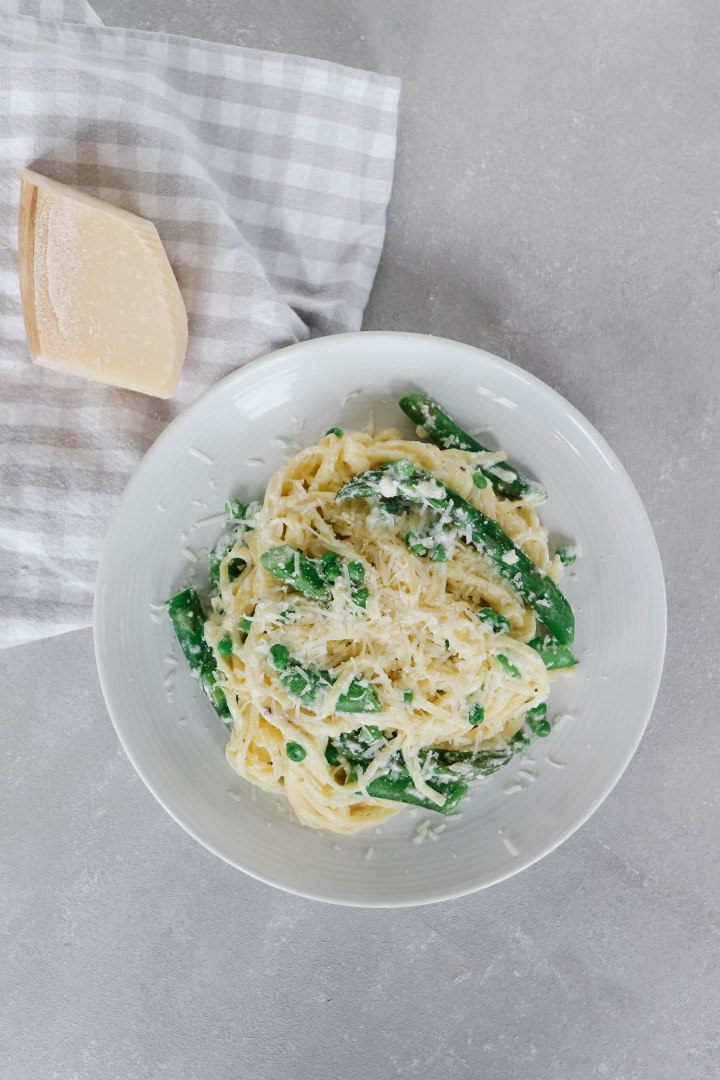
I’m a serious pasta lover and I’m really surprised I haven’t shared more pasta recipes on the blog yet. I have shared a few, lasagna and spaghetti and meatballs, but that’s just not enough carbs! We’re going to change that. Today’s recipe contains tender and delicious spring vegetables, a ricotta cream sauce and fresh linguini. It’s perfect for spring.
The vegetables in this pasta are the true star. Asparagus, snap peas and english green peas. The asparagus and snap peas are sautéed in olive oil with minced garlic and shallots. This gives the vegetables a delicious flavour. Toss the frozen english peas in at the end to warm through and infused with delicious flavour.
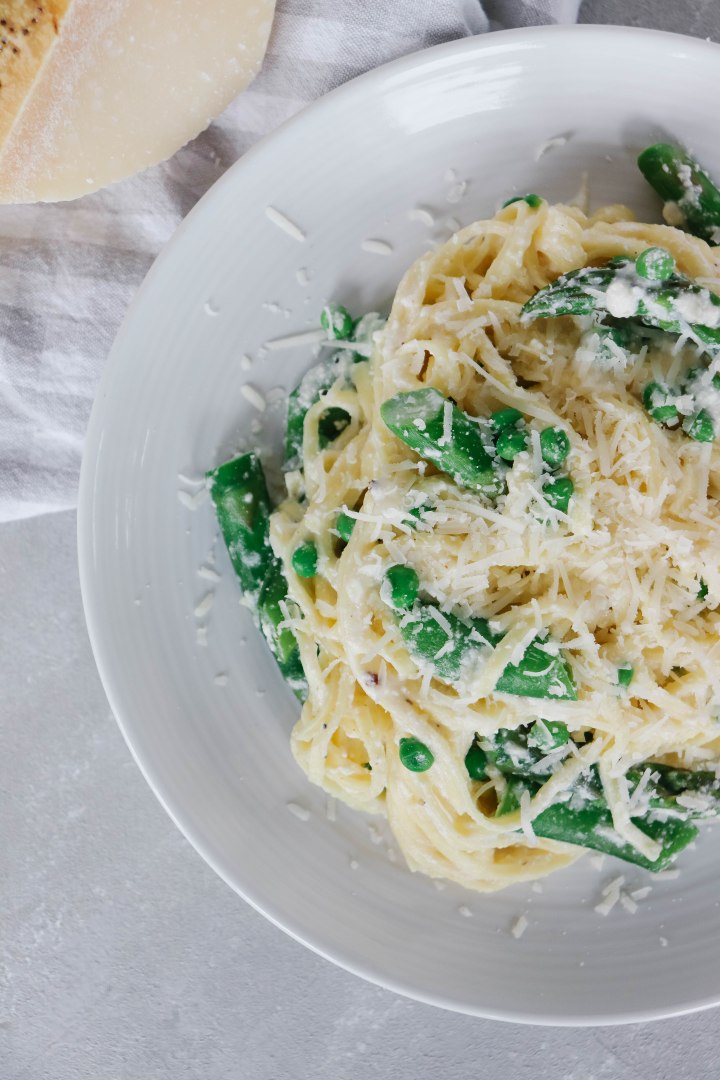
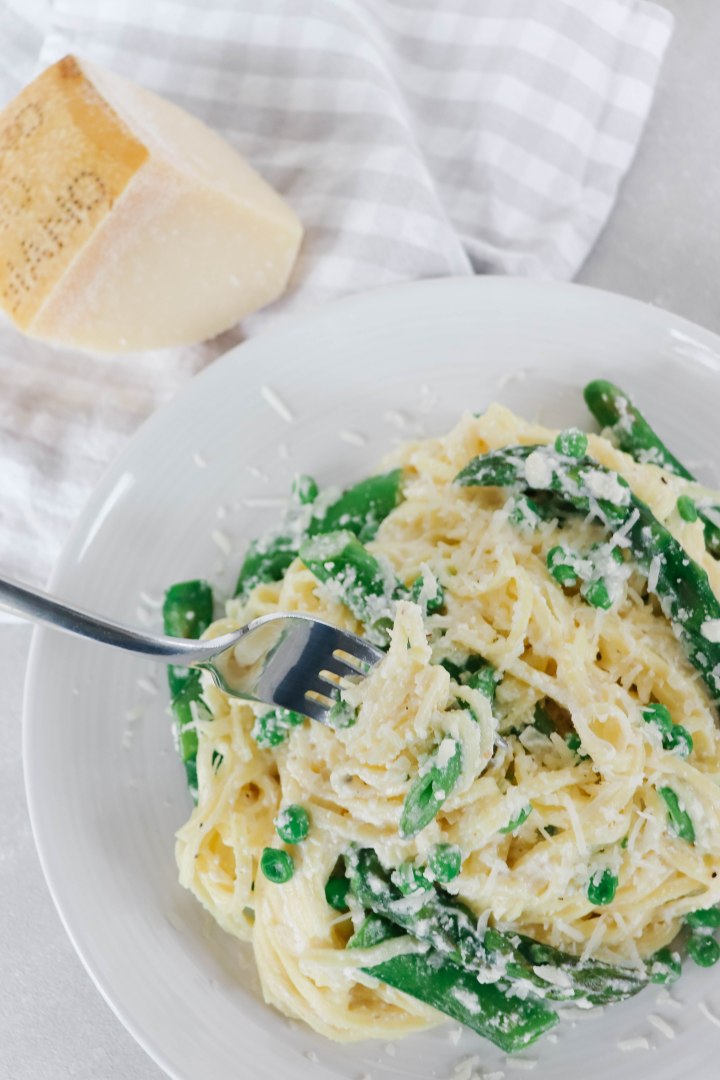
Now the sauce is super simple. It’s just a few ingredients warmed together and reduced slightly. The sauce is just milk and ricotta cheese that is liberally seasoned with salt and pepper. Once the sauce vegetables and pasta are combined that’s when the magic happens…. and the magic is parmesan cheese and pasta water. It is the ONLY way to pull a pasta dish together. Toss a bit of pasta water in with your pasta and sauce to loosen and have all the components combine. The parmesan cheese melted into the pasta takes the flavour over the top! It takes things from delicious pasta to NEXT LEVEL delicious pasta!
Ok now run to the store get your ingredients and get cooking. I promise this recipe will deliver!
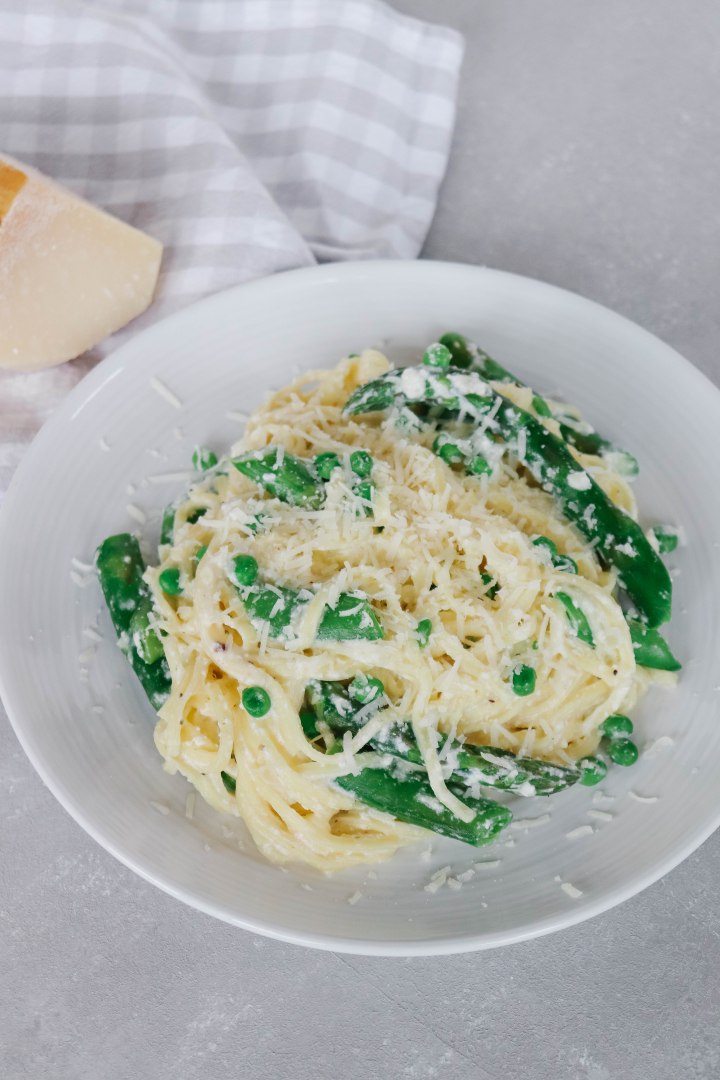
Spring Vegetable Pasta with Ricotta Cream Sauce
Yields: 4 servings
Ingredients:
- 4 ounces Snap Peas
- 8 ounces Asparagus, trimmed and sliced in half
- 2 tbsp Olive oil
- 1 cup English Green Peas (fresh or frozen)
- Shallot, finely chopped
- 2 Garlic Cloves, minced
- 12 ounces Linguini (I used fresh but dry also works great)
- 3/4 cup Ricotta Cheese
- 1/2 cup Milk (I used whole but 2% would also work)
- 2/3 cup Parmesan Cheese, grated
- Salt & Pepper to taste
Directions:
In a sauté pan over medium low heat sauté shallots, garlic, snap peas and asparagus for 5 minutes or until tender. Season with salt and pepper. Toss peas with the other vegetables until heated though, about 1-2 minutes. Remove from the pan and set aside.
Bring a large pot of salted water to a boil, cook pasta according to package instructions. Before draining remove one cup of pasta water and set aside.
Meanwhile add ricotta and milk to the pan. Heat for 10-15 minutes until warmed though, simmering and slightly reduced. Season with salt and pepper.
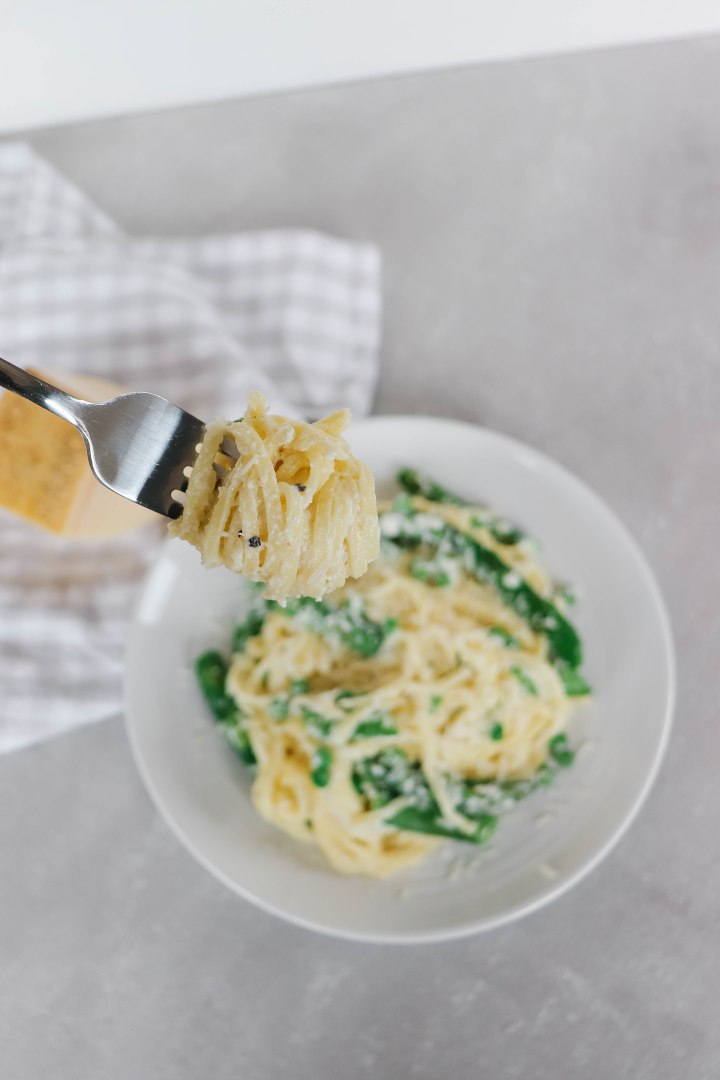
Add vegetables and cooked pasta to the sauce. Toss until combined. Depending on how dry your pasta is you will need to add pasta water. I always add at least a 1/4 cup but typically add about 1/2 cup. In addition to the pasta water add the parmesan cheese. Toss the pasta until the water in combined with the sauce and the cheese has melted. Taste and adjust seasoning if needed.
Serve immediately and top with additional parmesan cheese if desired.
Adapted from Pasta Primavera with Asparagus and Peas.


 ,/div>