• Skip to primary navigation
  • Skip to main content
  • Skip to primary sidebar
  • Skip to footer

DANIELLE AT HOME

  • HOME
    • About
    • Contact
  • LIFESTYLE
    • Favourites
    • Goals
    • Home
      • DIY Projects
      • Organization
    • Holidays
      • Christmas
      • Easter
      • Halloween
      • New Years
      • Thanksgiving
      • Valentine’s Day
      • Gift Guides
  • STYLE
  • WELLNESS
  • FOOD + DRINK
    • Appetizers
    • Breakfast
    • Dessert
    • Drinks
    • Side Dishes
    • Snacks
    • Holiday Recipes
      • Christmas
      • Cinco De Mayo
      • Easter
      • Father’s Day
      • Halloween
      • Mother’s Day
      • New Years
      • St. Patrick’s Day
      • Thanksgiving
      • Valentine’s Day

New Years

Grapefruit and Ginger Champagne Cocktail

December 28, 2018 by Danielle Leave a Comment

Hi everyone! I’m back to blogging after a little Christmas break. It was so nice to get out of the kitchen and visit with all our family for a few days. It was hectic and I’ll admit I’m still exhausted from travelling but it was well worth it. We had a really great Christmas. I hope you all did too.

Now we’re all in this awkward stage between Christmas and New Years where like isn’t totally normal yet and chocolate and sweets are a main food group. I went back to work the day after boxing day and I will admit that really messes with my post Christmas coma I typically enter into. But it’s almost the weekend and then before we know it it will be New Year’s Eve.

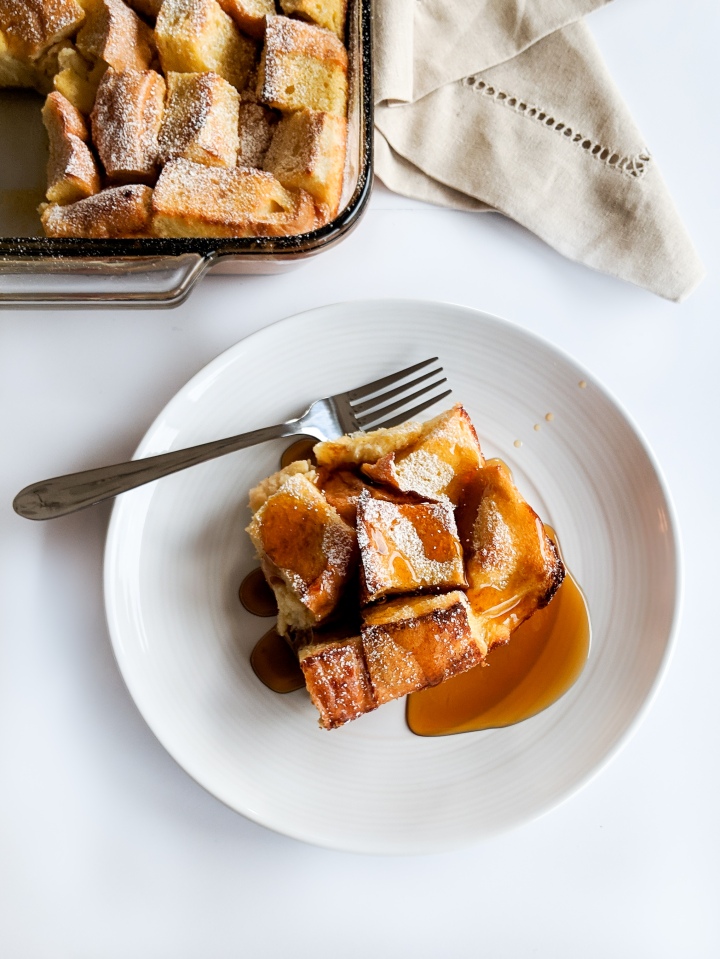
New Years Eve is my jam, but I’m very particular in how I spend it. I’ve been on trips to Mexico, snowboarding, parties, game night and fancy dinners. But the only way we spend our New Years now is at home. We decorate the house, dress down in brand new comfy sweats eat fabulous food and drinking the best cocktails and wines. We play games, watch movies. And our strangest but favourite tradition is eating homemade cinnamon buns and drinking champagne while watching the ball drop at midnight. Then we stay up until 2 am chatting about our hopes, dreams and goals for the next year. It is one of the best nights of the year!

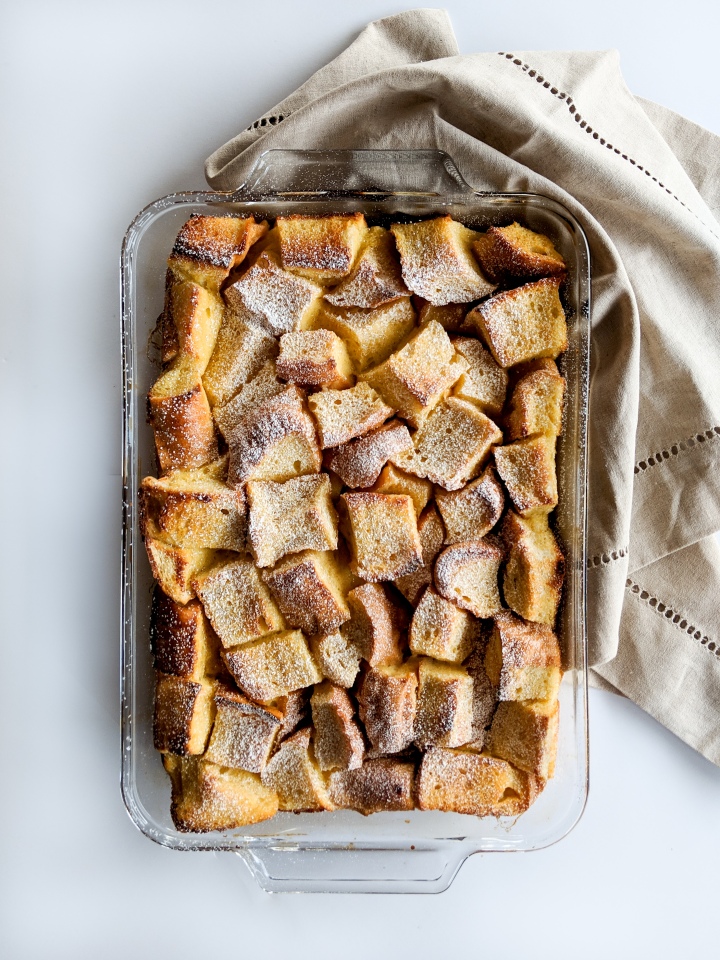
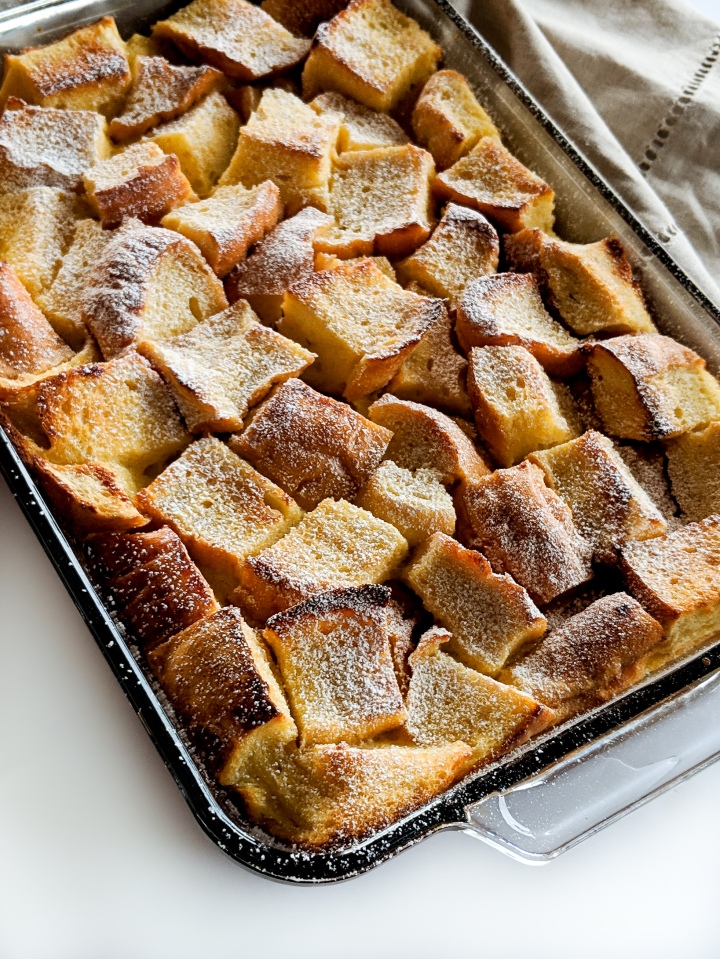
In the past I’ve cooked an elaborate dinner for New Years, but this year I am working, so we are doing appetizers only. I’m planning a charcuteries platter, baked brie, various homemade dips with the best bread in town and all of the homemade puff pastry appetizers in my freezer (yum!). I will be making fresh homemade cinnamon buns for midnight so I thought that keeping it simple with our savoury options was the right choice.

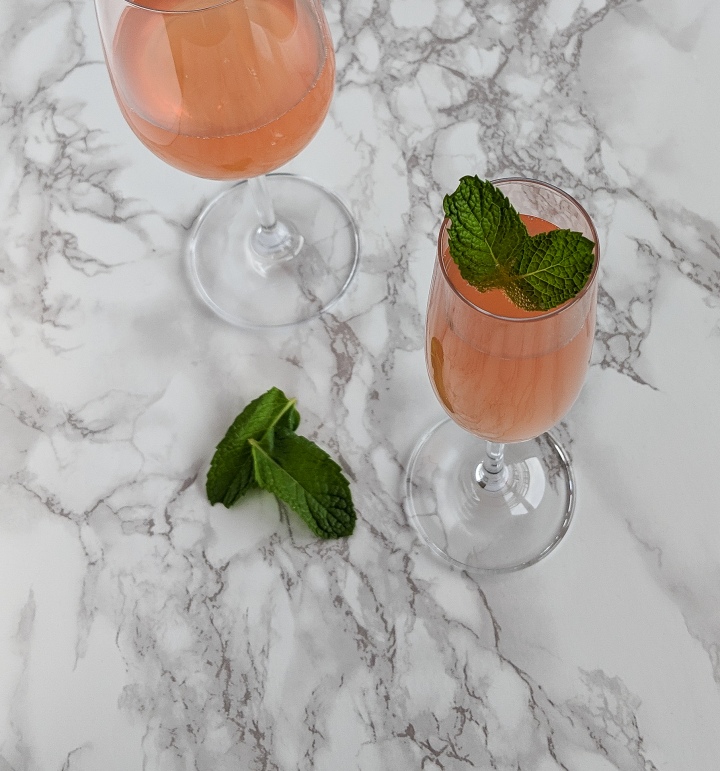
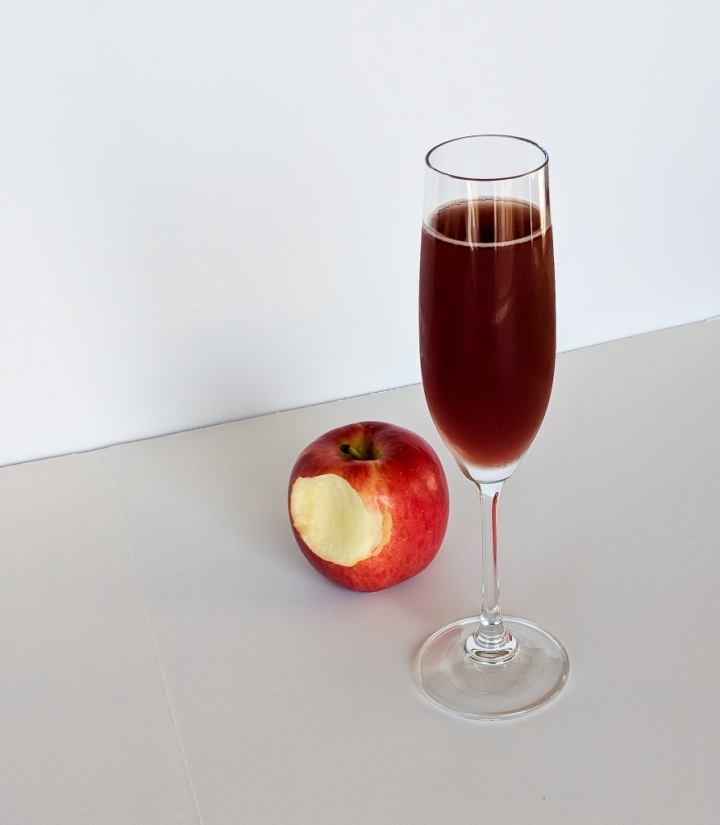
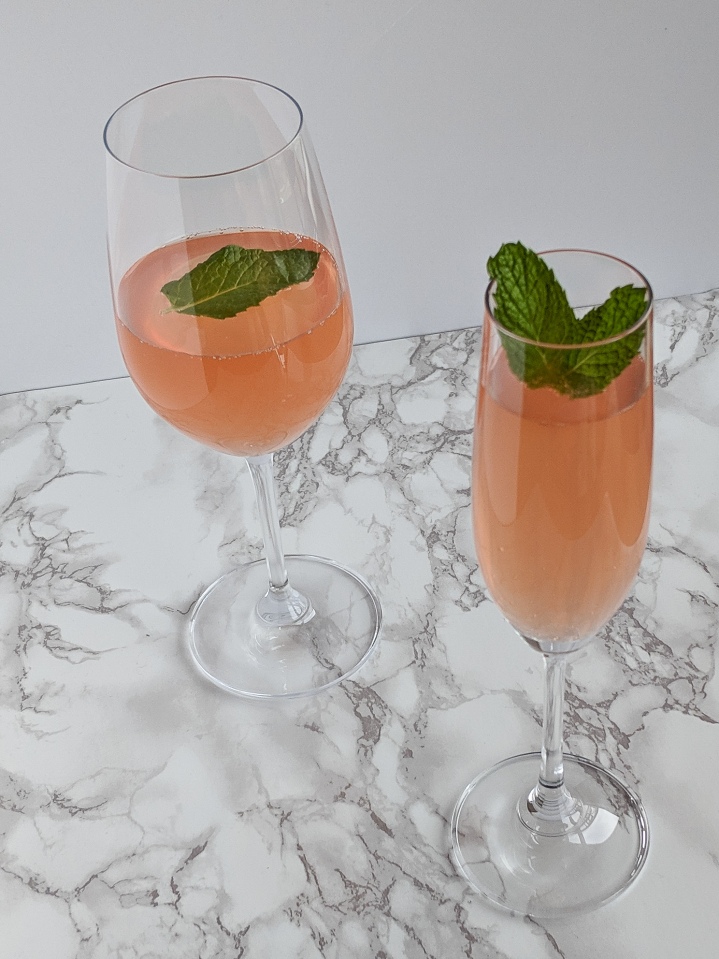
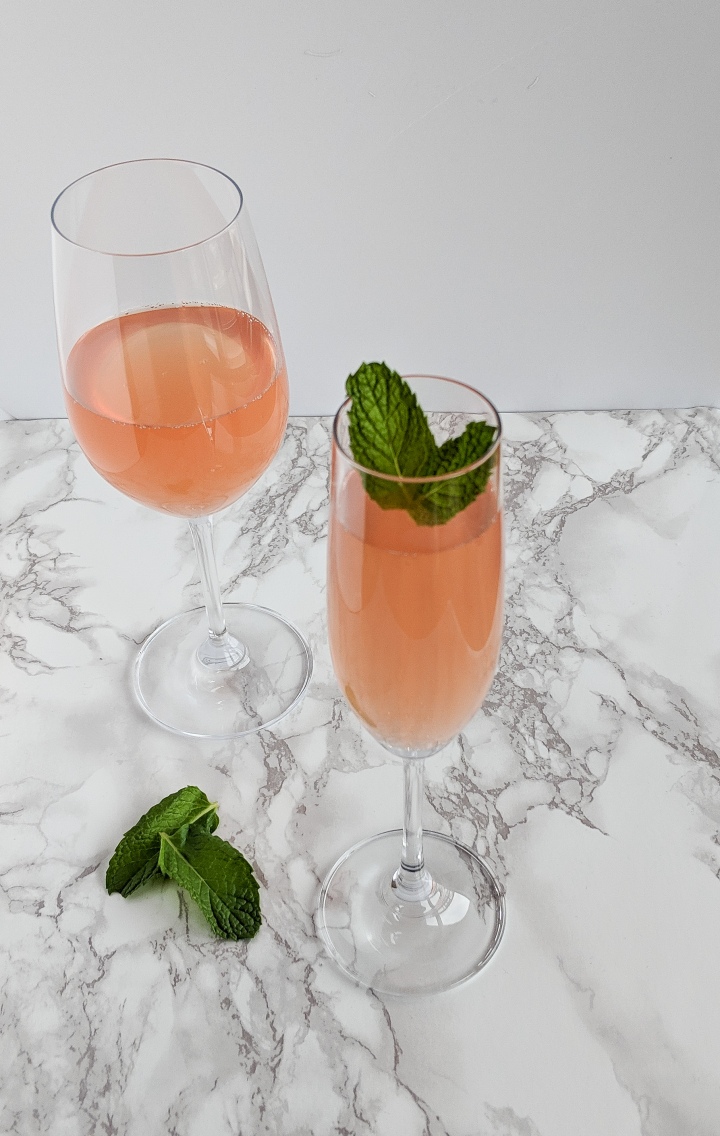
I’m also saving myself time so that I can make some delicious champagne cocktails. The recipe I’m sharing today has been a staple at our New Years Eve celebration for a few years now and I just cant get enough. I think it’s great to leave cranberry and pomegranate behind after Christmas and celebrate the brighter flavours of the season like citrus. Such as grapefruit. I love the colour a ruby red grapefruit gives this cocktail and the addition of ginger ale helps to sweeten things up and give another dimension of flavour. This is perfect for a small party where you have time to make your guests drinks. It is super fun and festive for New Years. I hope you enjoy it.

Grapefruit and Ginger Champagne Cocktail

Yields: 1 cocktail

Ingredients

  • 1 ounce Vodka
  • 1 ounce Ruby Red Grapefruit Juice (blood orange is great too!)
  • 2 ounces Ginger Ale
  • Champagnes
  • Mint Leaves

Directions:

In a champagne flute combine vodka and grapefruit juice. Add ginger ale, then top with champagne. Garnish with mint leaves.

Adapted from Half Baked Harvest.

Eggnog French Toast Casserole

December 11, 2018 by Danielle Leave a Comment

I have never made Christmas breakfast, but I have hosted a few pre Christmas brunches for friends and you will always fine some form of a french toast casserole on my brunch table. It’s sweet, delicious and always the first thing to go!

Today I am sharing a recipe for Eggnog French Toast Casserole. Now this recipe is based of a bread pudding and doesn’t have a crumble topping like many french toast casseroles do. I just don’t think it needs it. It is sweet and delicious enough sans topping. See I’m trying to save you a few calories for later in the day…. I’m always looking out for you!

What makes this recipe perfect for Christmas morning is that you can prep in all a day ahead and store in the fridge until you’re ready to bake. Then when everyone wakes up you can pop it in the oven and leave it to bake while everyone opens their gifts.

For this recipe I used french bread, but Challah would also be great. I know it can be difficult to find in a regular grocery store, so if you’re trying to make as few trips to the store this Christmas then stick with the french bread. For the best texture when you get home from the store cube your bread and leave it on the counter covered with a kitchen towel. You can leave it there for a few hours or a few days either way it will dry out a bit and soak the custard up much better.

I like to dust mine with powdered sugar and cinnamon, and then top each serving with a healthy dose of maple syrup!

Eggnog French Toast Casserole

Serves: 8-10

Ingredients:

  • 1 Loaf of Bread, french or challah
  • 6 Eggs
  • 3 Cups Eggnog
  • 1/2 Cup White Sugar
  • 2 Tablespoons Bourbon (can substitute for Vanilla Extract, 2 teaspoons)
  • 1/8 Teaspoon Salt
  • Optional: powdered sugar, ground cinnamon, and maple syrup for topping

Directions:

Cut bread into 1 inch cubes. Place in 9×13 baking pan, cover with a dish towel. Set aside to stale for a minimum of 2 hours or up to 48 hours.

In a large bowl whisk together eggs, eggnog, sugar, bourbon and salt. Pour mixture evenly over cubed bread. Cover and place in the fridge for at least one hour or overnight.

Preheat the oven to 350°F. Bake the casserole uncovered for 45 minutes to an hour. The top should be golden brown and a cake tester should come out clean. Dust the casserole with powdered sugar and cinnamon. Serve with pure maple syrup.

Recipe adapted from The Kitchn.

Mulled Wine

December 6, 2018 by Danielle Leave a Comment

Today I have a super quick post today for the perfect warming cocktail. This is the perfect beverage for cold weather. You can serve it at a party, it’s a great post skiing warm up. Or even take it with you on a snowy walk (always remember to be responsible!). I read somewhere that of you want to party like it 1877 make some mulled wine. Clearly someone in North America wrote that since mulled wine is still very popular in parts of Europe. They sell mulled wine at most of the Christmas markets and festivals near me and I love it. It makes things so festive!

This mulled wine has brandy, orange rind, a few fresh cranberries, cloves, cinnamon and star anise. It’s so warming and have so many traditional Christmas flavours. I will be whipping up another batch this weekend to have while we watch Christmas movies and wrap presents.

So since I said I would keep this quick I should probably get into the recipe!

Mulled Wine

Serves: 5-6

Ingredients:

  • 1 bottle of Red Wine
  • 1/4 cup Brandy
  • 1/4 cup White Sugar
  • 3 Whole Cloves
  • 1 Whole Star Anise
  • 1 Whole Cinnamon Stick
  • Peel of Half an Orange
  • 1/4 cup Cranberries, fresh

In a medium sized pot over medium heat add 1/2 cup of wine and sugar. Cook over medium heat until sugar fully dissolves. Add the remaining wine, brandy, spices, orange peel and cranberries to the pot. Reduce heat to low. Continue to heat the wine for 20 minutes. Garnish with additional spices or orange slices. Serve in mugs, or heat proof glasses

Adapted from The Kitchn

You may also like…

Hot Apple Cider
Poison Apple Cocktail

Garlic and Thyme Roast Potatoes

December 4, 2018 by Danielle 1 Comment

IMG_20181123_183128

Ok so I know these aren’t the prettiest pictures, but this is an amazing recipe so I had to share it anyway. This recipe is for a classic English roast potato, kicked up a notch with garlic and thyme. They were so tasty!

This is a riff on my Mom’s roast potatoes. She always makes them with roast beef dinner and they are amazing! She even get chunks of beef fat from the butcher to roast her potatoes in… just like her mom did. Personally that’s a bit much or me. Plus I like to try to make as many side as I can vegetarian, so everyone can enjoy.

I like to use half butter and half olive oil to roast my potatoes. This way you get delicious flavour from the butter, but a slightly higher smoke point for the oil. This will help stop things from burning. And both make for a crispy potato! Yum!

IMG_20181123_183424_1.jpg

This recipe calls for russet potatoes.. I have not experimented with any other type of potato. This is what my mom and Grandma used, so why mess with a good thing?

The most important part about working with potatoes is to let them steam in the colander after cooking,  this is the only way you will get crispy potatoes.

The second rule of this recipe is patience. These potatoes roast for an hour and a half! Yes they do! It takes a long time to get the texture of a signature roast potato! Believe me when I say it is so worth the wait. Patience is a virtue right…. And believe me it will all be worth it!

IMG_20181123_183131

Garlic and Thyme Roast Potatoes

Serves: 6

Ingredients:

  • 5 Russet Potatoes
  • 2 Tablespoons Butter, melted
  • 3 Tablespoons Olive Oil
  • 1 Bunch Thyme
  • 6 Garlic Gloves
  • Salt and Pepper

Directions:

Preheat the oven to 375°F.

In a large pot of salted water, boil potatoes for 8 minutes. Strain potatoes and set aside to steam for 5 minutes.

In a large baking dish or roasting pan add butter and oil (2 tbsp each). Place in your preheated oven for a few minutes until butter is melted (2-5 mins). Remove pan from the oven and add potatoes. Season liberally with salt and pepper, and toss to coat in fat. Roast in the oven for 30 minutes.

In a small bowl place garlic cloves. Tear thyme bunch in half or thirds and add to bowl. Drizzle with oil (about a tbsp). Toss to coat. Remove potatoes from the oven and sprinkle garlic and thyme over the pan. Give the pan a good shake to evenly distribute and return to the oven. Bake for an additional hour.

Remove from the oven and serve immediately…. hopefully with lots of gravy!

Adapted from Jamie Oliver


Baked Brie Braid – 2 Ways!

November 27, 2018 by Danielle Leave a Comment

It’s officially the holiday season, so you know what that means. Lots of holiday entertaining! Today I’ll be sharing a super quick and easy appetizer idea for your next party.

Baked Brie Braids are the perfect way to impress your guests without a lot of effort. It looks fancier then your standard cheese wheel, but it really doesn’t take much effort. I’ll admit it’s barely a recipe.

The two flavours of Bakes Brie Braids I’m sharing today are a classic fig jam and a savoury sun-dried tomato pesto. This couldn’t be easier since all you have to do is assemble and bake… like I said barely a recipe.

Even though it’s crazy easy it’s also crazy delicious and is a really show stopper at any party! Put it alongside some roasted cashews and you’re ready for cocktails!

Baked Brie Braid – 2 Ways

Serves: 8-10

Ingredients:

  • 2 Sheets Puff Pastry
  • 6-8 Slices of Brie Cheese
  • 2 Tablespoons Fig Jam
  • 2 Tablespoons Sun-dried Tomato Pesto
  • 1 Egg, beaten
  • Optional: Pine Nuts or Walnuts for garnish 

Directions:

Preheat the oven to 400 °F. Line a baking sheet with parchment paper and set aside.

Gently mark your puff pasty with a knife to section off the pastry into thirds vertically. Do not cut through the pastry.

Spread fig jam down the center of the puff pastry. Top with 3-4 slices of brie. Using a small knife cut the outer sections of the puff pastry into 1 inch strips. Fold the strips into the centre to cover the cheese and jam, alternating sides to form a braid. Brush the braid with egg wash.

Repeat the steps with the sun-dried tomato pesto.

Place the two braids on the prepared baking sheet. Bake for 25 minutes or until the puff pastry is golden brown. Remove from the oven and top with nuts if desired. Allow to cool for 5 minutes before serving.

Adapted from Entertaining With Beth.

You may also like…

Warm Sweet & Salty Cashews

The Perfect Steak

November 22, 2018 by Danielle Leave a Comment

The first time I ever cooked a steak was for my now husbands 24th birthday. I was 20 years old and we had only been dating about 8 months. I wanted to make his birthday really special. I took on a pretty ambitious menu; steak, mashed potatoes, green beans, homemade bread and peach cobbler for dessert. I had literally never cooked any of these items before. I’ve always had confidence in the kitchen and after reading many recipes I thought I could do it.

I decided I would make the steak by searing in a fry pan, finishing in the oven and I would top it all off with compound butter. Pretty ambitious. So armed with my list of ingredients I went to the store. Since I was a broke college kid you can imagine that this dinner was costing me quite a bit of money. So when i got to the meat section to pick out my steaks my heart sank. All I could afford was the fast fry steaks… no sirloin or rib eye here. I was disappointed, but figured steak was steak and bought them anyway. It would still be the best steak of his life right?

I hate to spoil the ending, but the steak was not the best he had ever had. It was dry and overcooked. Not my best, but we both had budget pallets so it wasn’t so bad. Ever since then I have been on a mission to cook the perfect steak. 


For me the perfect steak is:

  • Top Sirloin, Rib Eye or Fillet
  • Seared in cast iron
  • Medium Rare
  • Seasoned with salt, pepper, butter and garlic

I am obsessed with cooking my steak this way… maybe its all the butter and garlic. Whatever it is I really enjoy it. And my husband defiantly doesn’t miss the days of over cooked, tough fast fry steaks.

The Perfect Steak

Servings: 2

Ingredients:

  • 2 Thick Cut Steaks (Top Sirloin is my fav!)
  • 2 Teaspoons Canola Oil
  • 2 Tablespoons Butter
  • 3 Garlic Cloves, smashed
  • Salt and Pepper

Season the steaks liberally with salt and pepper on both sides. Rub canola oil on both sides of the steak. Set aside to come to room temperature.

Preheat the oven to 400 °F. Place your cast iron pan in the oven to preheat. Once your oven has preheated remove the pan from the oven. Place the pan on your stove over high heat.

Once your skillet is smoking add your steaks. Sear the steaks on he first side (30 seconds – 1 minute). Flip the steak and repeat. Add smashed garlic and butter to the cast iron pan. Place the pan in the oven cook for 2 minutes. Remove the pan from the oven, flip the steak and baste with melted butter. Repeat this process until the steak is cooked to your preference. Personally I cook mine for 4-6 minutes depending on thickness. For accurate cooking I highly recommend an instant read meat thermometer.

Allow steak to rest uncovered for 5-10 minutes before serving. I place garlic cloves and pour basting juices over the steaks while they rest for extra flavour.

You may also like….

Baked Macaroni and Cheese
Next Page »

Primary Sidebar

Danielle at Home

Hi, I’m Danielle. I am a twenty something woman working her office job by day and blogging at night! I’m married, a new home owner and I love sharing all my favourite things on this blog. So grab a glass of wine and follow along. I’m so glad you’re here!

SUBSCRIBE & FOLLOW

Pinterest
Instagram
Facebook
Twitter

Footer

Copyright © 2025 Danielle at Home on the Foodie Pro Theme