Happy Belated Canadian Thanksgiving! I spent the whole weekend spending quality time with family, enjoying delicious food and drinks. It was great to disconnect from my phone and just hangout all weekend. Now that I’m back home it’s back into the kitchen, and today I am sharing a recipe for Pumpkin Chocolate Chip Cookies.
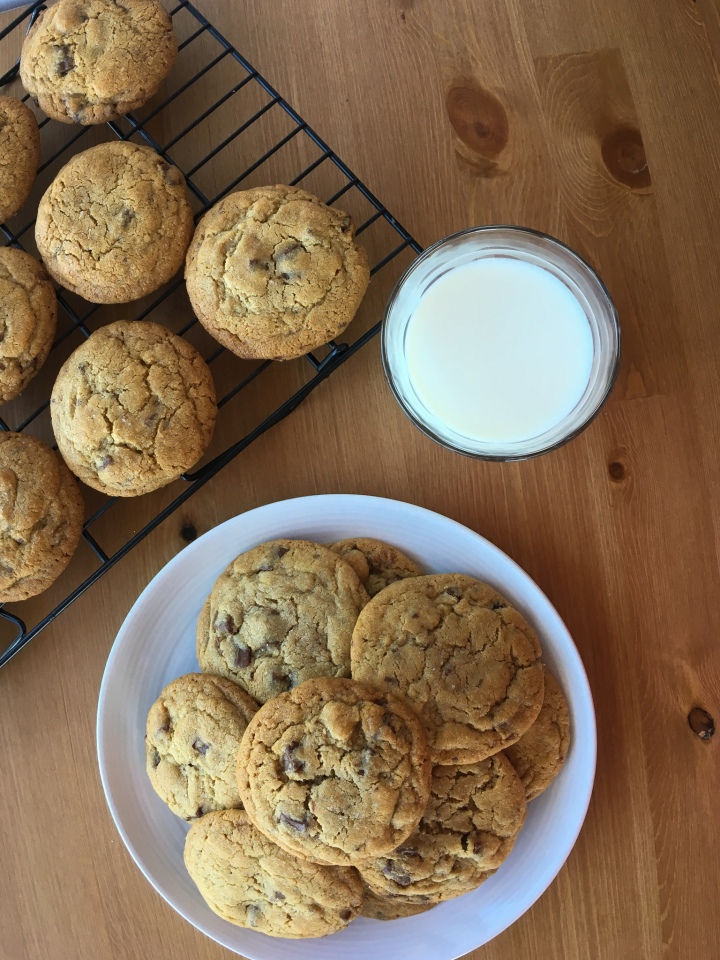
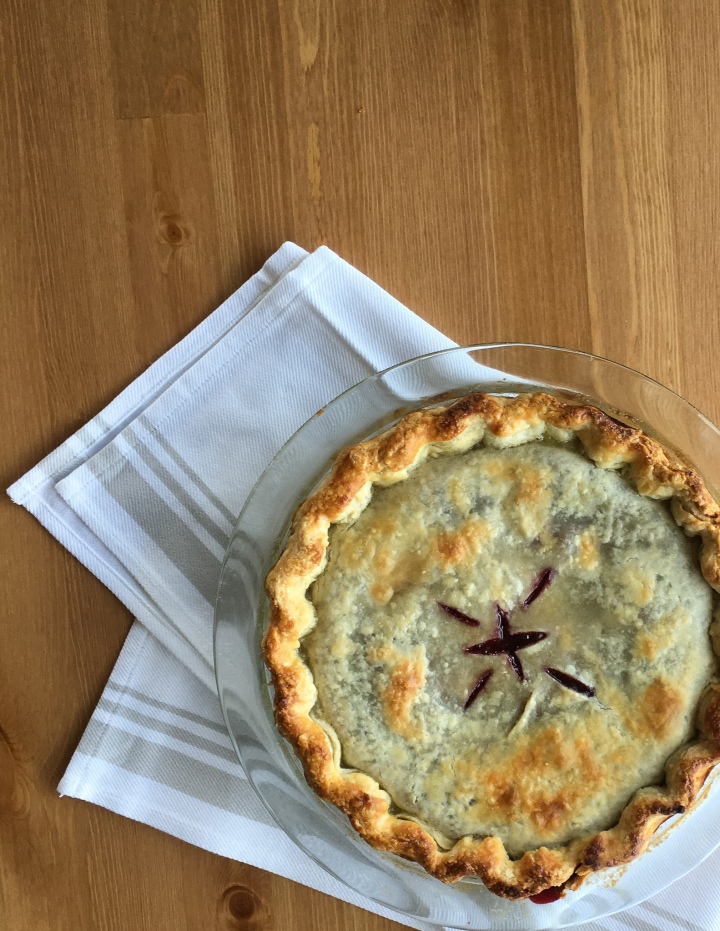
These cookies are so easy and get gobbled up (Thanksgiving Joke!) so fast! And they are the perfect way to use up any left over canned pumpkin from making pumpkin pies and breads.
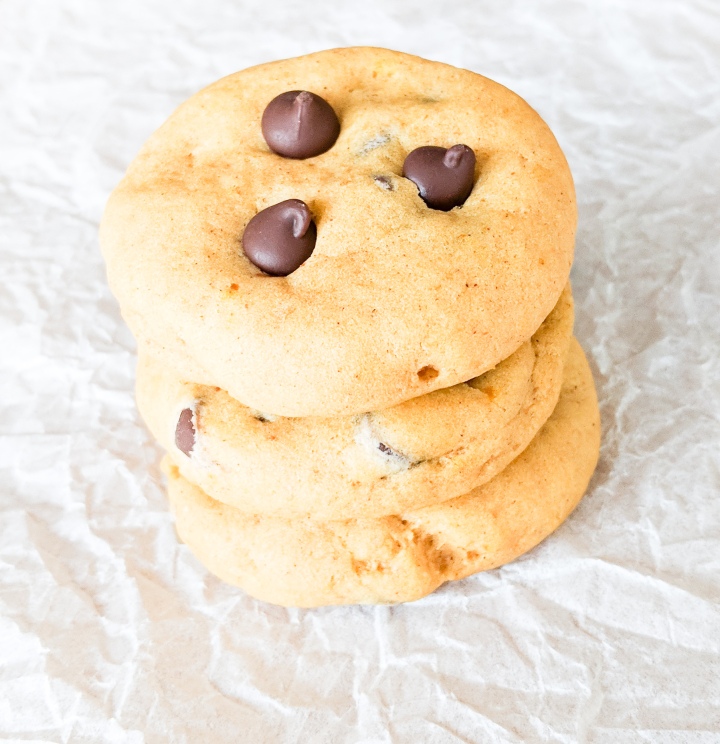
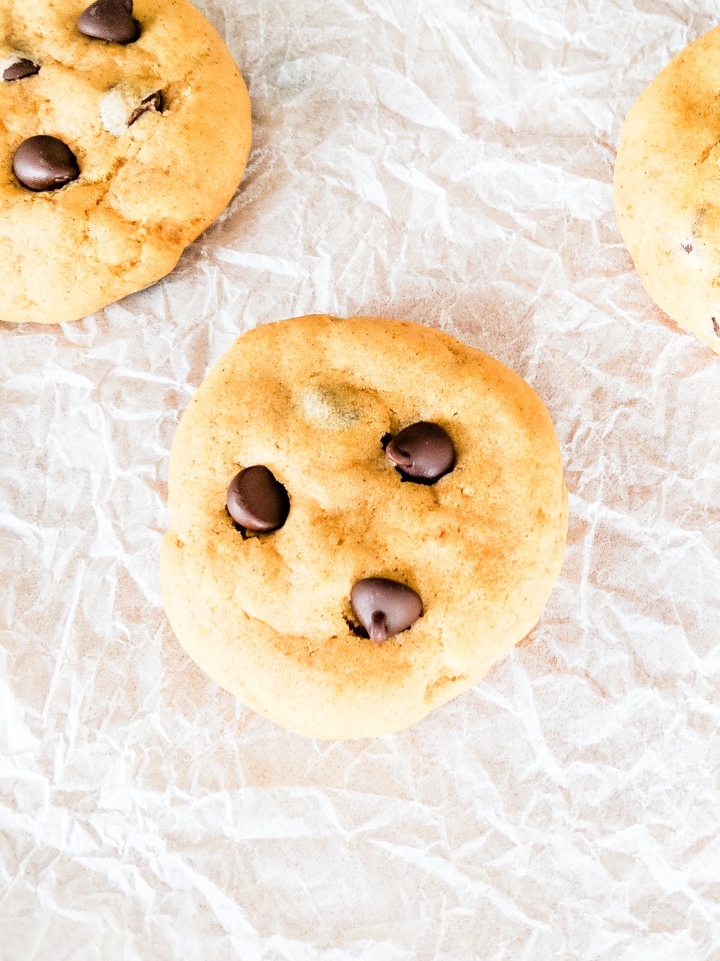
These cookies are soft and chewy, slightly spiced, deliciously sweet and chocolatey (is that a word?). I was very sceptical for the pumpkin chocolate combo and resisted it for quite awhile, but now that I know what I’ve been missing I’ll be making these every fall.
These cookies are actually eggless which is great for feeding a crowd since so many people have allergies. You could also sub non dairy butter and dairy free chocolate chips to make these cookies vegan. I love the versatility.
Have I convinced you to add these to your fall baking list yet?
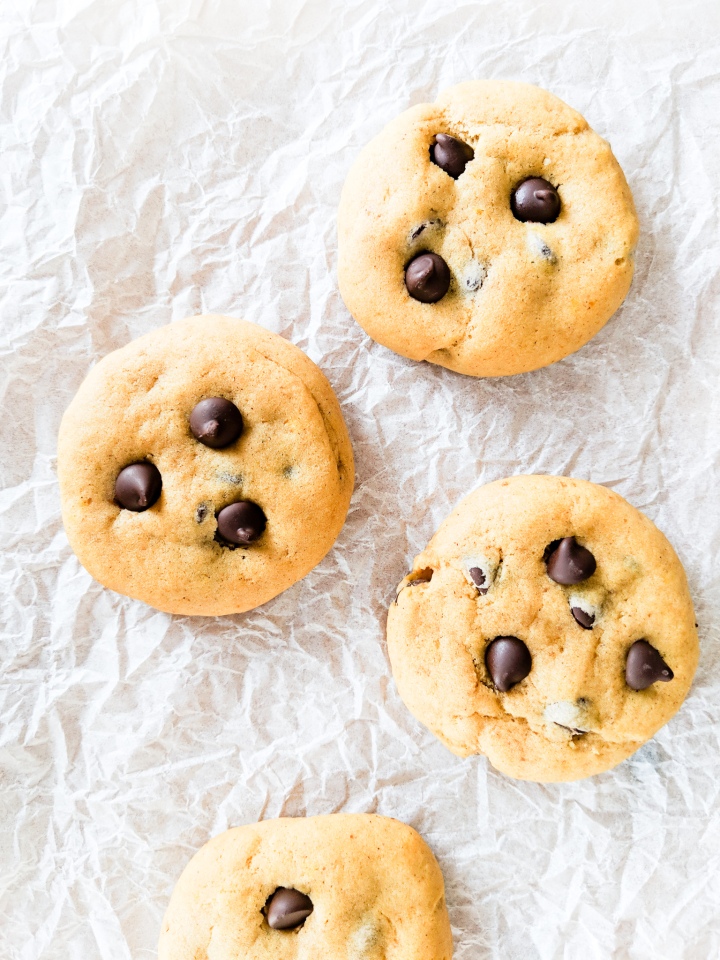
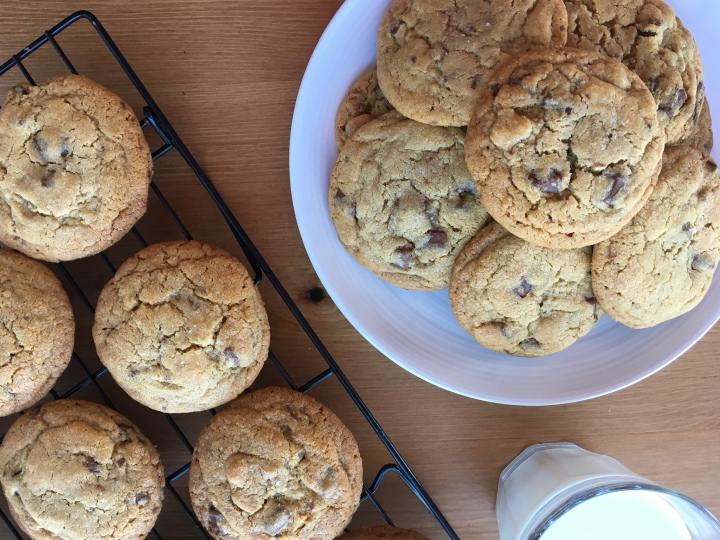
Pumpkin Chocolate Chip Cookies
Yields: 18 Cookies
Ingredients:
- 1/2 Cup Unsalted Butter, partially melted
- 1/4 Cup Brown Sugar, packed
- 1/2 Cup White Sugar
- 1 Tsp Vanilla Extract
- 6 Tbsp Pumpkin Puree (not pumpkin pie filling)
- 1 and 1/2 Cups All Purpose Flour
- 1/4 Tsp Salt
- 1/4 Tsp Baking Powder
- 1/4 Tsp Baking Soda
- 1 Tsp Pumpkin Pie Spice
- 1/2 Cup Chocolate Chips
Directions:
Microwave the butter for 30-60 seconds until butter is half melted. In a medium bowl, whisk the butter, brown sugar, and granulated sugar until smooth. Whisk in the vanilla and pumpkin until smooth. Set aside.
In a large bowl whisk together the flour, salt, baking powder, baking soda, and pumpkin pie spice. Pour the wet ingredients into the dry ingredients and mix together with a wooden spoon or spatula. Fold in the chocolate chips. Chill the dough for 1 hour.
Preheat oven to 350°F. Roll the dough into balls, place them on a baking sheet and slightly flatten. The cookies will only spread minimally. Bake the cookies for 10 minutes. Press more chocolate chips onto the tops, if desired. Allow the cookies to cool for at least 5 minutes on the cookie sheets before transferring to a cooling rack.
Adapted from Sally’s Baking Addiction.